
 5357
5357
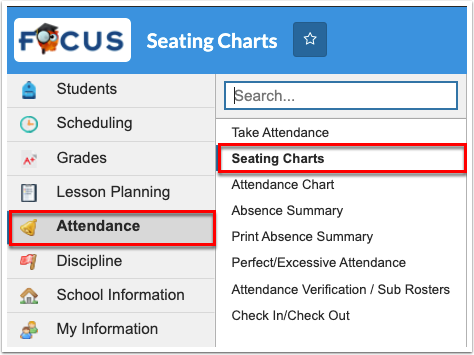
1. From the Attendance menu, click Seating Charts.
2. Once generated, the Chart Name displays at the top of the screen.

3. Depending on the Starting Point selected, the Front of Class directional selection is displayed, along with the number of desks entered via the Rows and Columns.

4. Click Save after any changes have been made, such as rearranging furniture, taking attendance, or awarding positive behaviors.

If changes are made without being saved, you will be prompted to Cancel and return to the seating chart, Discard Changes made, or Save and Continue. Click the X to close the pop-up window and return to the seating chart (same as clicking Cancel).

5. Click Charts to create a New Chart, edit the Sort order of the chart, edit the Title, change the Front of the class direction, open other charts to be edited or used, delete a chart, and more.

6. Click Layout to Assign Students' Seating and customize the Furniture Layout, as well as mark students as talkative or front of class.

7. Click the right double arrows to collapse the Assign or Layout tabs and expand the seating chart area. Click the left double arrows to open the tabs.

8. Click the Restore Default View (home) icon to return to the default view of the seating chart. For example, if you are zoomed in on the seating chart, clicking the icon zooms out and restores the default view.

9. Click the Move View (four arrows) icon in order to click and drag the screen’s view to display items that may not be easily visible.

10. Click the minus magnifying glass to zoom out or click the plus sign magnifying glass to zoom in.

You can also click and move the scroll to zoom in and out depending on if you move the scroll to the left (zoom out) or the right (zoom in).

You can also use the following commands/controls:
- Delete or Backspace: Delete current furniture/badge selection, or unseat current student
- Escape: Exit placing furniture, or any other mode selected
- Cntrl + click & drag or Command + click & drag: Enters Move View and allows users to move the current view in any direction
- Cntrl + H or Command + H: Enables Restore Default View, which instantly returns to the default view/zoom
- Cntrl + C or Command + C: Copy current furniture selection
- Cntrl + l or Command + I: Lock current student selection to chair
- Cntrl + or Command +: Zoom in
- Cntrl -- or Command --: Zoom out

