4809
4809
1. From the new or existing chart, click the Layout tab, then click the Students tab to assign seating to students.

Before seating students, you can flag applicable students by clicking Front of Class and/or Talkative to identify the students who need to sit at the front of the class or students who are talkative. Because you currently have two separate learning groups of students within the same course, you probably won't be able to take advantage of these flags and the quick seat options as you'll need to make sure to manually seat all of the group A students and group B students in their respective charts.
2. To assign seats manually, click the student listed in the Students tab, then click the desired desk or chair.

Placing a student in a seat already occupied by another student will bump the seated student back into the student list if there isn't a desk available for the bumped student. If there is another desk available, the student will move to the empty desk.
3. All unseated students remain in the Students tab until seated. If you need to add an additional desk to your seating chart, simply click a student and place him/her in an area without a desk/chair; when clicked/placed, the desk will be created automatically.

4. To unseat students from a desk or chair, click the student and click Unseat.

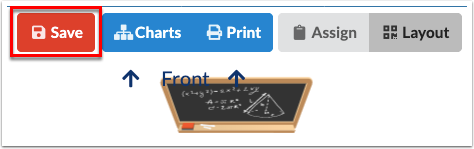
5. Click Save to apply assigned seating.