
 7273
7273
These instructions explain how to add printers to your District-issued Mac computer using Self Service+. We recommend that printers are added using Self Service+, rather than through the System Settings menu. The benefit of this is that printing will not ask you to enter your password, unlike printing to printers installed via System Settings.
-
Open the Self Service+ App. The Self Service+ App can be found either by opening Finder and choosing Applications on the left sidebar then locating the Self Service+ App in the Applications folder, or, by using Spotlight Search via pressing both the Command and Spacebar keys on your keyboard, and searching for Self Service+.
-
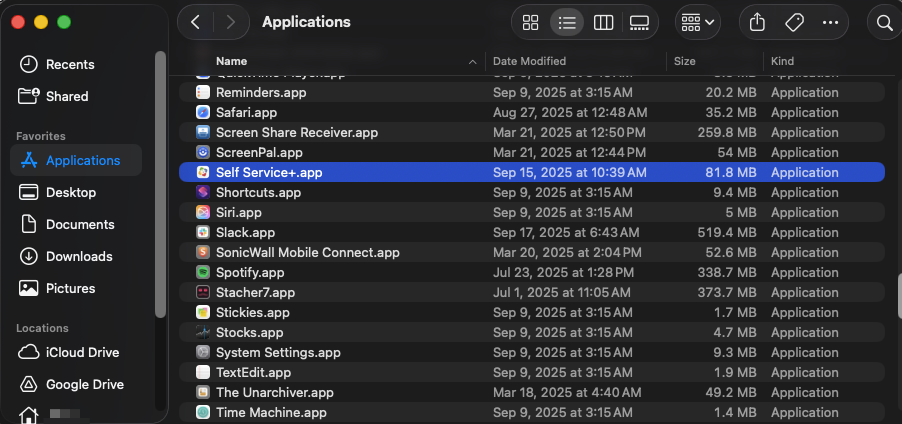
Self Service+ as shown in Finder.
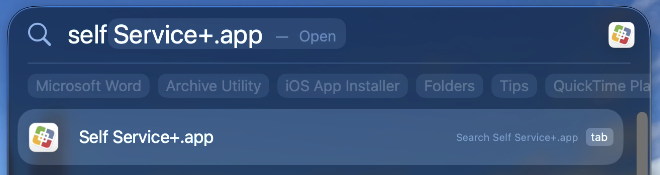
Self Service+ as shown in Spotlight Search. -
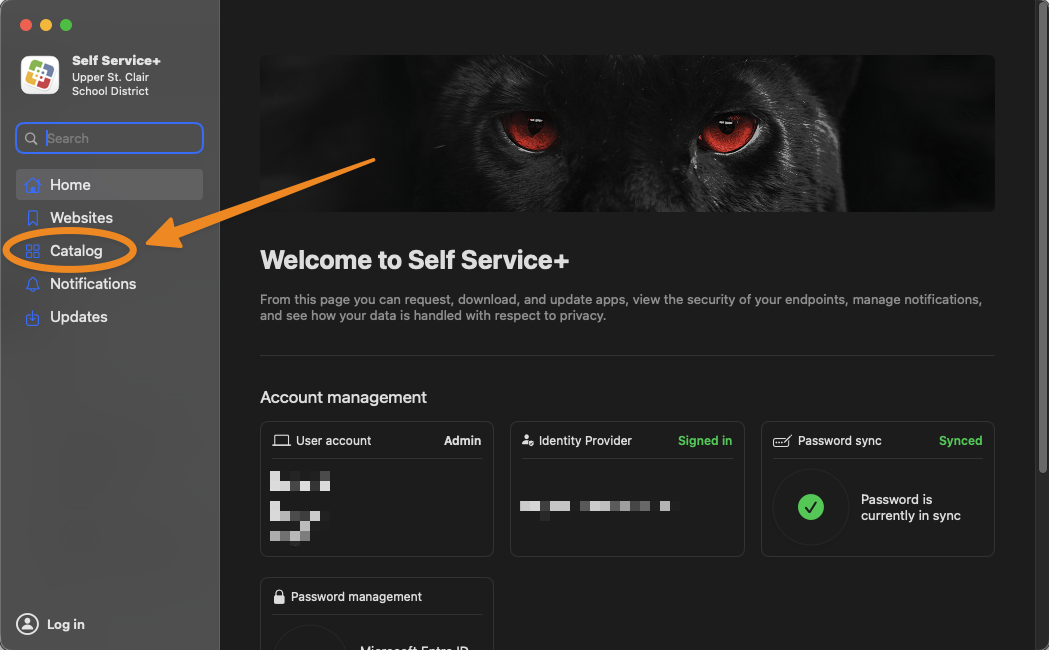
Once Self Service+ is launched, choose Catalog from the list on the left side.
-
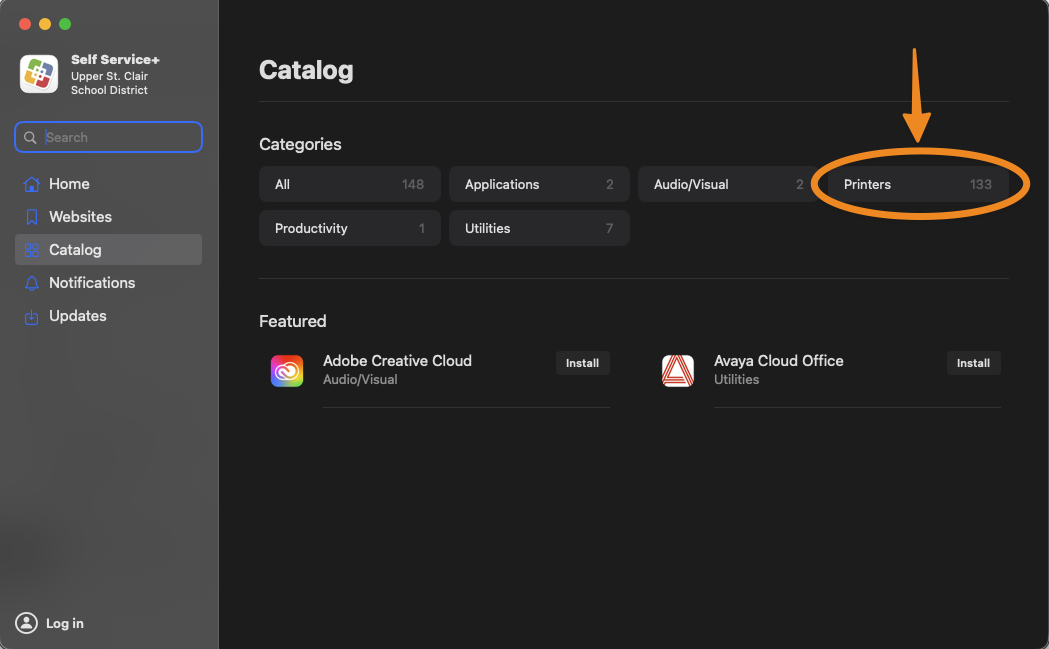
Then, click on the Printers button under the Categories header.
-
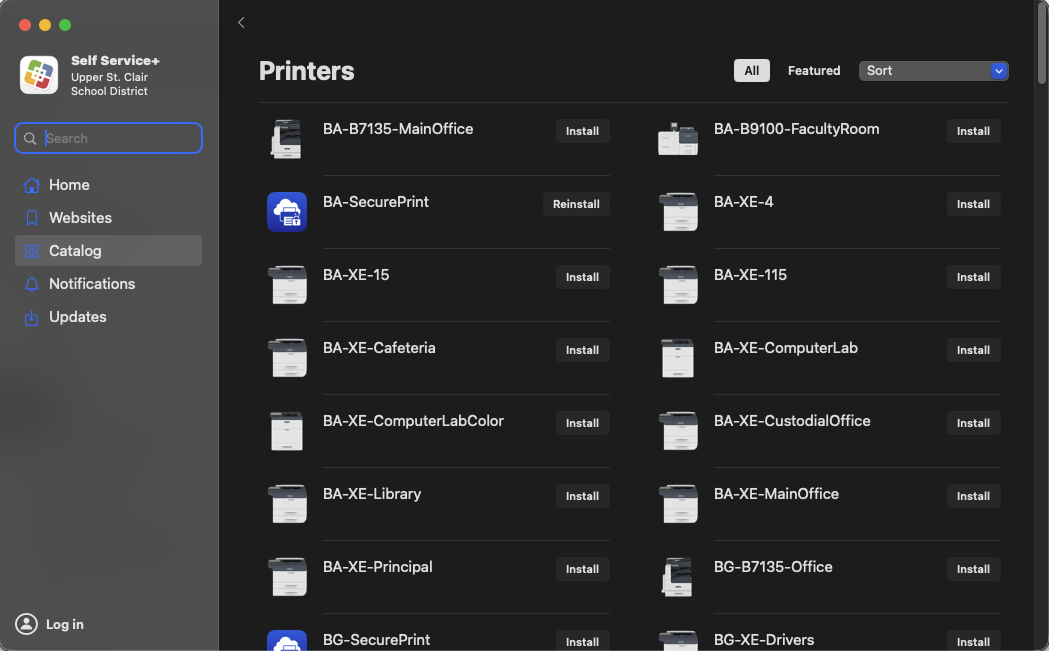
A list of available printers will be displayed. Click Install for each printer you wish to add to your computer. Please see the picture below:
-
The "SecurePrint" printers, identified by blue icons, enable secure printing to any copier or printer equipped with a badge scanner. If you are printing confidential or privileged information, please use these. Print jobs sent to SecurePrint printers do not get printed until you scan your badge and start the print job at the copier/printer.
-
The printers are in order alphabetically by their two-character building code, and their naming reflects where they are located in each building.
-
Notes:
-
If you do not see anything listed under Catalog, on the main "Welcome to Self Service+" screen, make sure your account is signed in and that your password is in sync. If you are unable to sign back in, please try restarting your computer.
-
If the printer you need to add is not listed, please submit a support ticket.
-
If the printer you are printing to needs supplies, please either submit a support ticket or contact your building's technology aide. Please do not take copier/printer toner or supplies without notifying your building's technology aide/personnel so that replacements can be ordered to replenish our stock.
-
Screenshots shown are from MacOS 26 and Self Service+ version 2.8.0. Your experience may vary.
-
You can install personal printers at home via System Settings. These will not appear within Self Service+.

