
 952
952
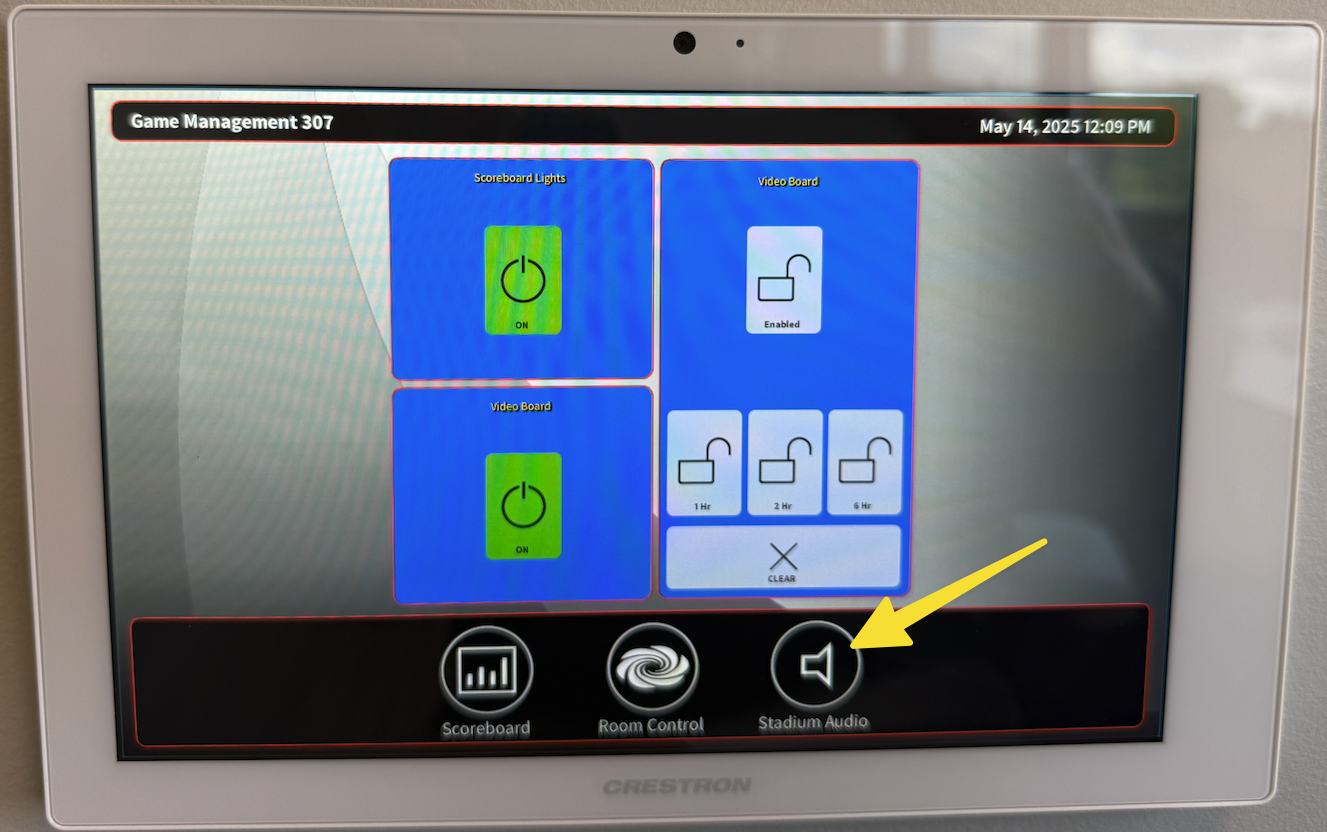
1. Press the Scoreboard button on the touch screen.

2. Press the Scoreboard Lights button (it will turn green to show that it is on), and Press the Video Board button (It will turn green to show that it is on).
Note: During the sports seasons, the Scoreboard Lights will automatically turn on at sunset. You can still manually turn on the scoreboard lights at any time if you wish.

3. Press the Stadium Audio button on the Touch Screen.
4. Press the Amp Power button on the Touch Screen (it will turn green to show that it is on)

Wall Inputs: The wired microphones in the Game Management Room. Each microphone jack is labeled accordingly on the wall.
Playback: Music is based upon whatever is using the 3.5mm cable (with or without adapters for USB-C or Lightning**). Video is any audio/video coming directly from the Desktop computer in the Game Management (running the application Display Studio).
** There are adapters to connect to the 3.5mm audio cable to smartphones or tablets in the room (USB-C or Lightning)
Wireless Microphones: Wireless 1 is the referee microphone. Wireless 2 is a handheld wireless microphone for special events.
If you press Mute, the button will change to red to signify that the input is now muted.
Use the up and down arrow buttons to adjust audio levels in the stadium.
Under System Presets, you will see Home Side and Full System. If the button is blue, that means it is selected (Home Side is active as shown the example above).
Note: Do not use Full System unless both sides of the stadium are full or nearly full with people. 99% of the time, you will only use the Home Side. Using the full system in an empty stadium will result in an echo being heard as sound is reflected off the hard surfaces of the empty visitor-side bleachers.

5. You will now be able to use Display Studio on the Desktop Computer and utilize any of the pre-made buttons to show video or graphic content. Each tab represents a different sport, with buttons assigned accordingly.

6. If Display Studio is NOT running on the computer, double click the Display Studio app on the Desktop.

7. If you want to connect a laptop or iPad directly to the video board and bypass the Display Studio computer, use the HDMI cable (and adapter if necessary) to connect to your computer. You will also need to plug in the 3.5mm Audio Cable if audio is required, as audio is not passed via the scoreboard HDMI input. You can adjust the volume for the laptop and from the Touch Screen Panel.

8. On the Desktop Computer running Display Studio, click on the button labeled Full Screen Video. Then, your laptop screen will be displayed on the video board.

Note: The Scoreboard Lights, Video Board, and Stadium Audio will automatically turn off at 11:30 PM every day if not turned off manually beforehand.

