743
743
Your work photos may be stored in one of the following locations:
1. iCloud Photos
Accessible from any device signed in with your Apple ID (visible in the Photos app).
Action: Verify your photos are stored in iCloud (see instructions below).
2. Google Photos
Photos will remain available in Google Photos on your new MacBook.
Action: None.
3. Google Drive
Photos will remain available in Google Drive on your new MacBook.
Action: None.
4. Photos app on your MacBook (not synced with iCloud)
Photos are stored locally on your device only.
Action: Move your photo library to Google Drive (see instructions below).
5. Folders on your MacBook
Photos saved in Desktop, Documents, Downloads, or other folders.
Action: Move the folder to Google Drive.
Verify your photos are stored in iCloud
If you are already automatically backing your photos up to iCloud using an Apple ID, there is no need to perform additional backups of your Photo Library. To check this:
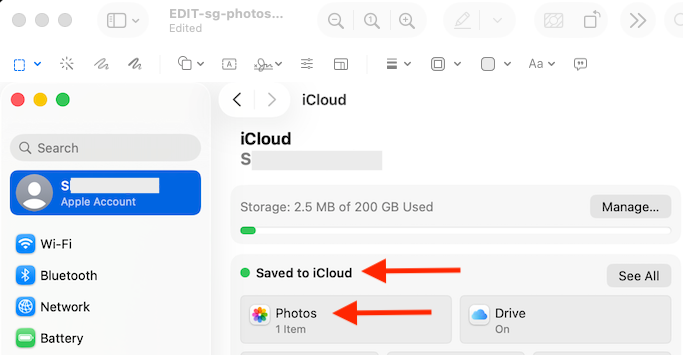
Go to Apple menu → System Settings → [your name] → iCloud
Under Saved to iCloud you will see Photos listed if you are automatically backing up to iCloud.
Move your photo library to Google Drive
Click the Finder icon ![]() in your dock
in your dock
In the left sidebar, click Pictures. The Pictures folder may not appear in your left sidebar by default. If it is not there, please follow the next steps to add it.
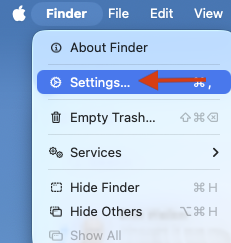
To add the Pictures folder to your Sidebar, select Finder from the top menu bar (next to the Apple logo) and click Settings.
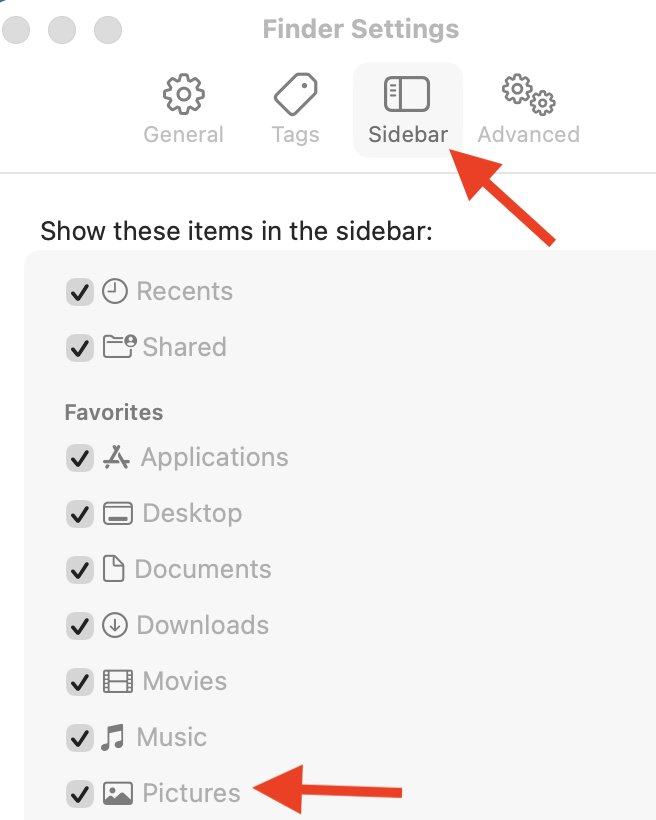
In Settings select Sidebar then select the Pictures checkbox.
Now that the Pictures is in your Sidebar, you can continue following the backup steps below.
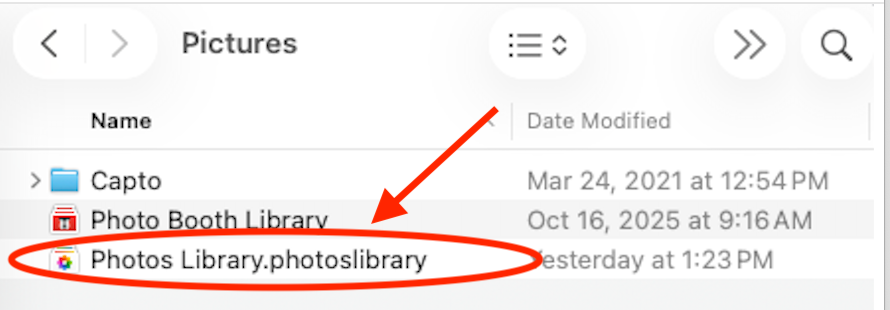
In your Pictures folder, look for a file called Photos Library.photoslibrary.
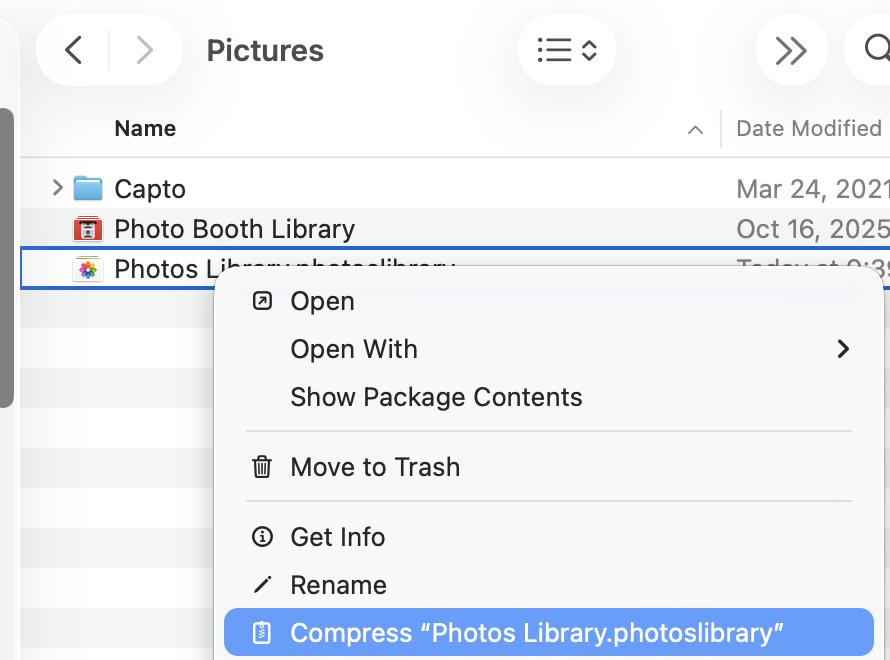
Next we will compress your Photos Library file and copy the compressed file to your Google Drive.
Right click on your Photos Library file and choose “Compress."
Depending on the file size, it may take some time to compress. When complete, you will have another file called "Photos Library.photoslibrary.zip." IMPORTANT: You'll need to rename this file because filenames with multiple extensions (periods) do not copy well to Google Drive. Example File Name: photoslibrary.zip
This .zip file must be copied to your Google Drive.
Open another Finder window by pressing Command N on the keyboard or by going to the Finder Menu --> File --> New Finder Window
In the sidebar on your new Finder Window browse to Google Drive and open My Drive
Drag YOURNEWFILENAME.zip into your My Drive folder
Depending on the file size it may take some time to copy to Google Drive. Please wait until the file has been fully copied before you turn off or close your computer. You can continue with other tasks on your computer while the file copies.
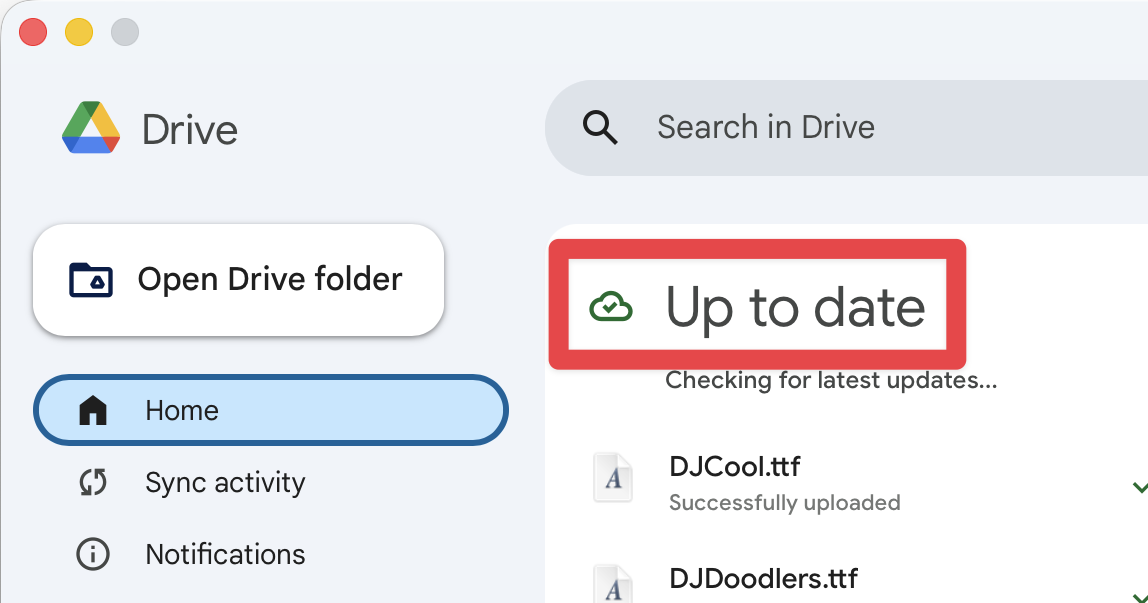
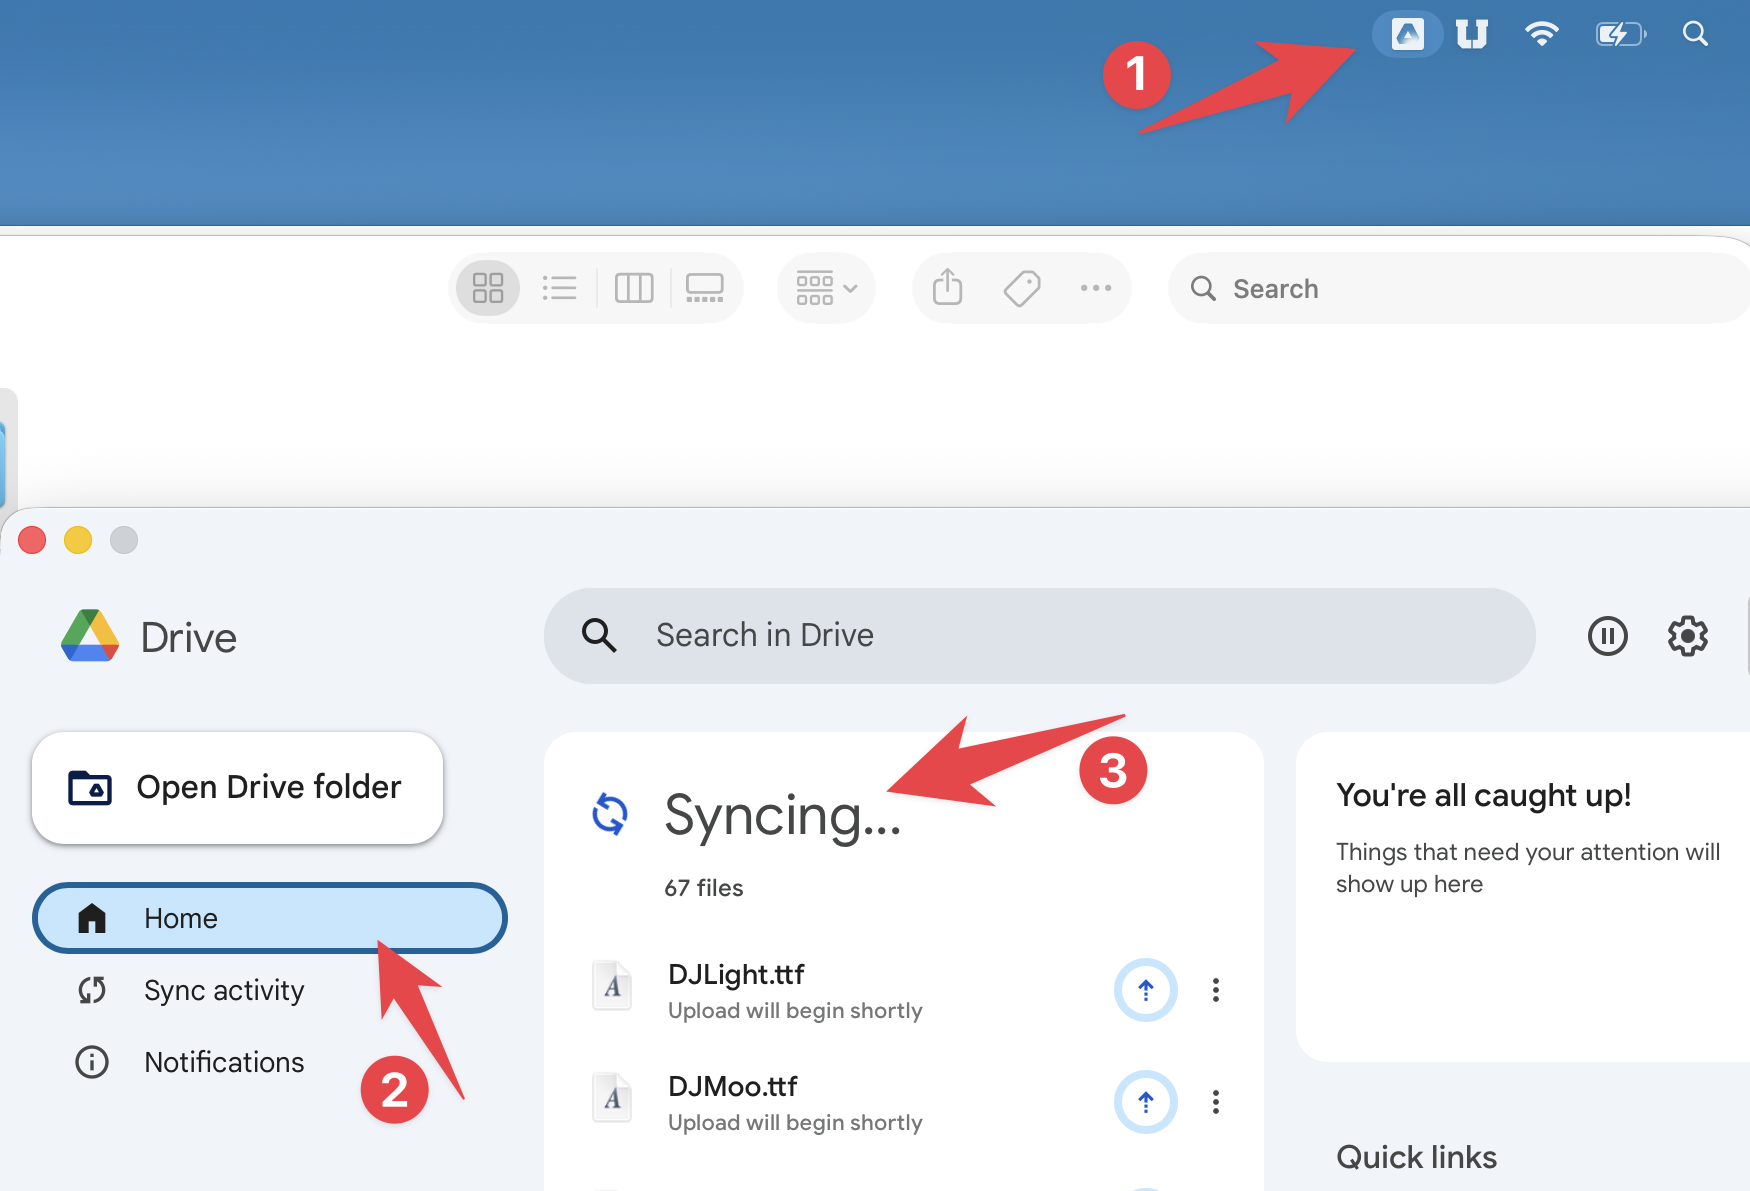
You must ensure that your .zip file syncs to My Drive. To see the sync status, click the Google Drive icon in the task bar. The Google Drive window opens and the Syncing area shows all files currently being synced to Google.
If the Google Drive icon in the menu bar is spinning, a backup is currently in progress. To view more details, click that icon to open the application window. Within the app, select the Home tab to see if Google Drive is still syncing your files.
When it is done Syncing, you will see that it is Up to date. Depending on the file size, it may take some time to copy to Google Drive (Make sure your MacBook is plugged in to power). Please wait until the file has been fully copied before you turn off or close your computer. You can continue to do other tasks on your computer while it copies.