4238
4238
Restoring your Fonts
This guide illustrates how to restore fonts. Restoring fonts is done when you'd previously backed up fonts and have been given a new computer. To revisit the Backing up Fonts on your Mac guidance, please see the following article - https://support.uscsd.k12.pa.us/kb/article/89-backing-up-fonts-on-your-mac/.
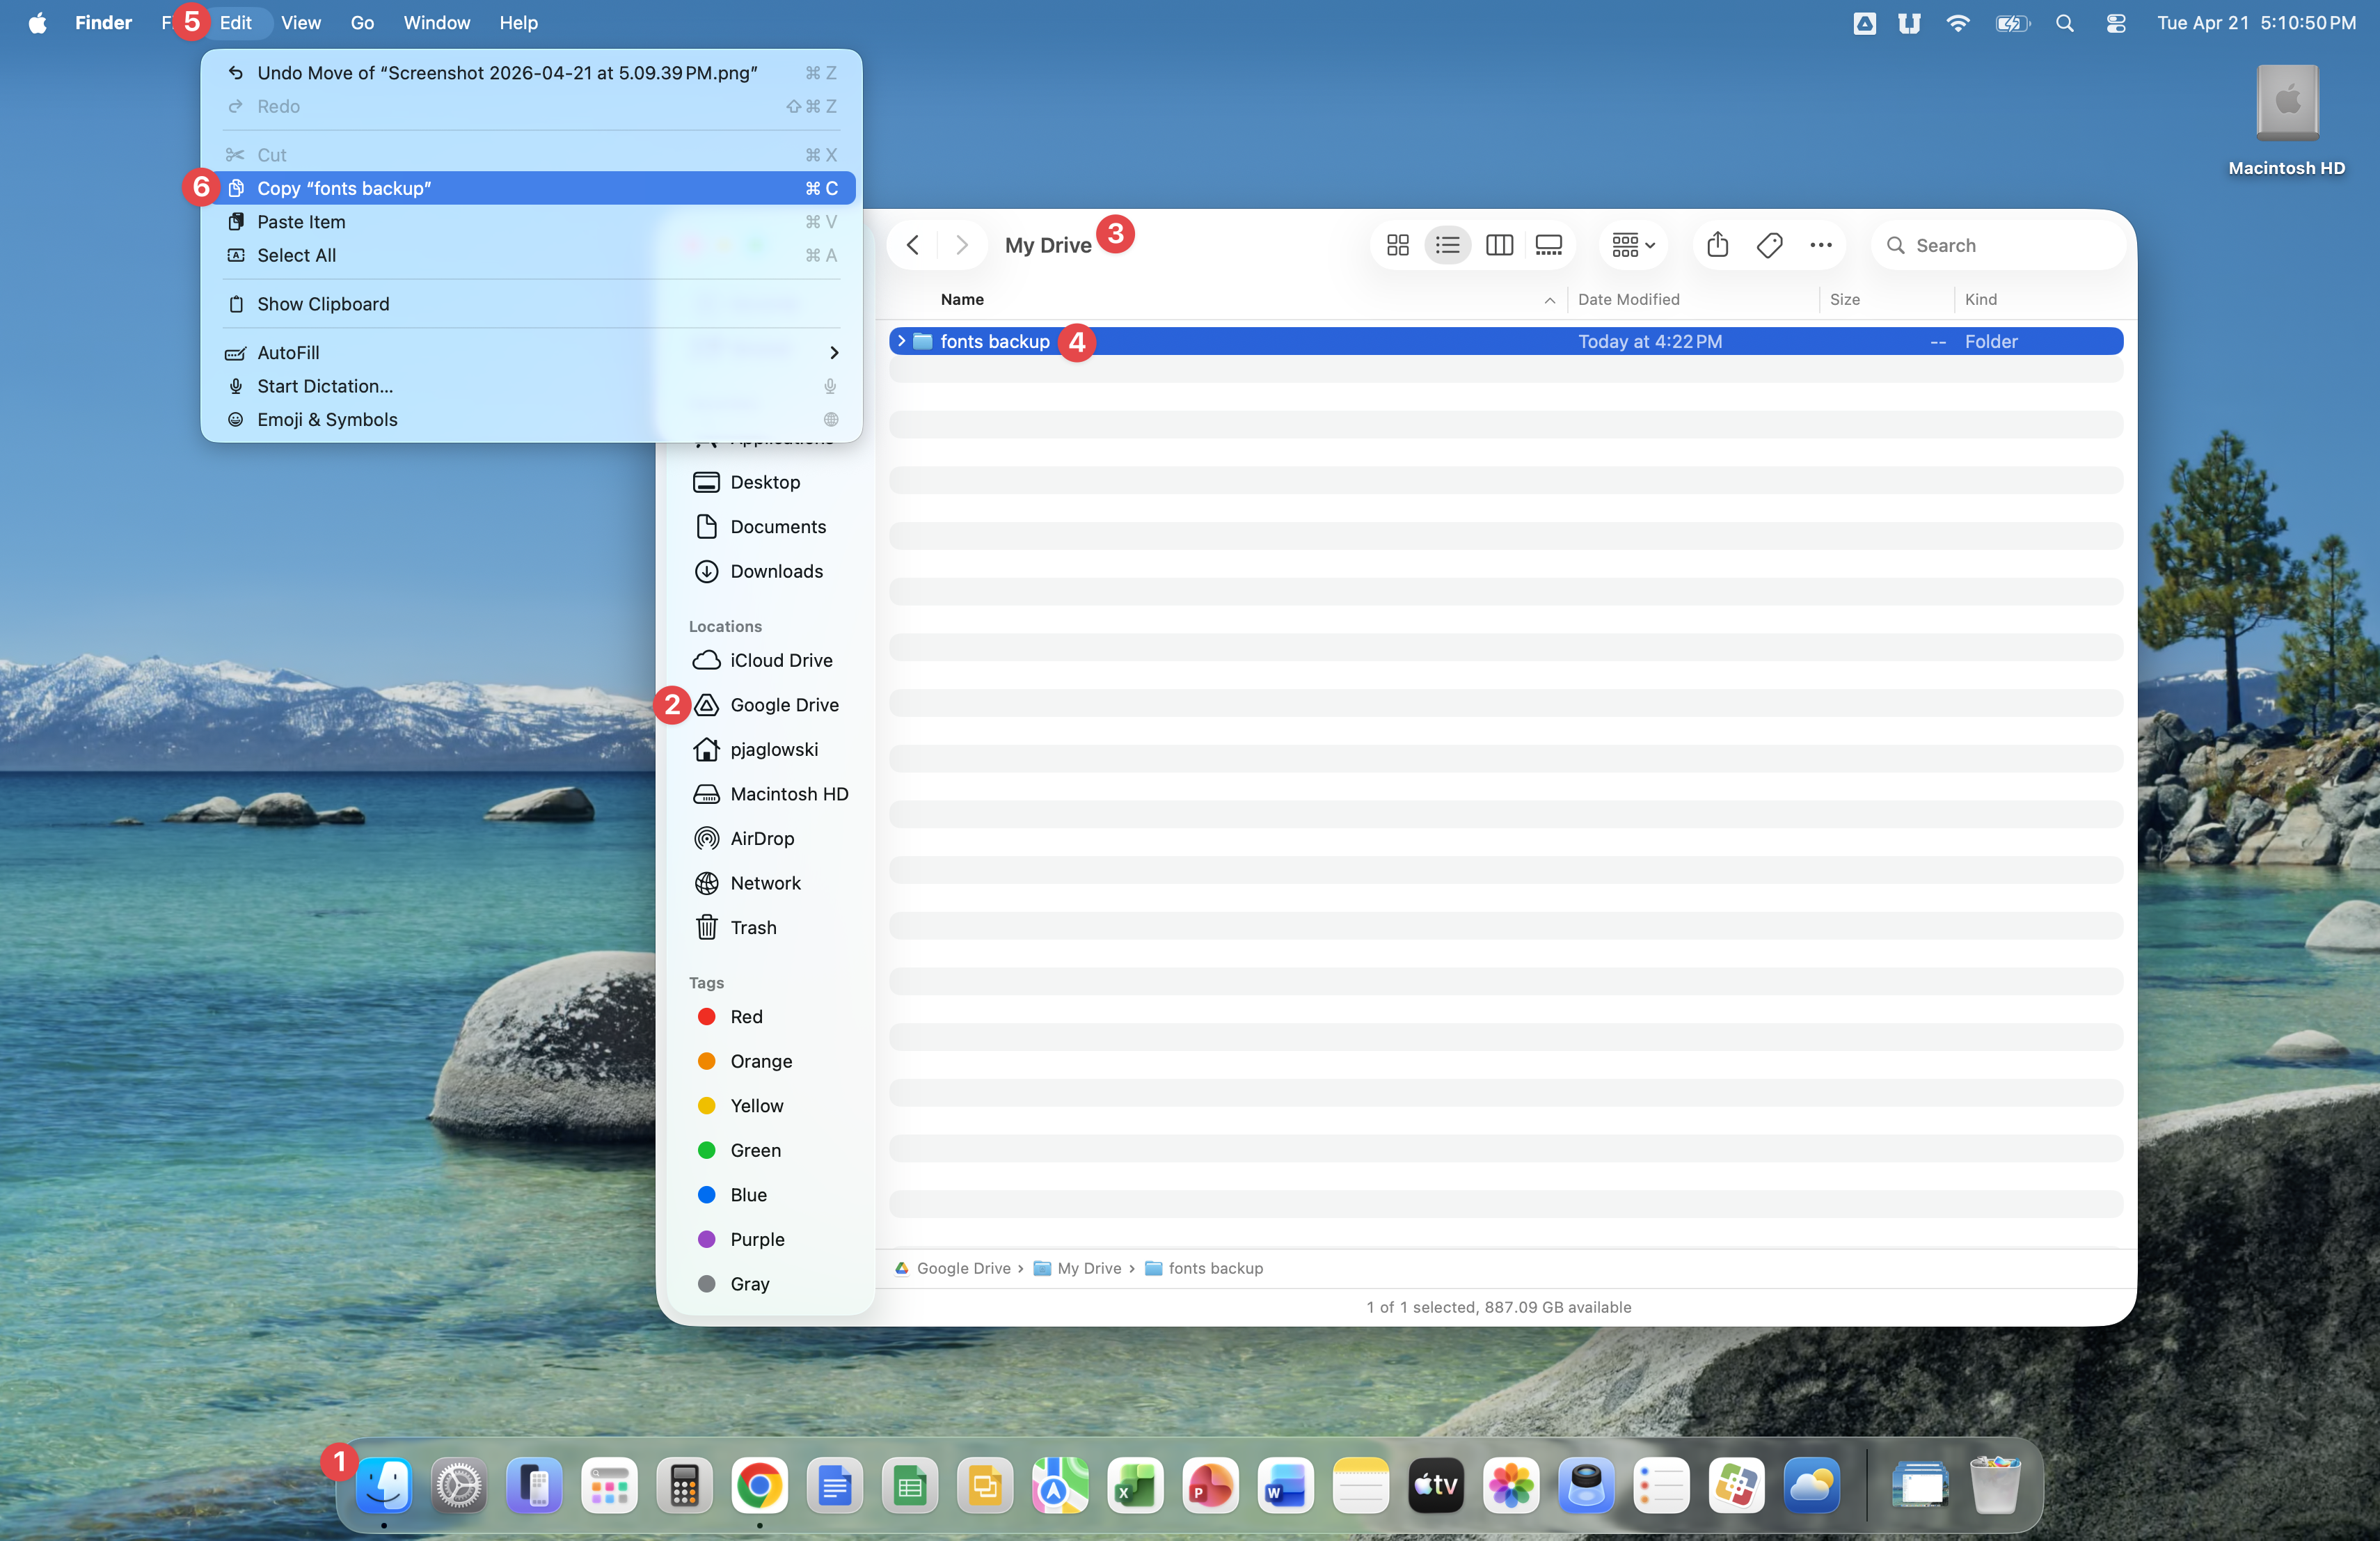
Open Finder, then click on Google Drive. Now open My Drive and click once on the fonts backup folder. When the fonts backup folder is selected, your screen will look like the image below.
Now click Edit and Copy "fonts backup".
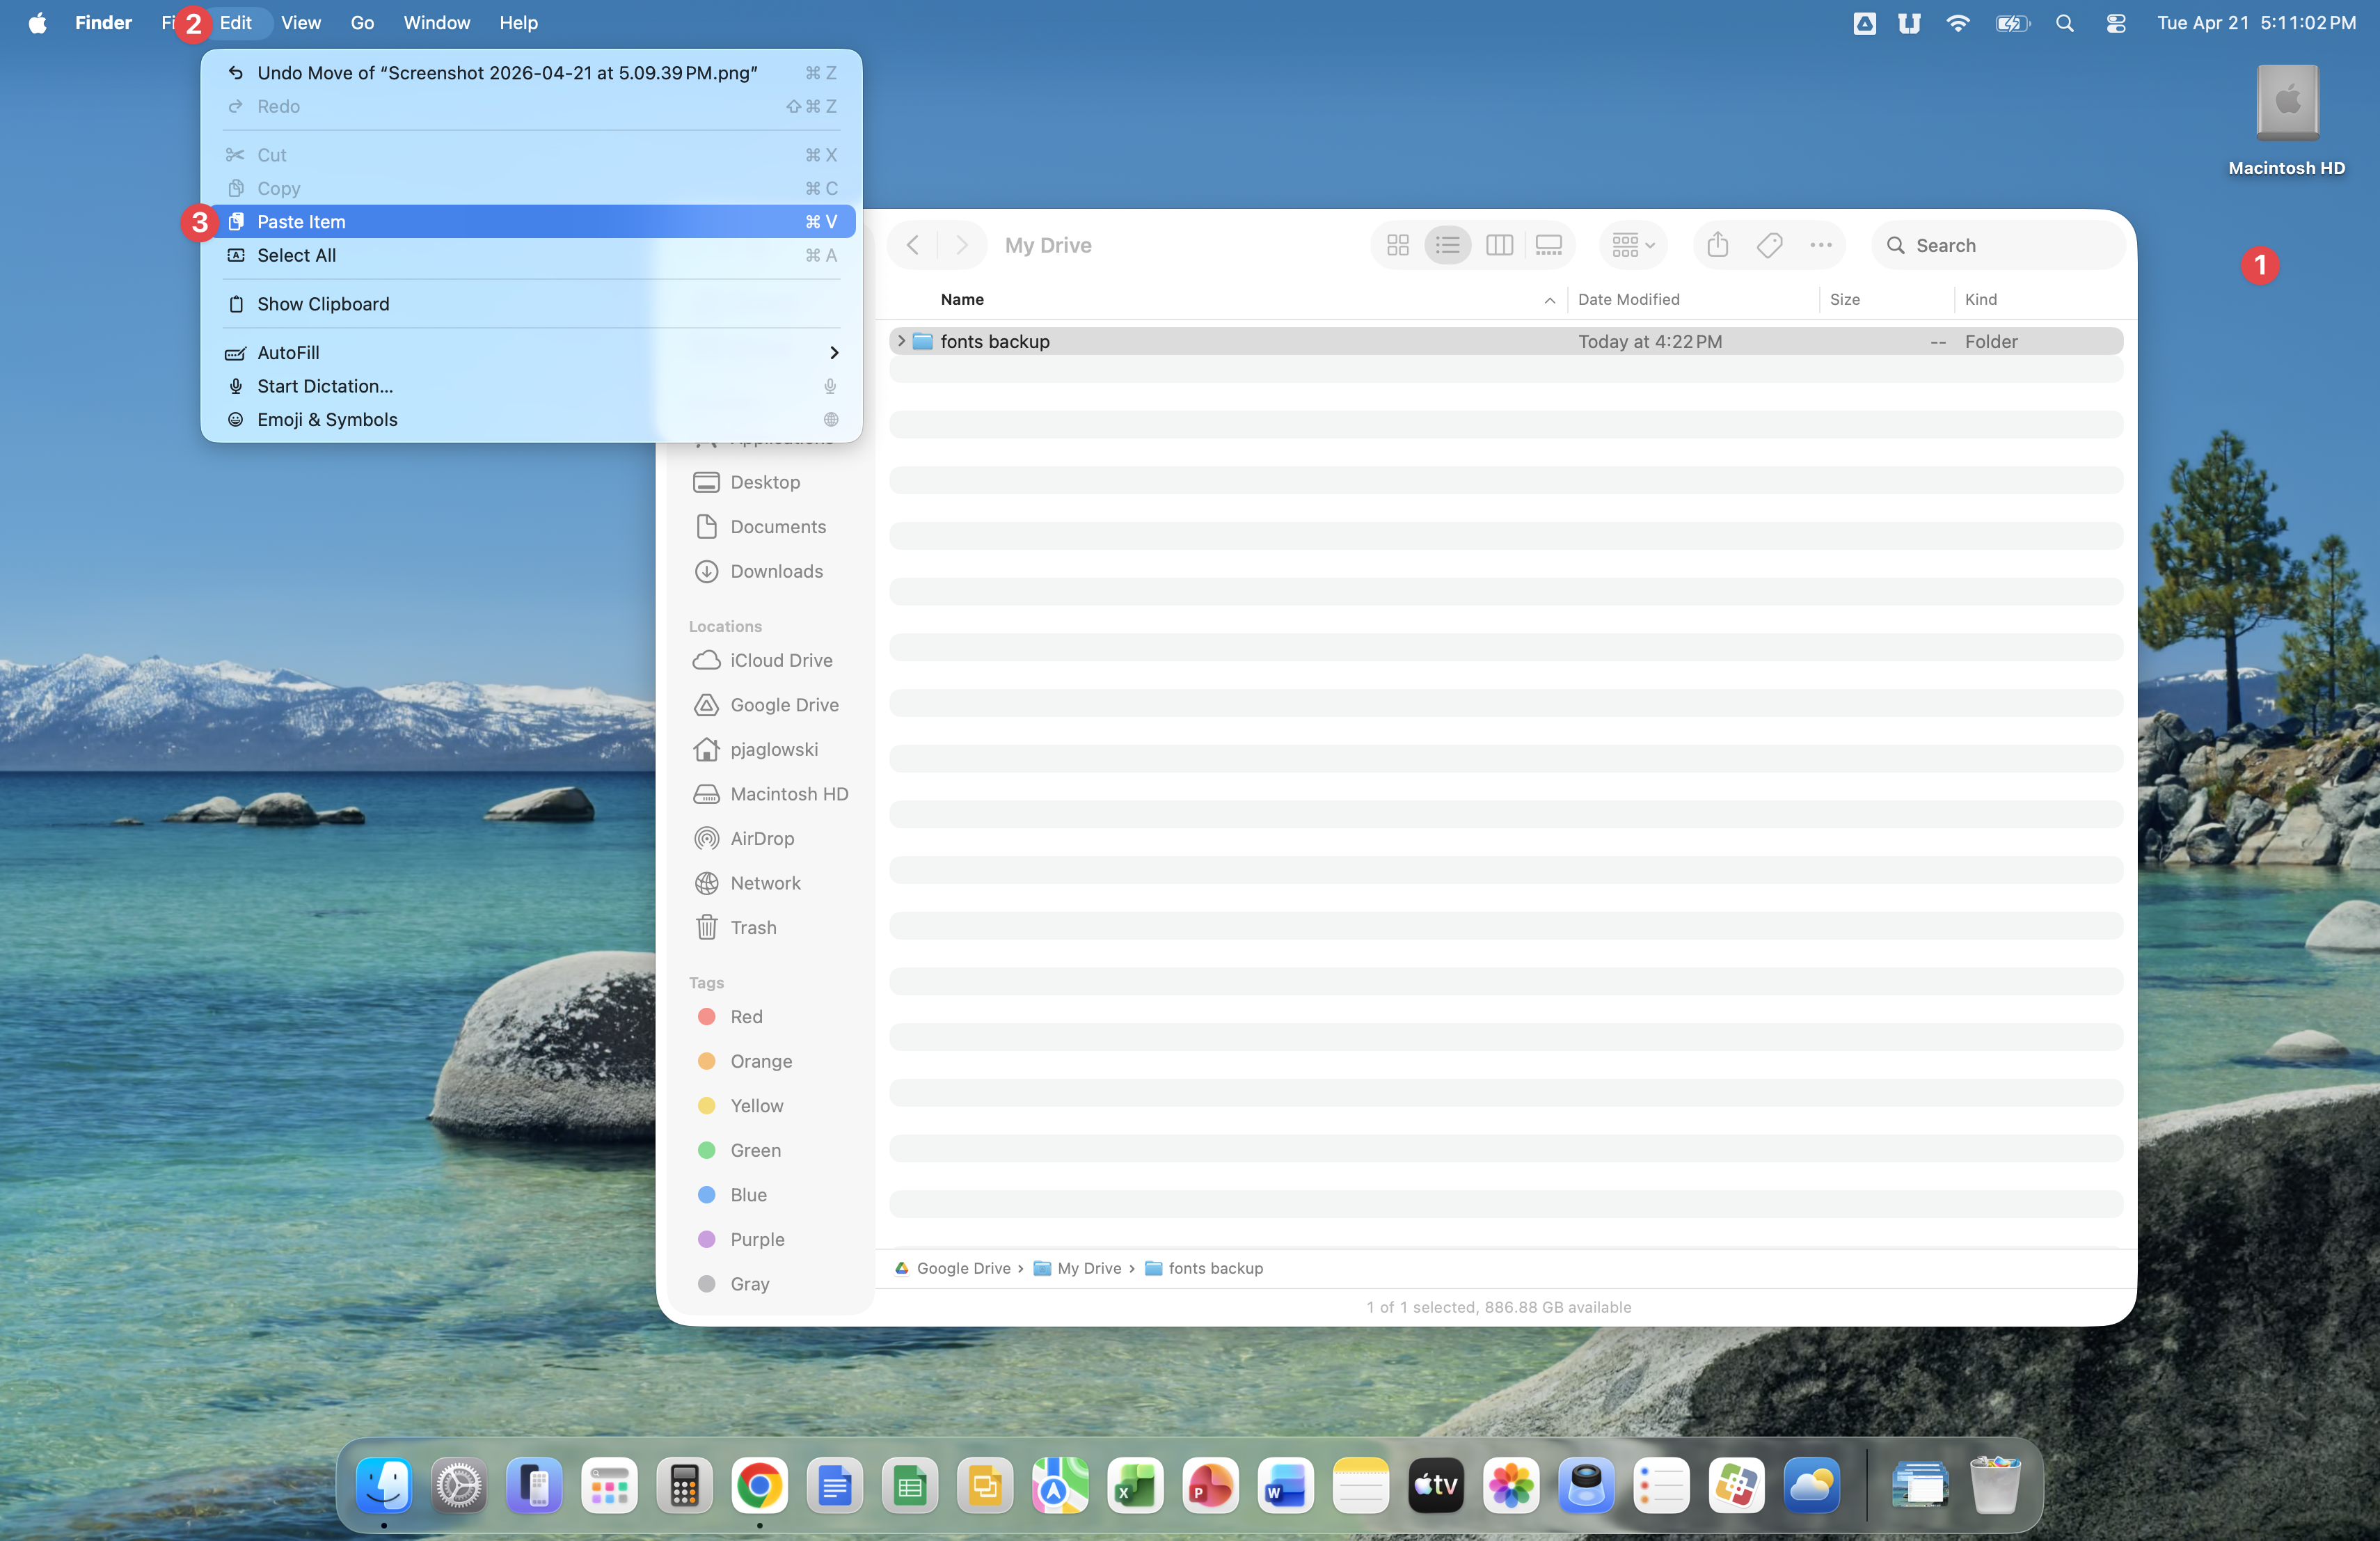
Click in empty space on your desktop, then click Edit followed by clicking Paste item.
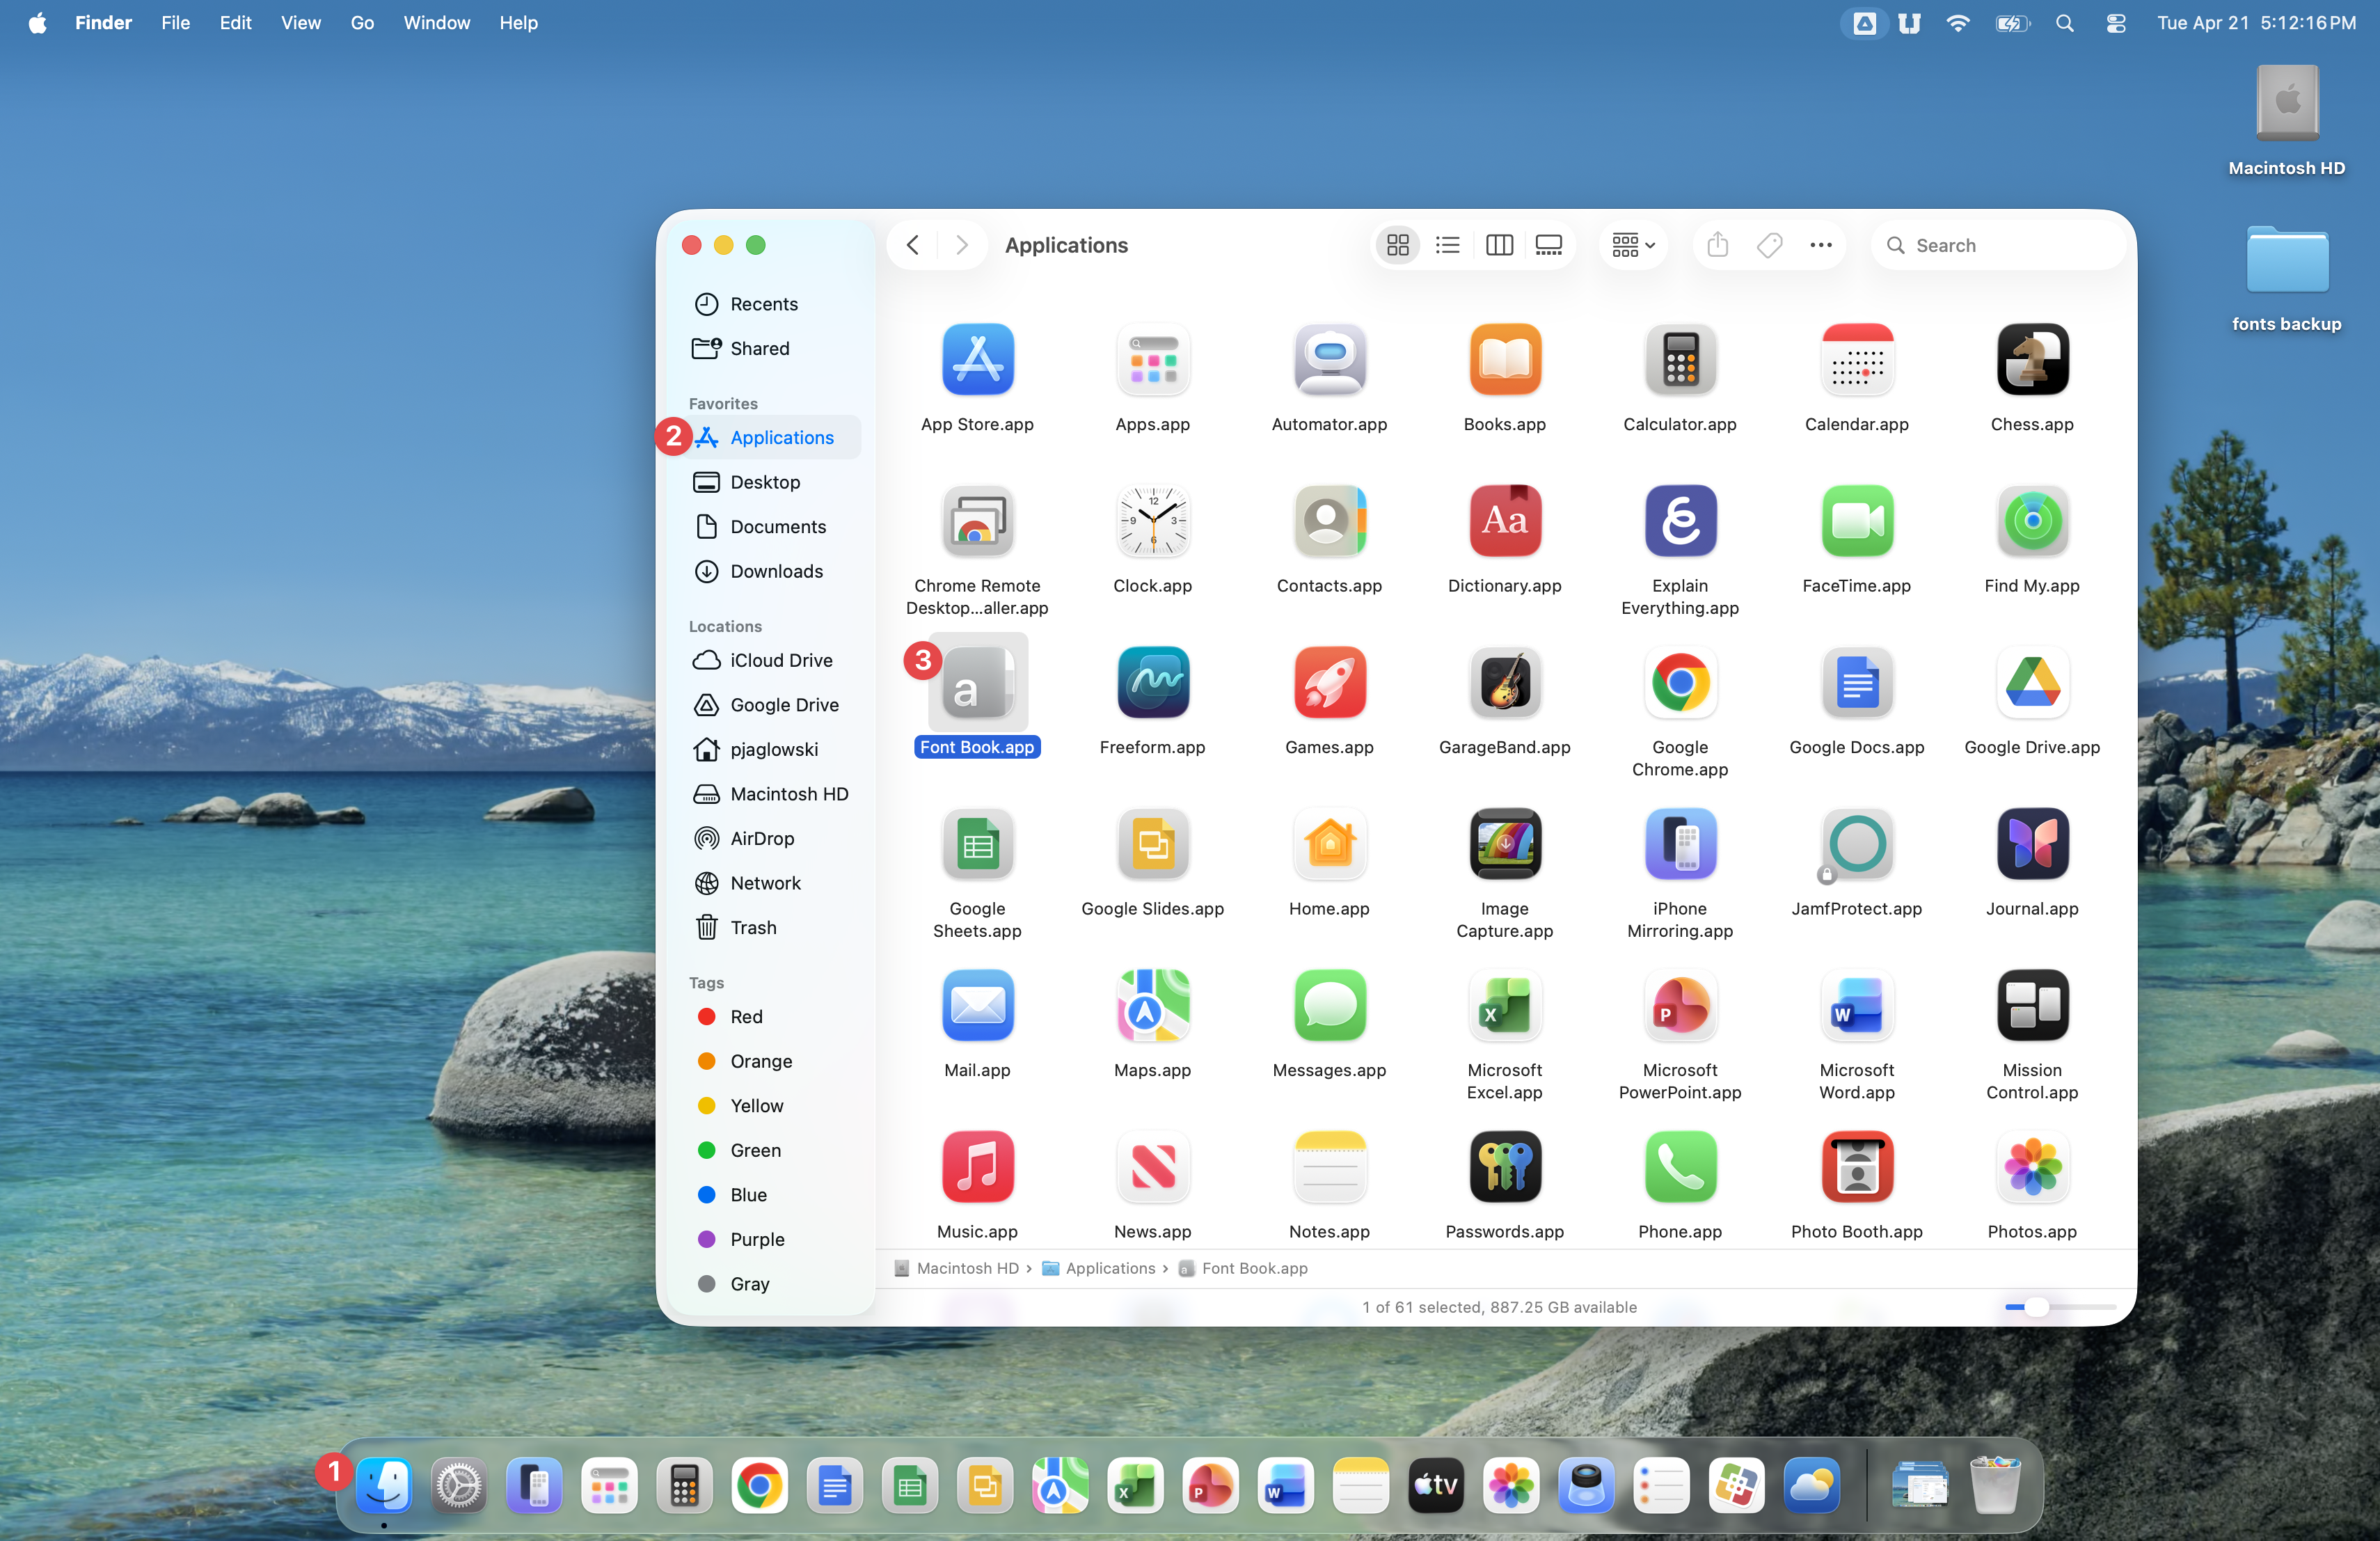
Open Finder, click Applications, then double-click the Font Book app.
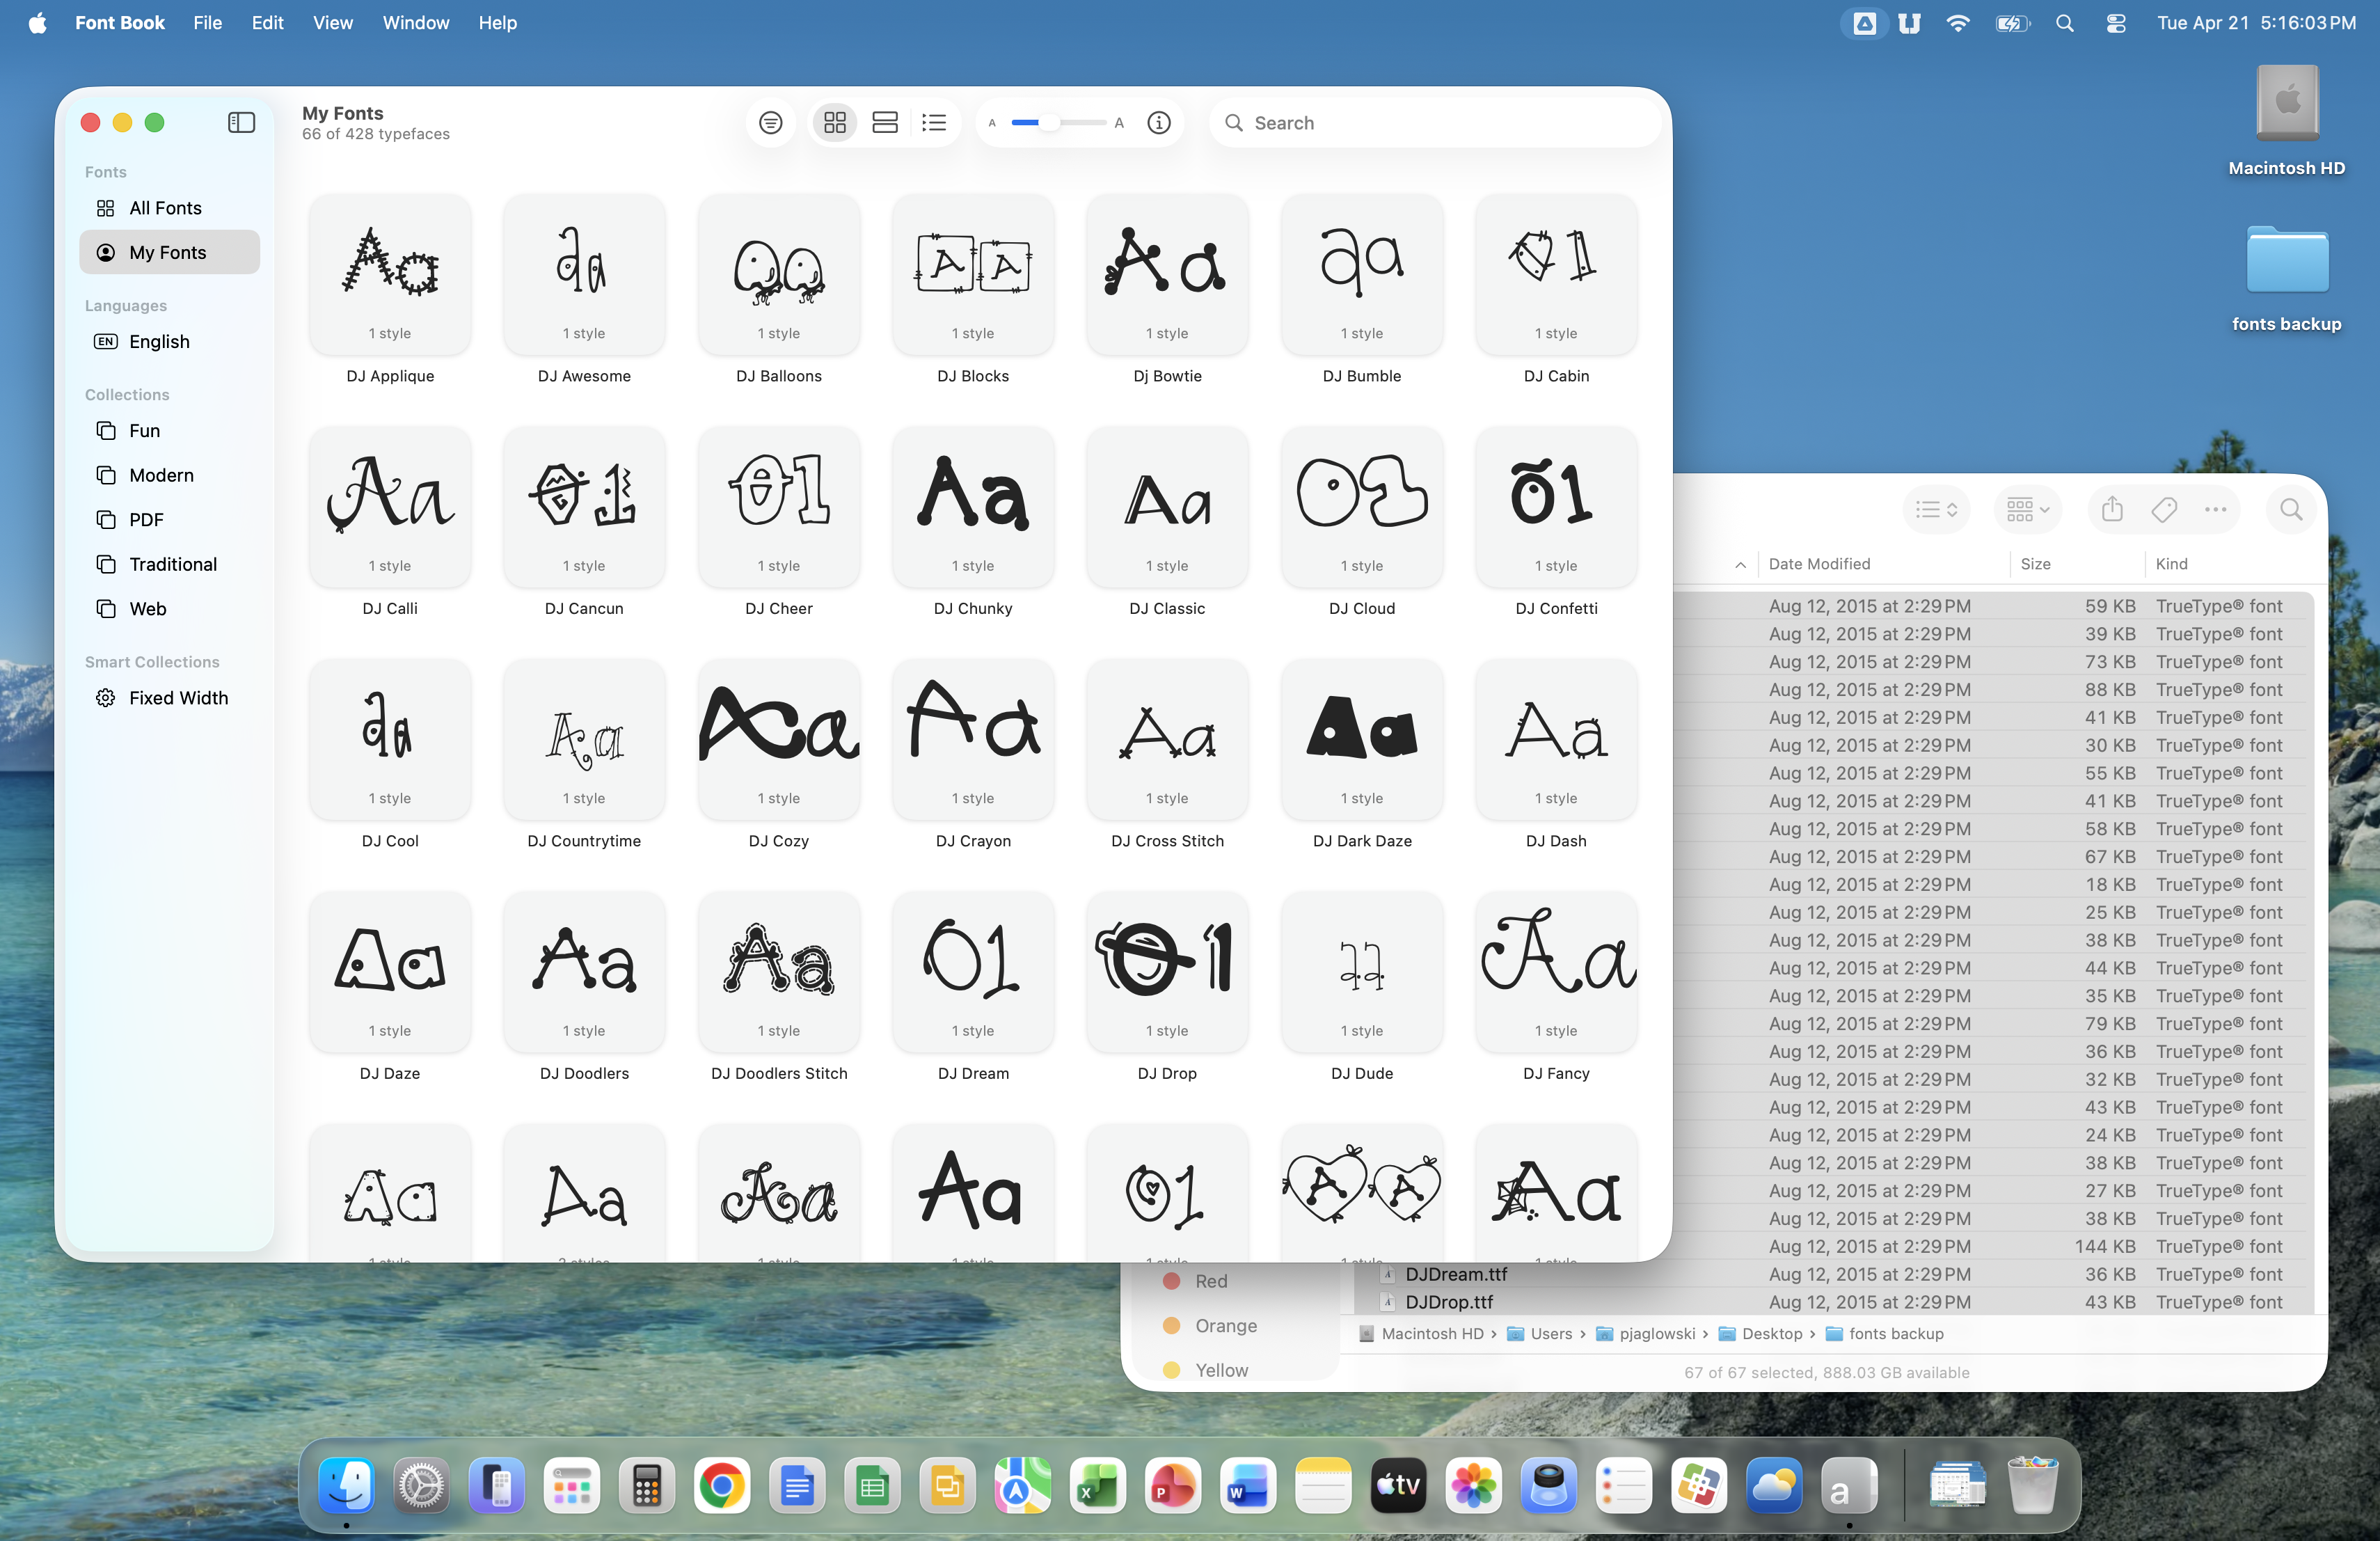
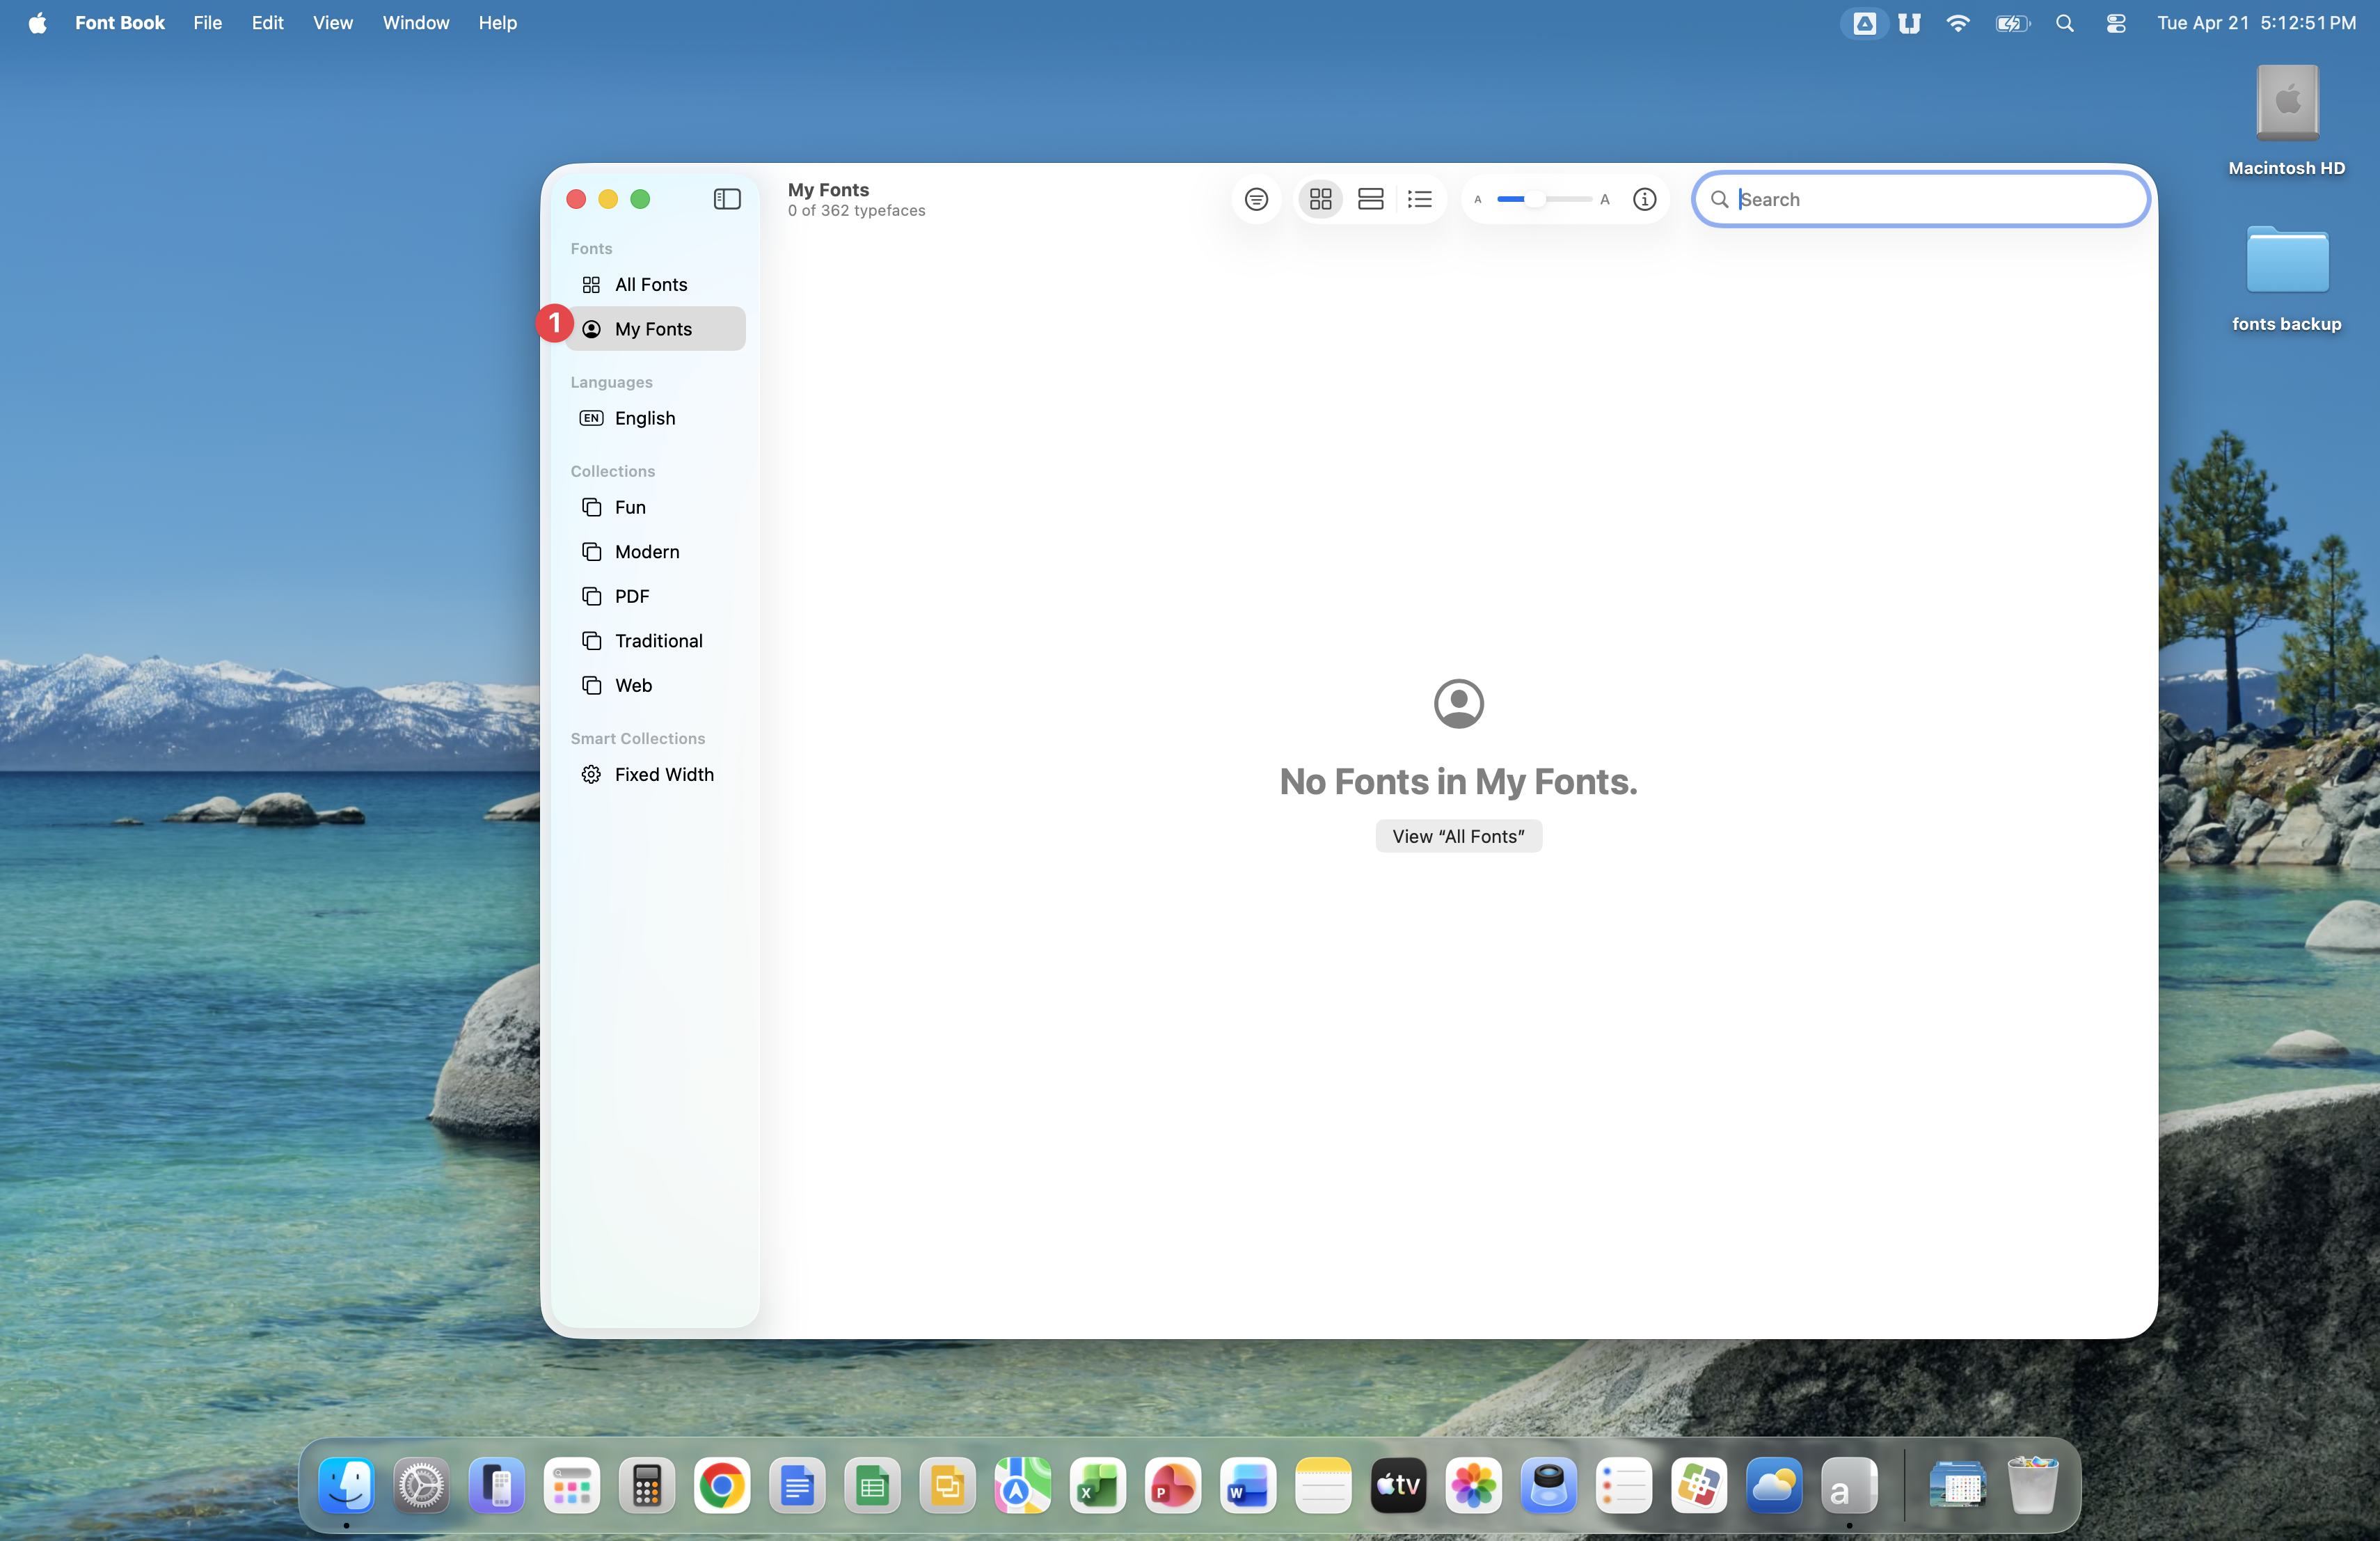
Click on My Fonts. Your new computer will not have any fonts in My Fonts, just like what is shown in the image below.
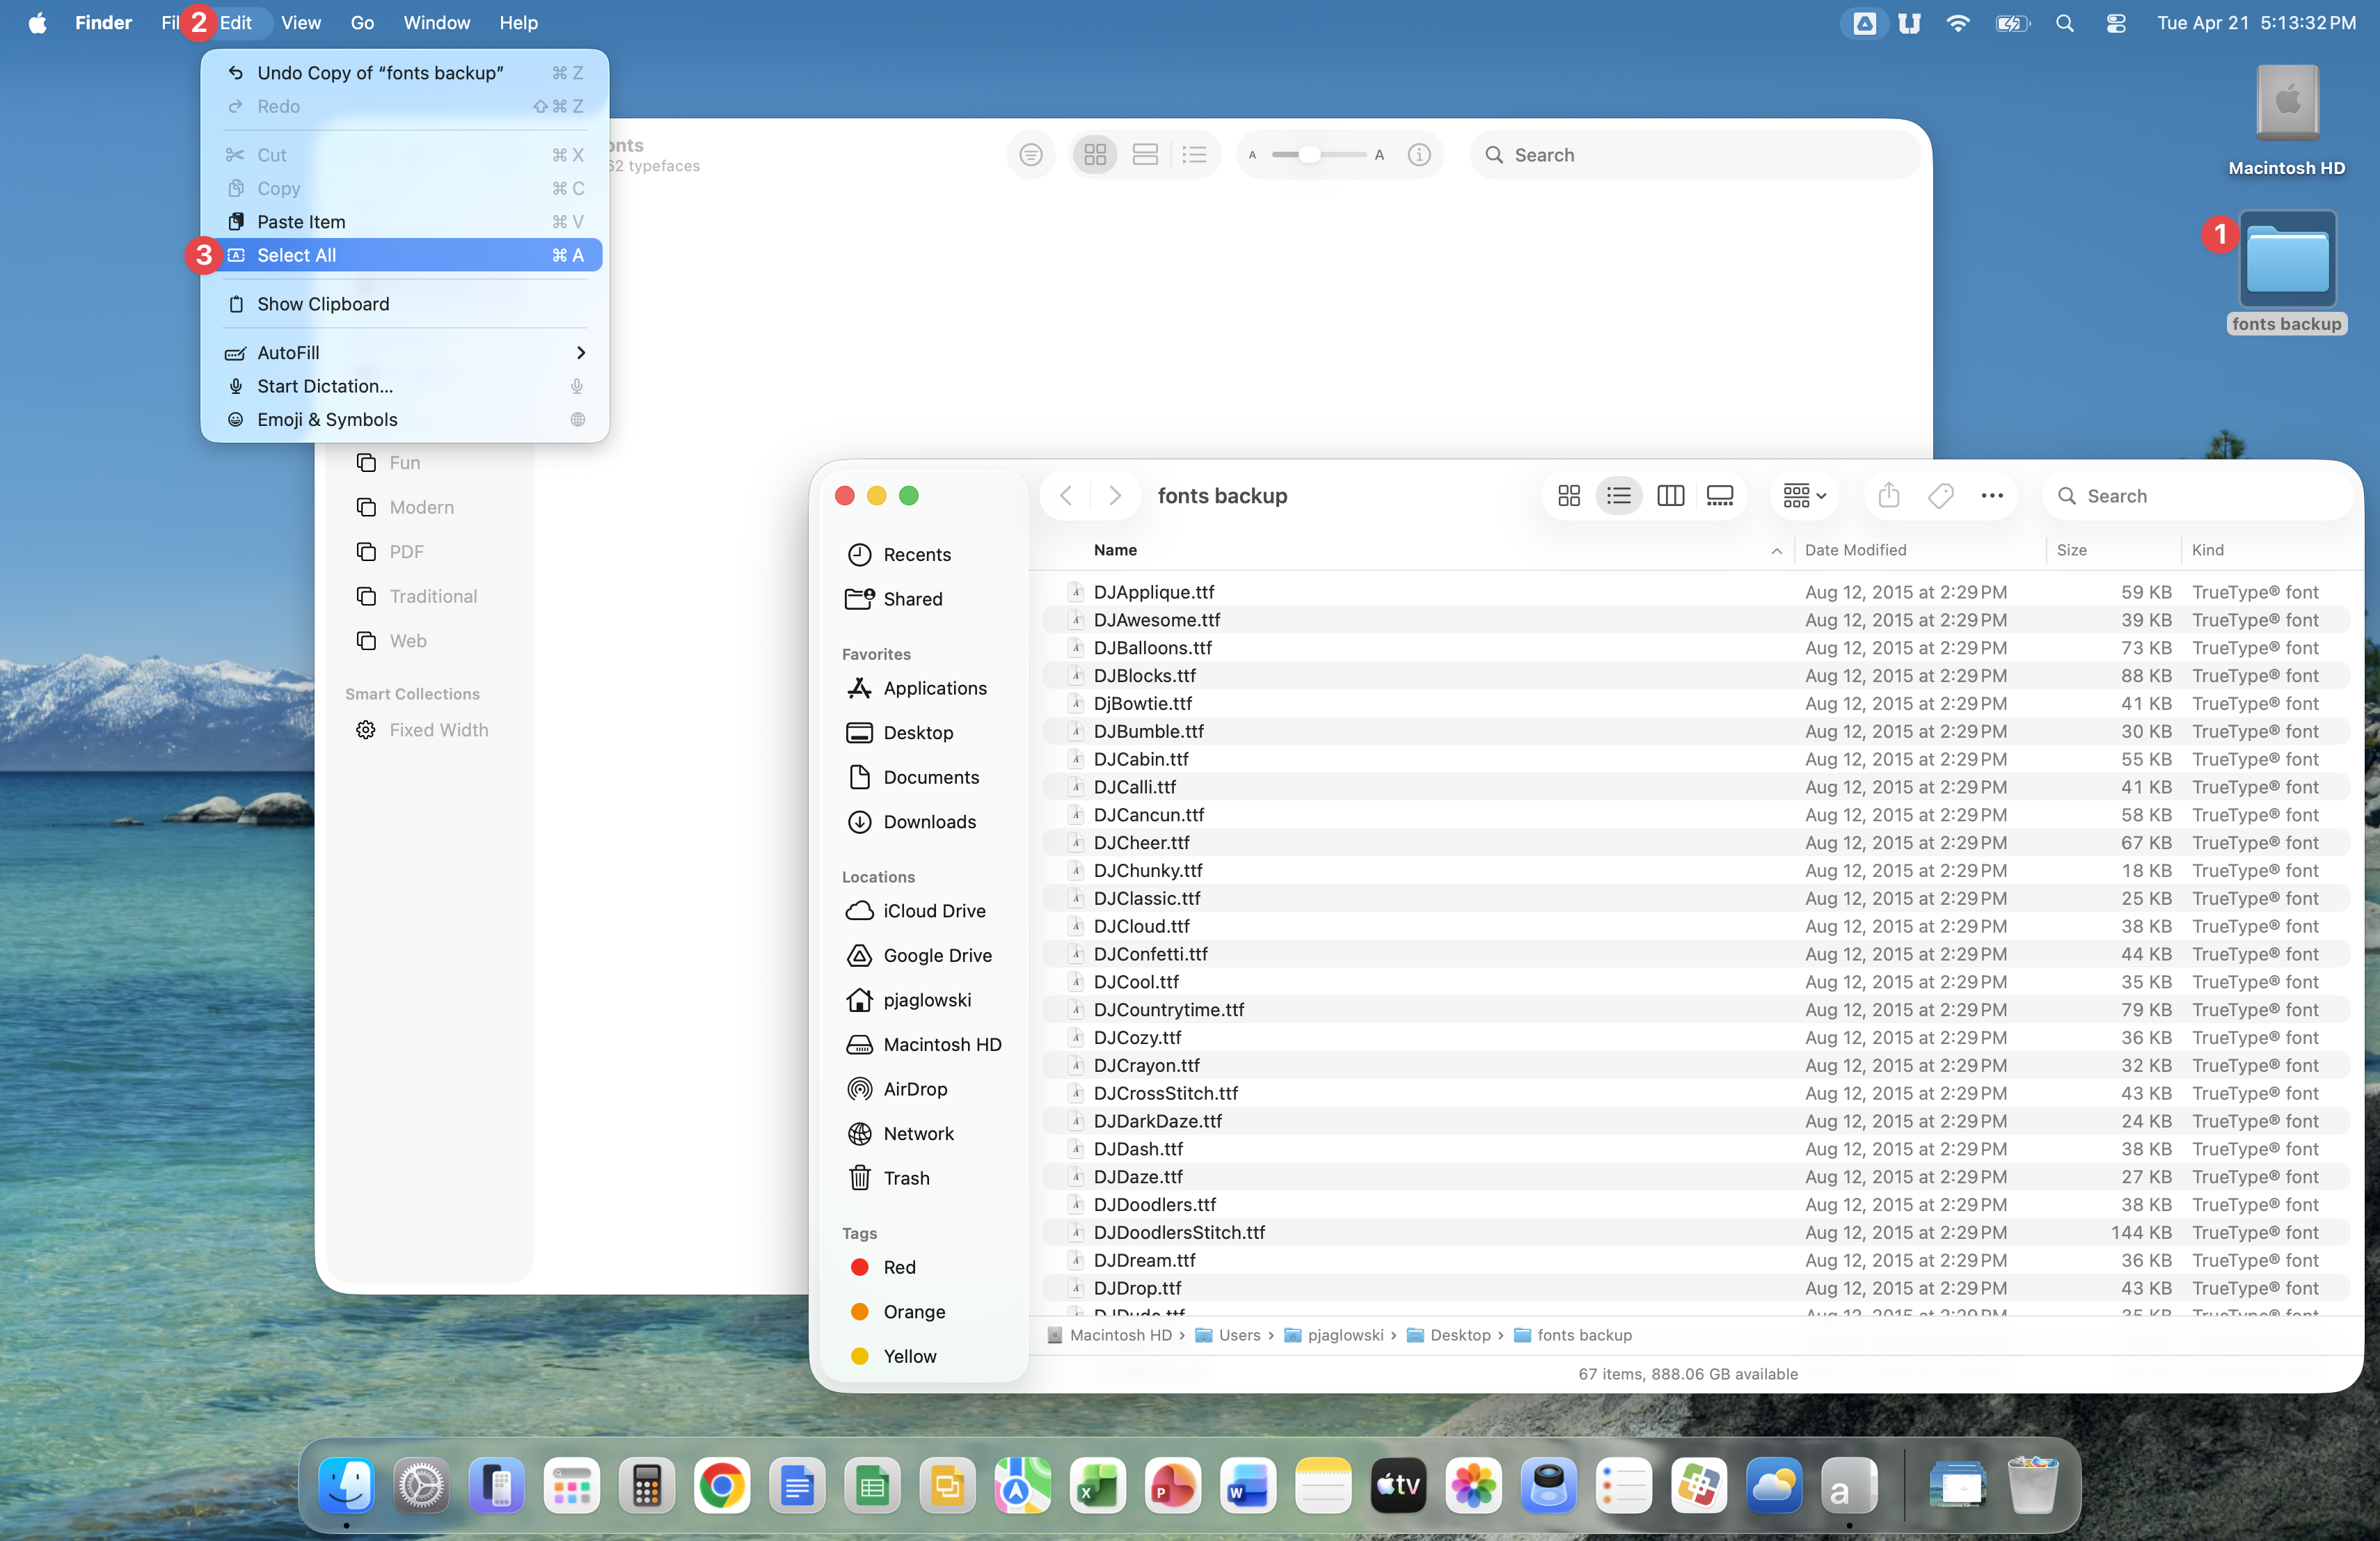
Double-click the fonts backup folder on the desktop to open it. A new window will open revealing the fonts contained in this folder.
Click Edit, then Select All.
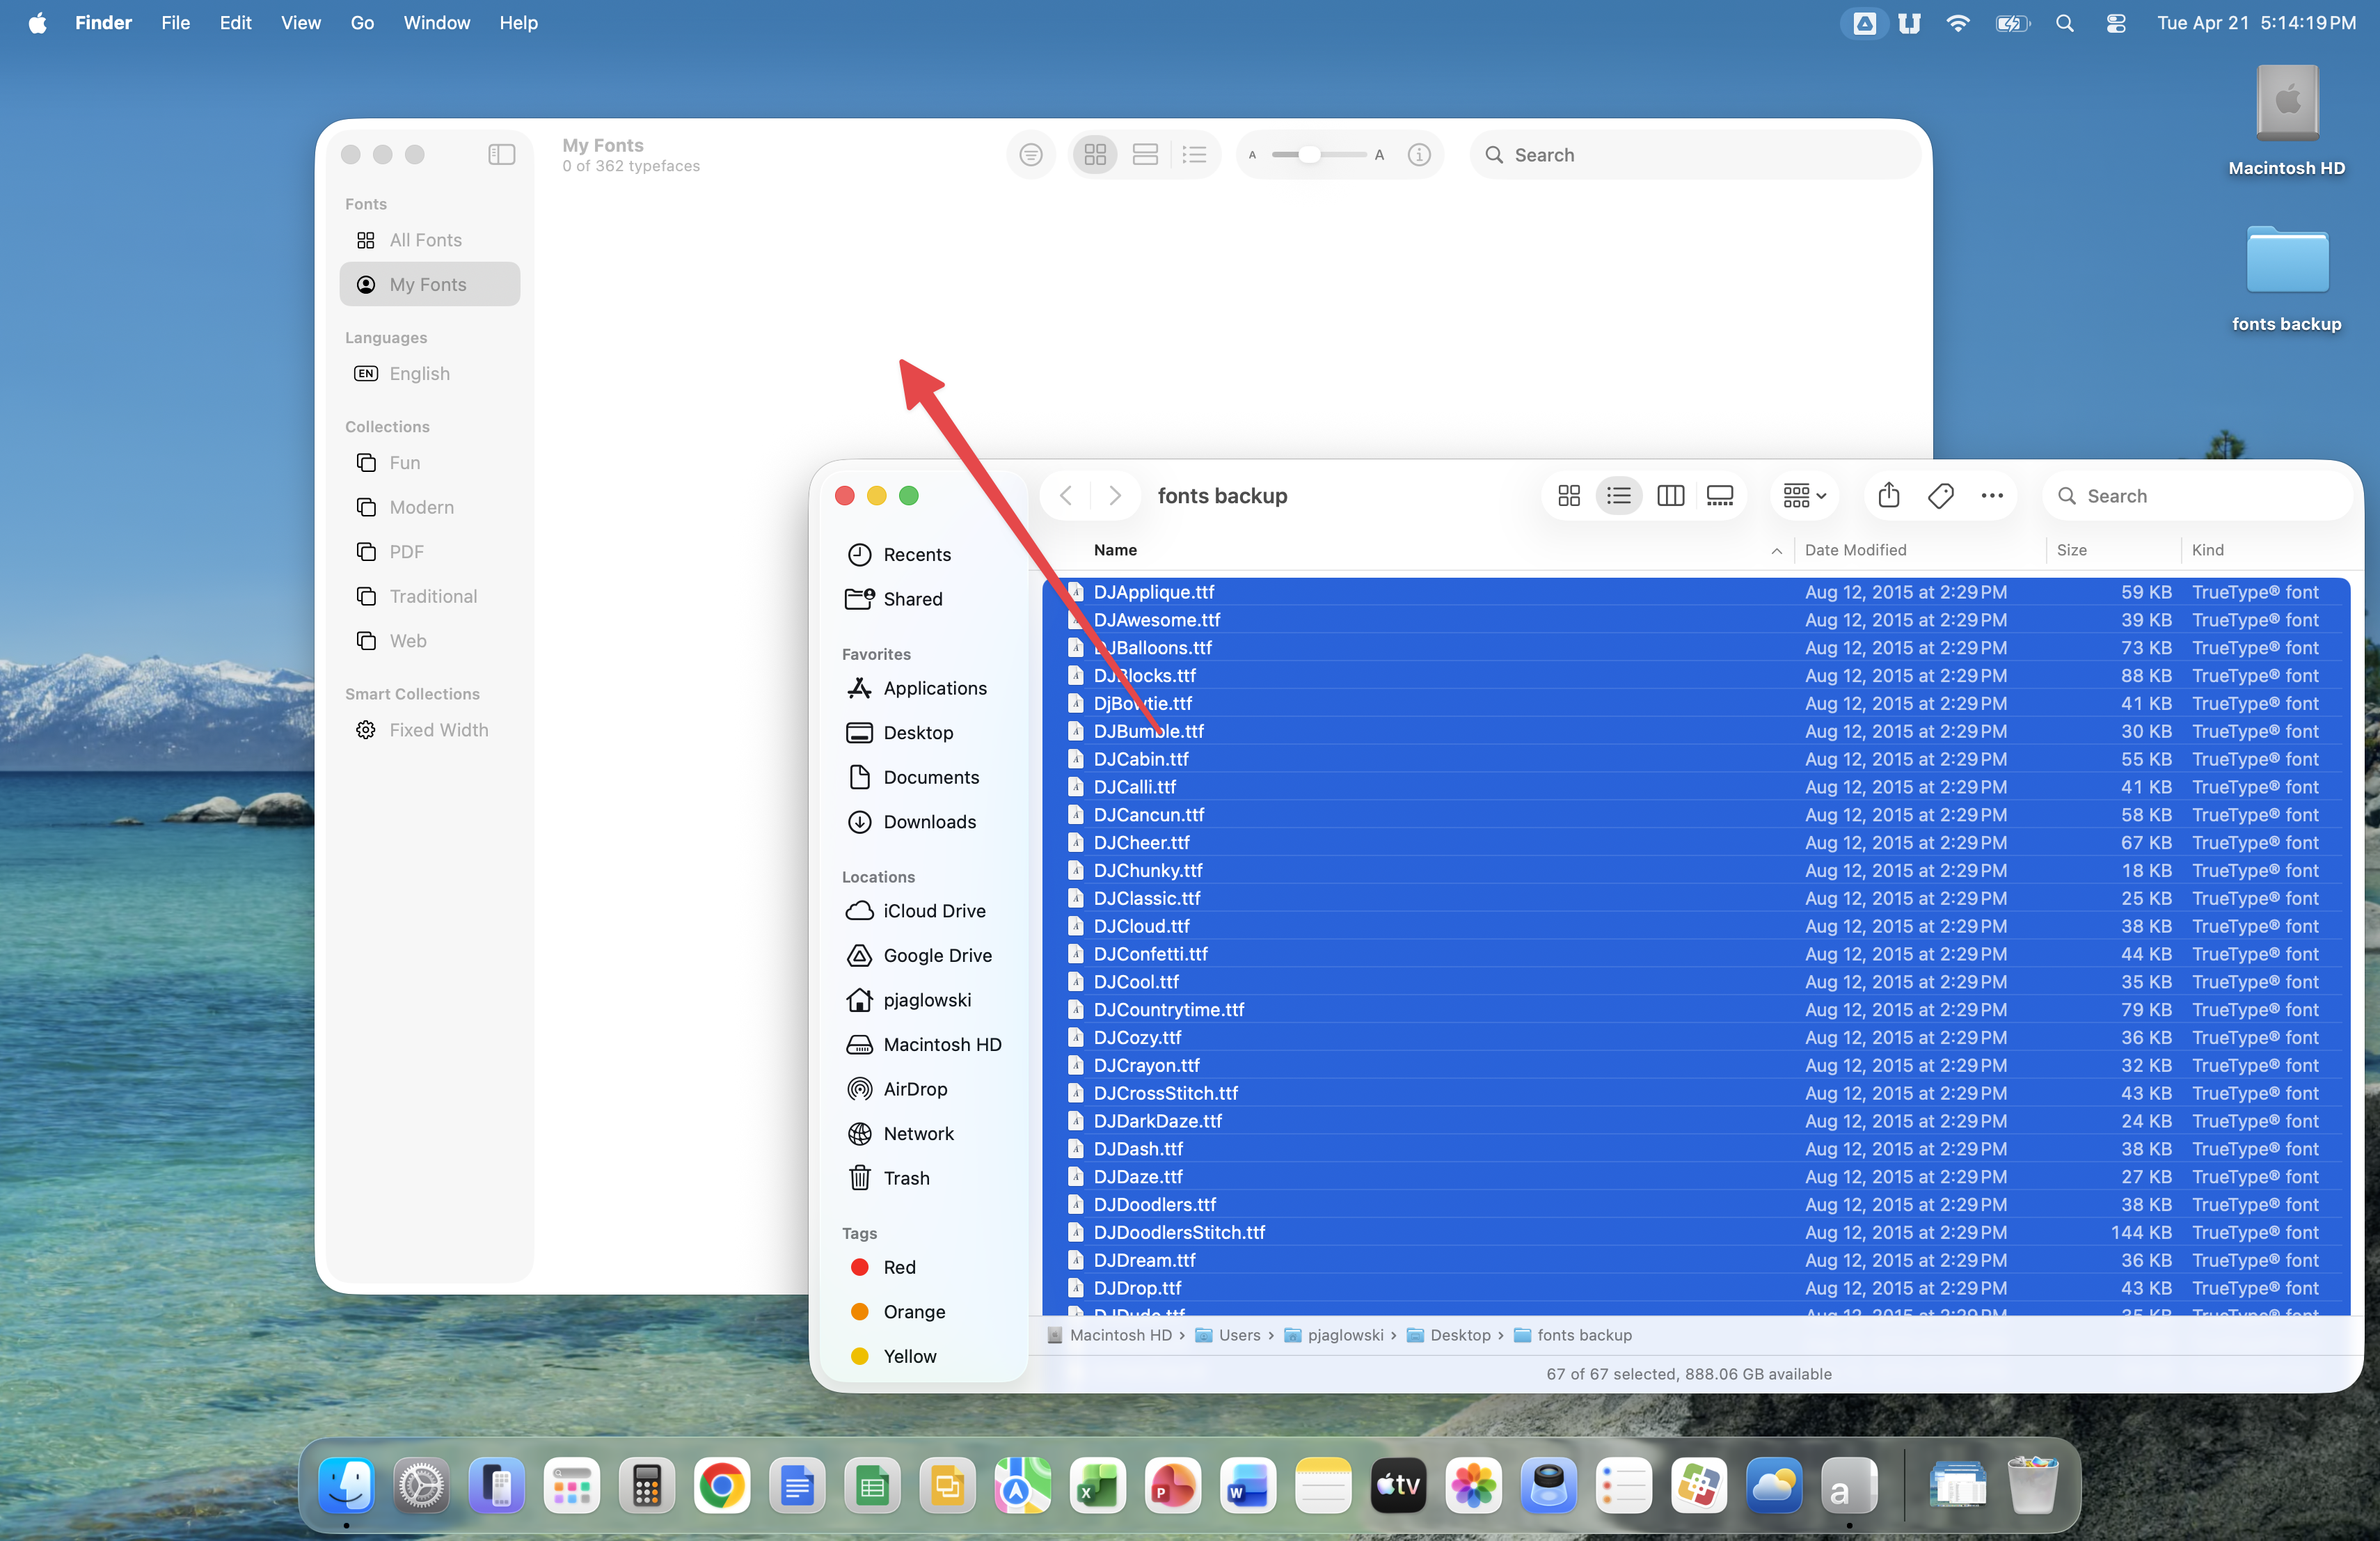
All of the fonts inside the fonts backup folder should now be selected, so your window should look similar to the image below. Click on any of the selected fonts and drag into an empty space in the My Fonts area.
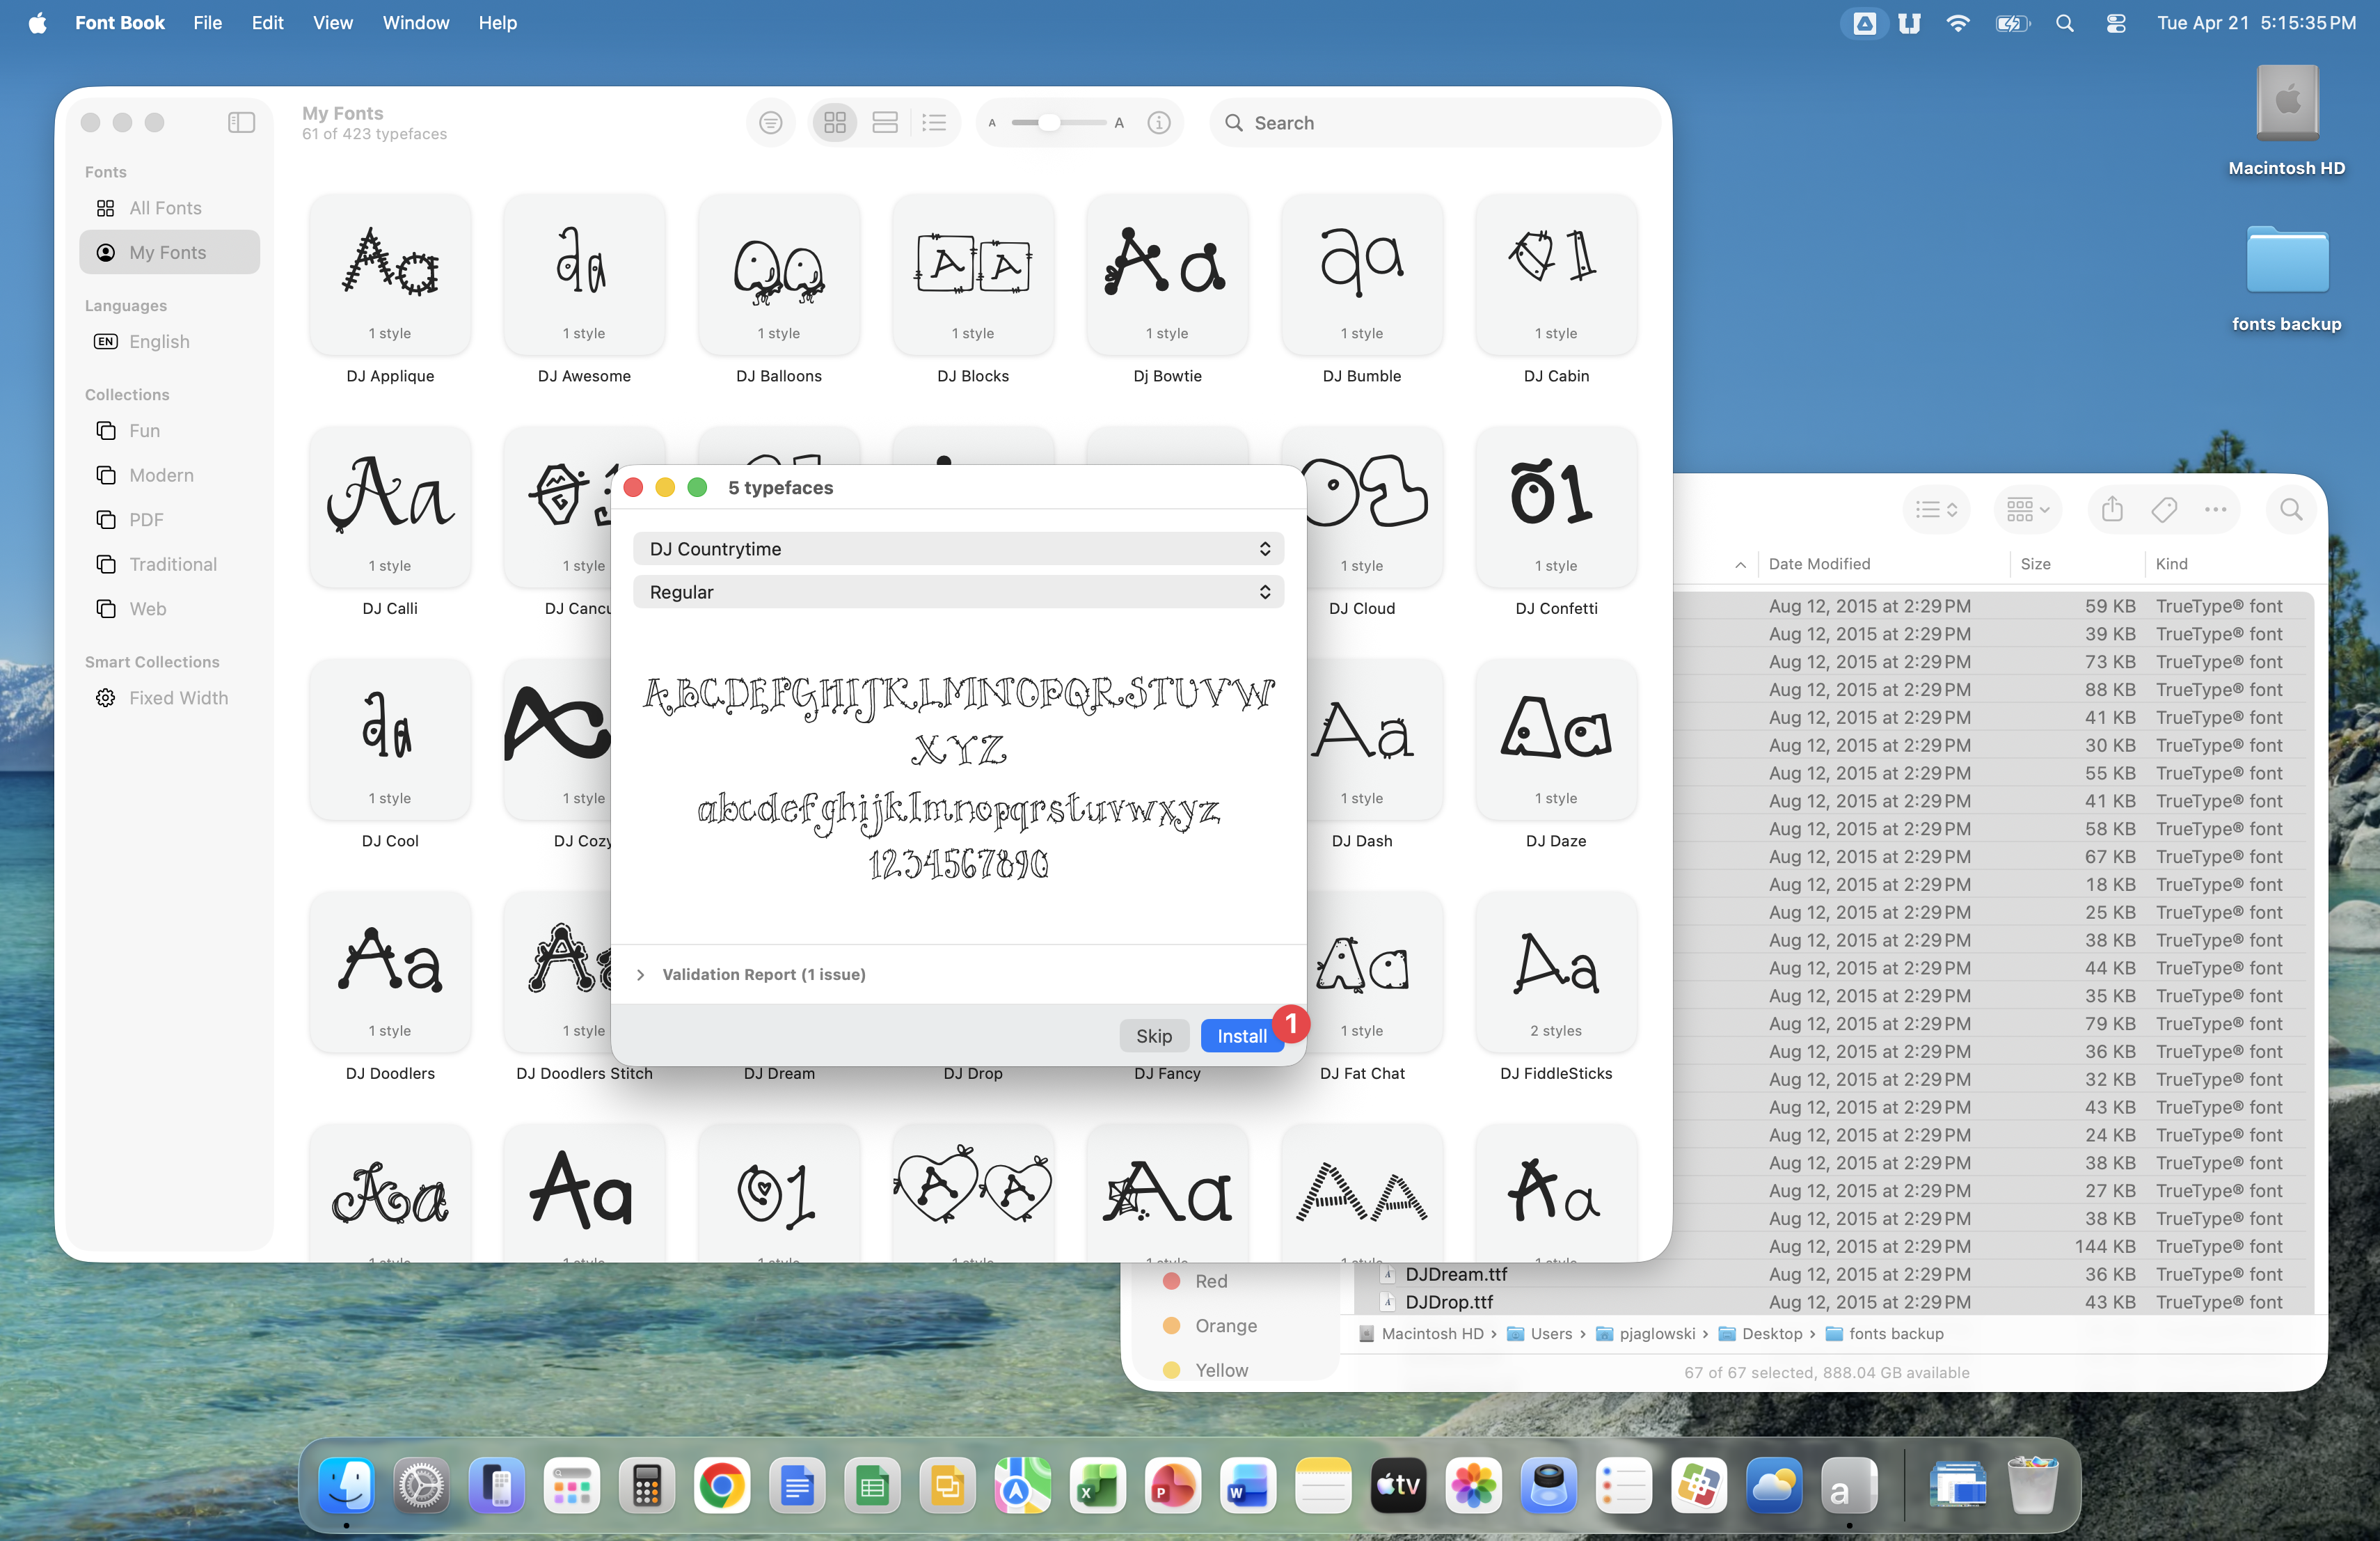
You'll see your fonts inside the My Font area, but you must click the Install button for every typeface being copied. Basically, you must click the Install button until there aren't any more prompts with an install button being presented to you.
Once the copy is complete, you will see all of your fonts in the My Fonts area. These fonts are now ready to use.