
 5542
5542
Changing the name of your Kami Document
There are several ways to change the name and location of a Kami document.
One way to make these changes is through the Kami menu bar. Select the file's name in the Kami menu bar, then change the file's name to whatever you would like. The process is demonstrated below.

From the Kami menu bar, you can also see the location of the Kami document in Google Drive. In the example below, the Kami document is located in (1) Google Drive in the (2) Kami Uploads folder.

Kami Created Folders
Kami saves its files in two main folders in your Google Drive - Kami Uploads and Kami.
Kami Uploads contains all the files that you have uploaded into Kami. The Kami Uploads folder has no folder structure, but you can create one.

The Kami folder contains any Kami-assigned Canvas assignments you submitted via Canvas. These are assignments in Canvas that have opened directly into Kami, and you submit the assignment directly from Kami.
A folder structure for the Kami folder is automatically created using the Canvas class name and assignment name.
Moving and Organizing your Kami Documents from Inside Kami
To move the location of a Kami document in Google Drive, select the location; then, a window will appear with your Google Drive. Locate the folder you want to move the Kami document to, then tap “Select” to move the Kami document to a new location. You must create the folders you want to use in Google Drive first before you can save Kami documents in them. You can set up any organizational structure you would like either in the Kami Uploads folder or in your Google Drive. Once you move your file, the location is updated in the Kami menu bar.
If you imported a file into Kami, please note that this process moves the Kami document you are working on and not the original file you imported.
The process is demonstrated below.

Organizing your files using Google Drive
Use the Files App on the Chromebook to create folders in Google Drive to organize your documents.
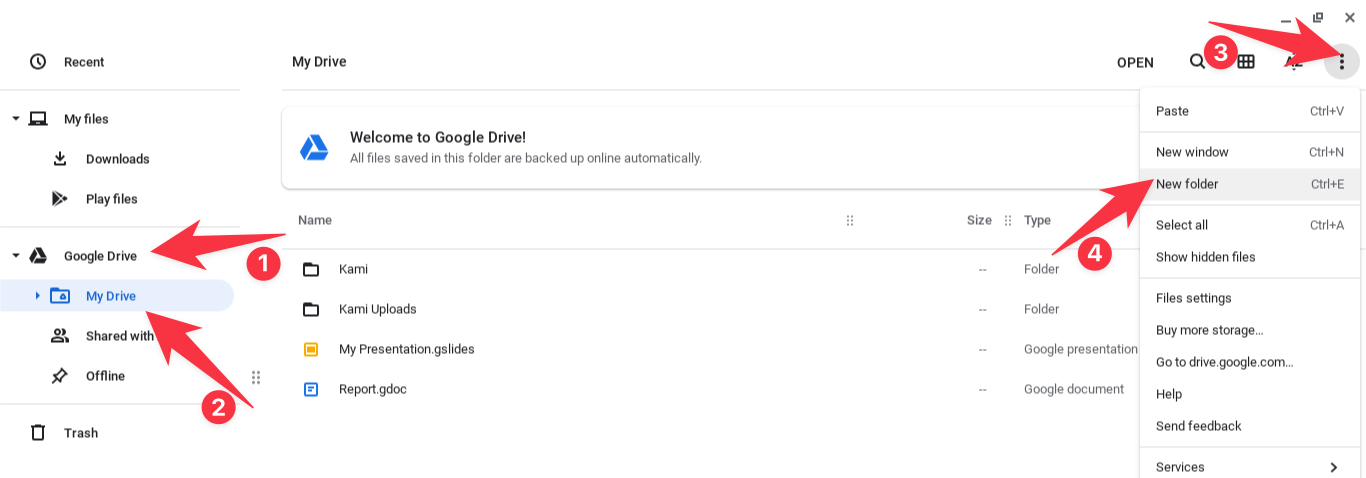
To create a folder, select the Google Drive icon on the left side, then “My Drive,” then select the kebab (three stacked dots) in the upper right corner, then select “New Folder” from the drop-down menu.
You can also use the keyboard shortcut to create a new folder. First, select the location you would like the folder, and hold the <Ctrl> and <E> on your keyboard to create a new folder.
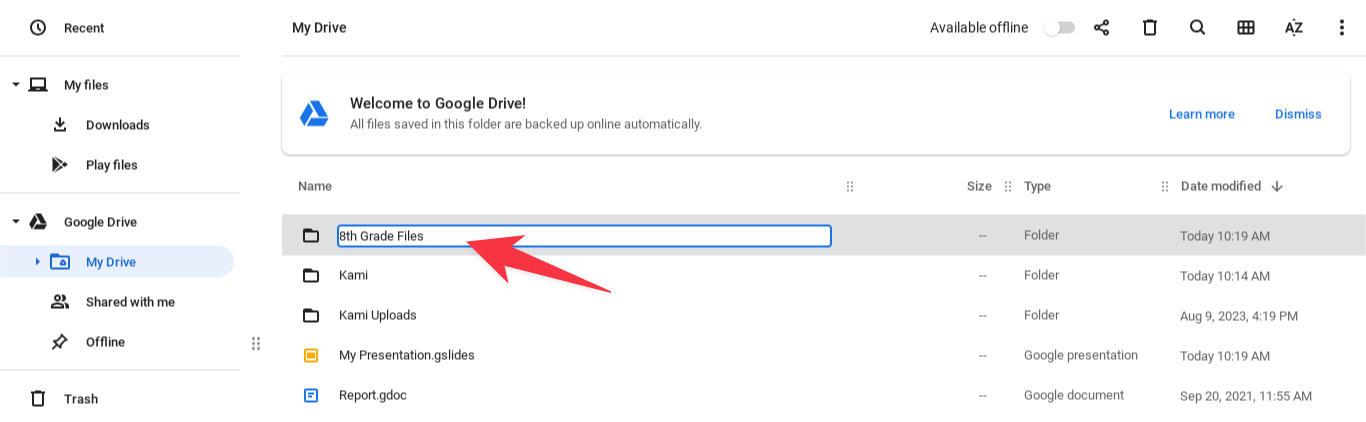
Once the folder is created, you can name it whatever you would like.
You can also create folders inside of folders using the same process.
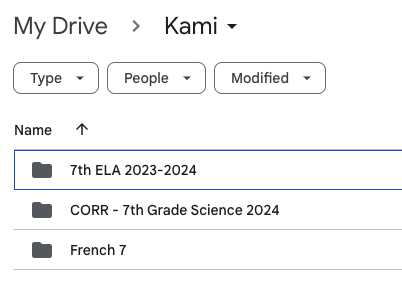
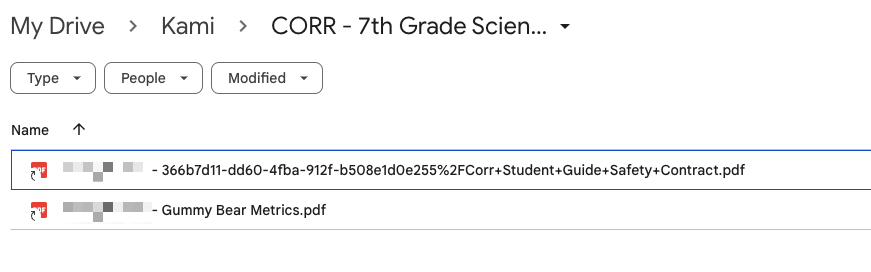
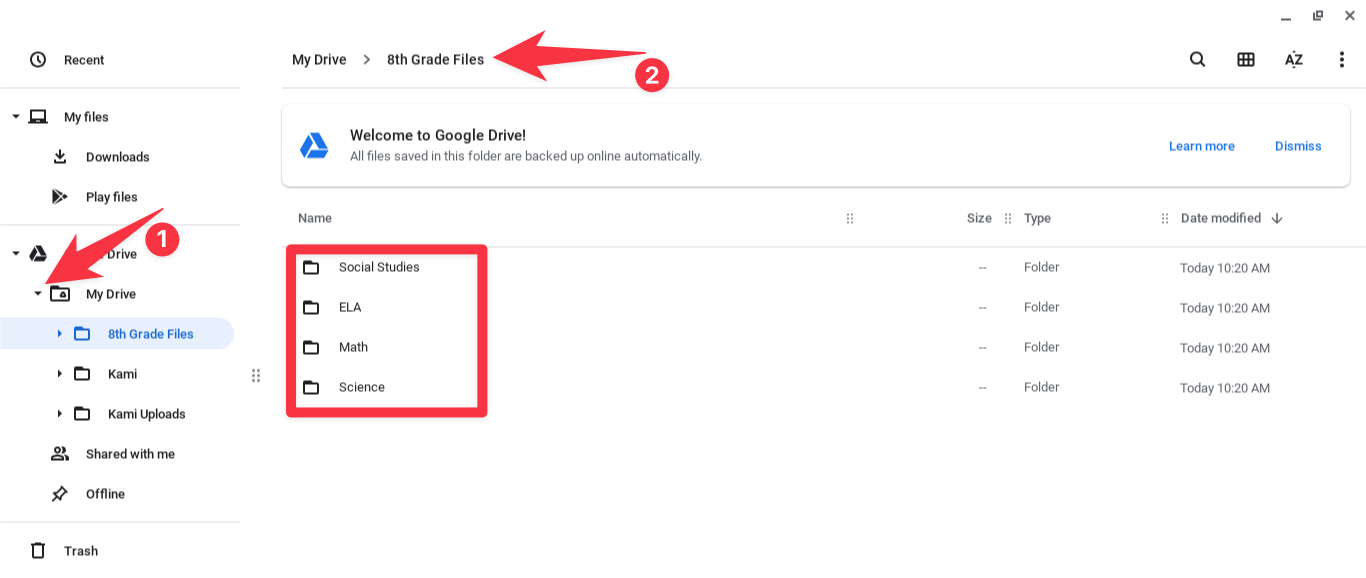
In the Files App, if you use the drop-down arrow next to a folder, you can see the folders inside that folder. There is also a “breadcrumb trail” across the top of the Files App to show you what folder you are currently in.
To move a file into or out of a folder, select that file, drag it to the folder you want to move it into, and then release it. If you have multiple folders, you can do this for every folder to move the file to the desired location. The process is demonstrated below.

If you expand the folders on the left side of the File App, you can also drag your file directly into the folder, as demonstrated below.


