
 651
651
This tutorial will show you how to set up your Mac. Once you reach the end of this guide, you will find additional information related to setting up your Mac that are not covered in this article. Also, please note that the USC Technology Department manages your Mac, so you will occasionally encounter messages regarding software updates, configuration changes and reboot requests.
Before logging into your Mac, you must have previously set up your SSO account. Instructions on setting up your SSO account are included in the Technology Department onboarding message sent to the email address used during your Human Resources Department onboarding (https://support.uscsd.k12.pa.us/kb/article/735-getting-started-with-your-single-sign-on-sso-account/).
If you are not sure what a SSO account is, please see the following article in the Technology Department Knowledge Base, then return to these instructions.
https://support.uscsd.k12.pa.us/kb/article/312-what-is-a-single-sign-on-sso-account/
Once your SSO account is set up, you will use this account to sign into your Mac.
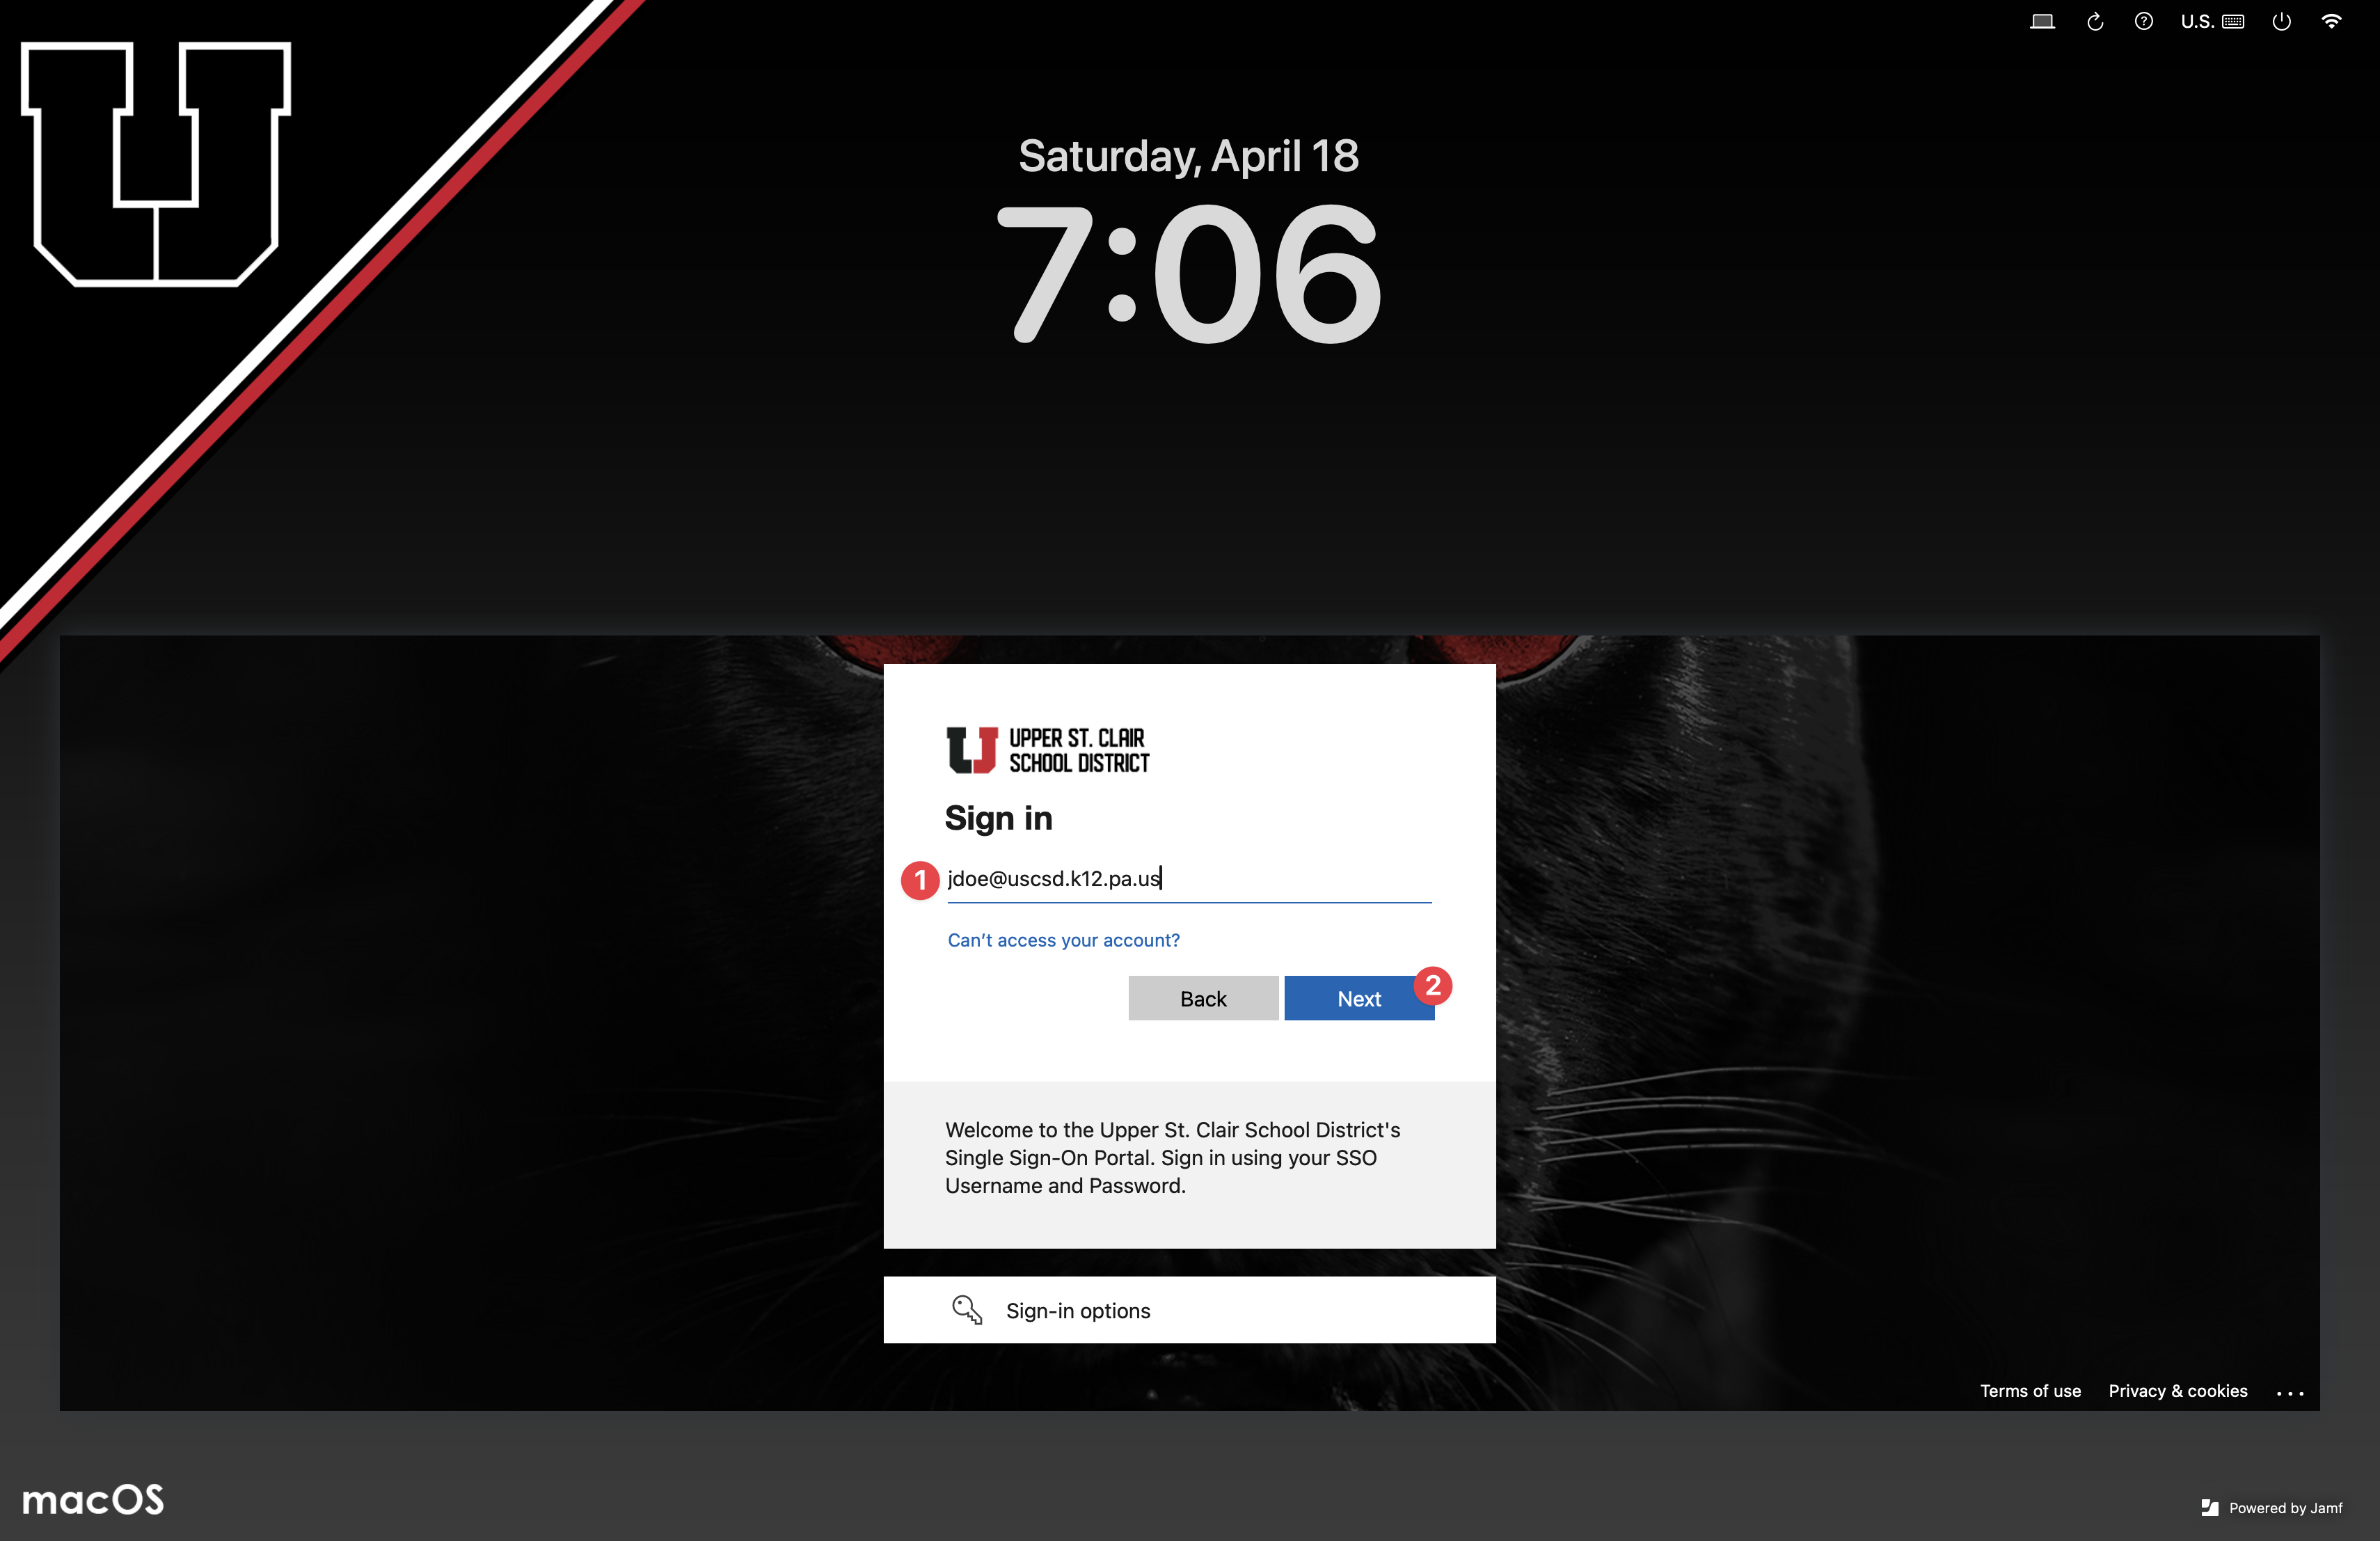
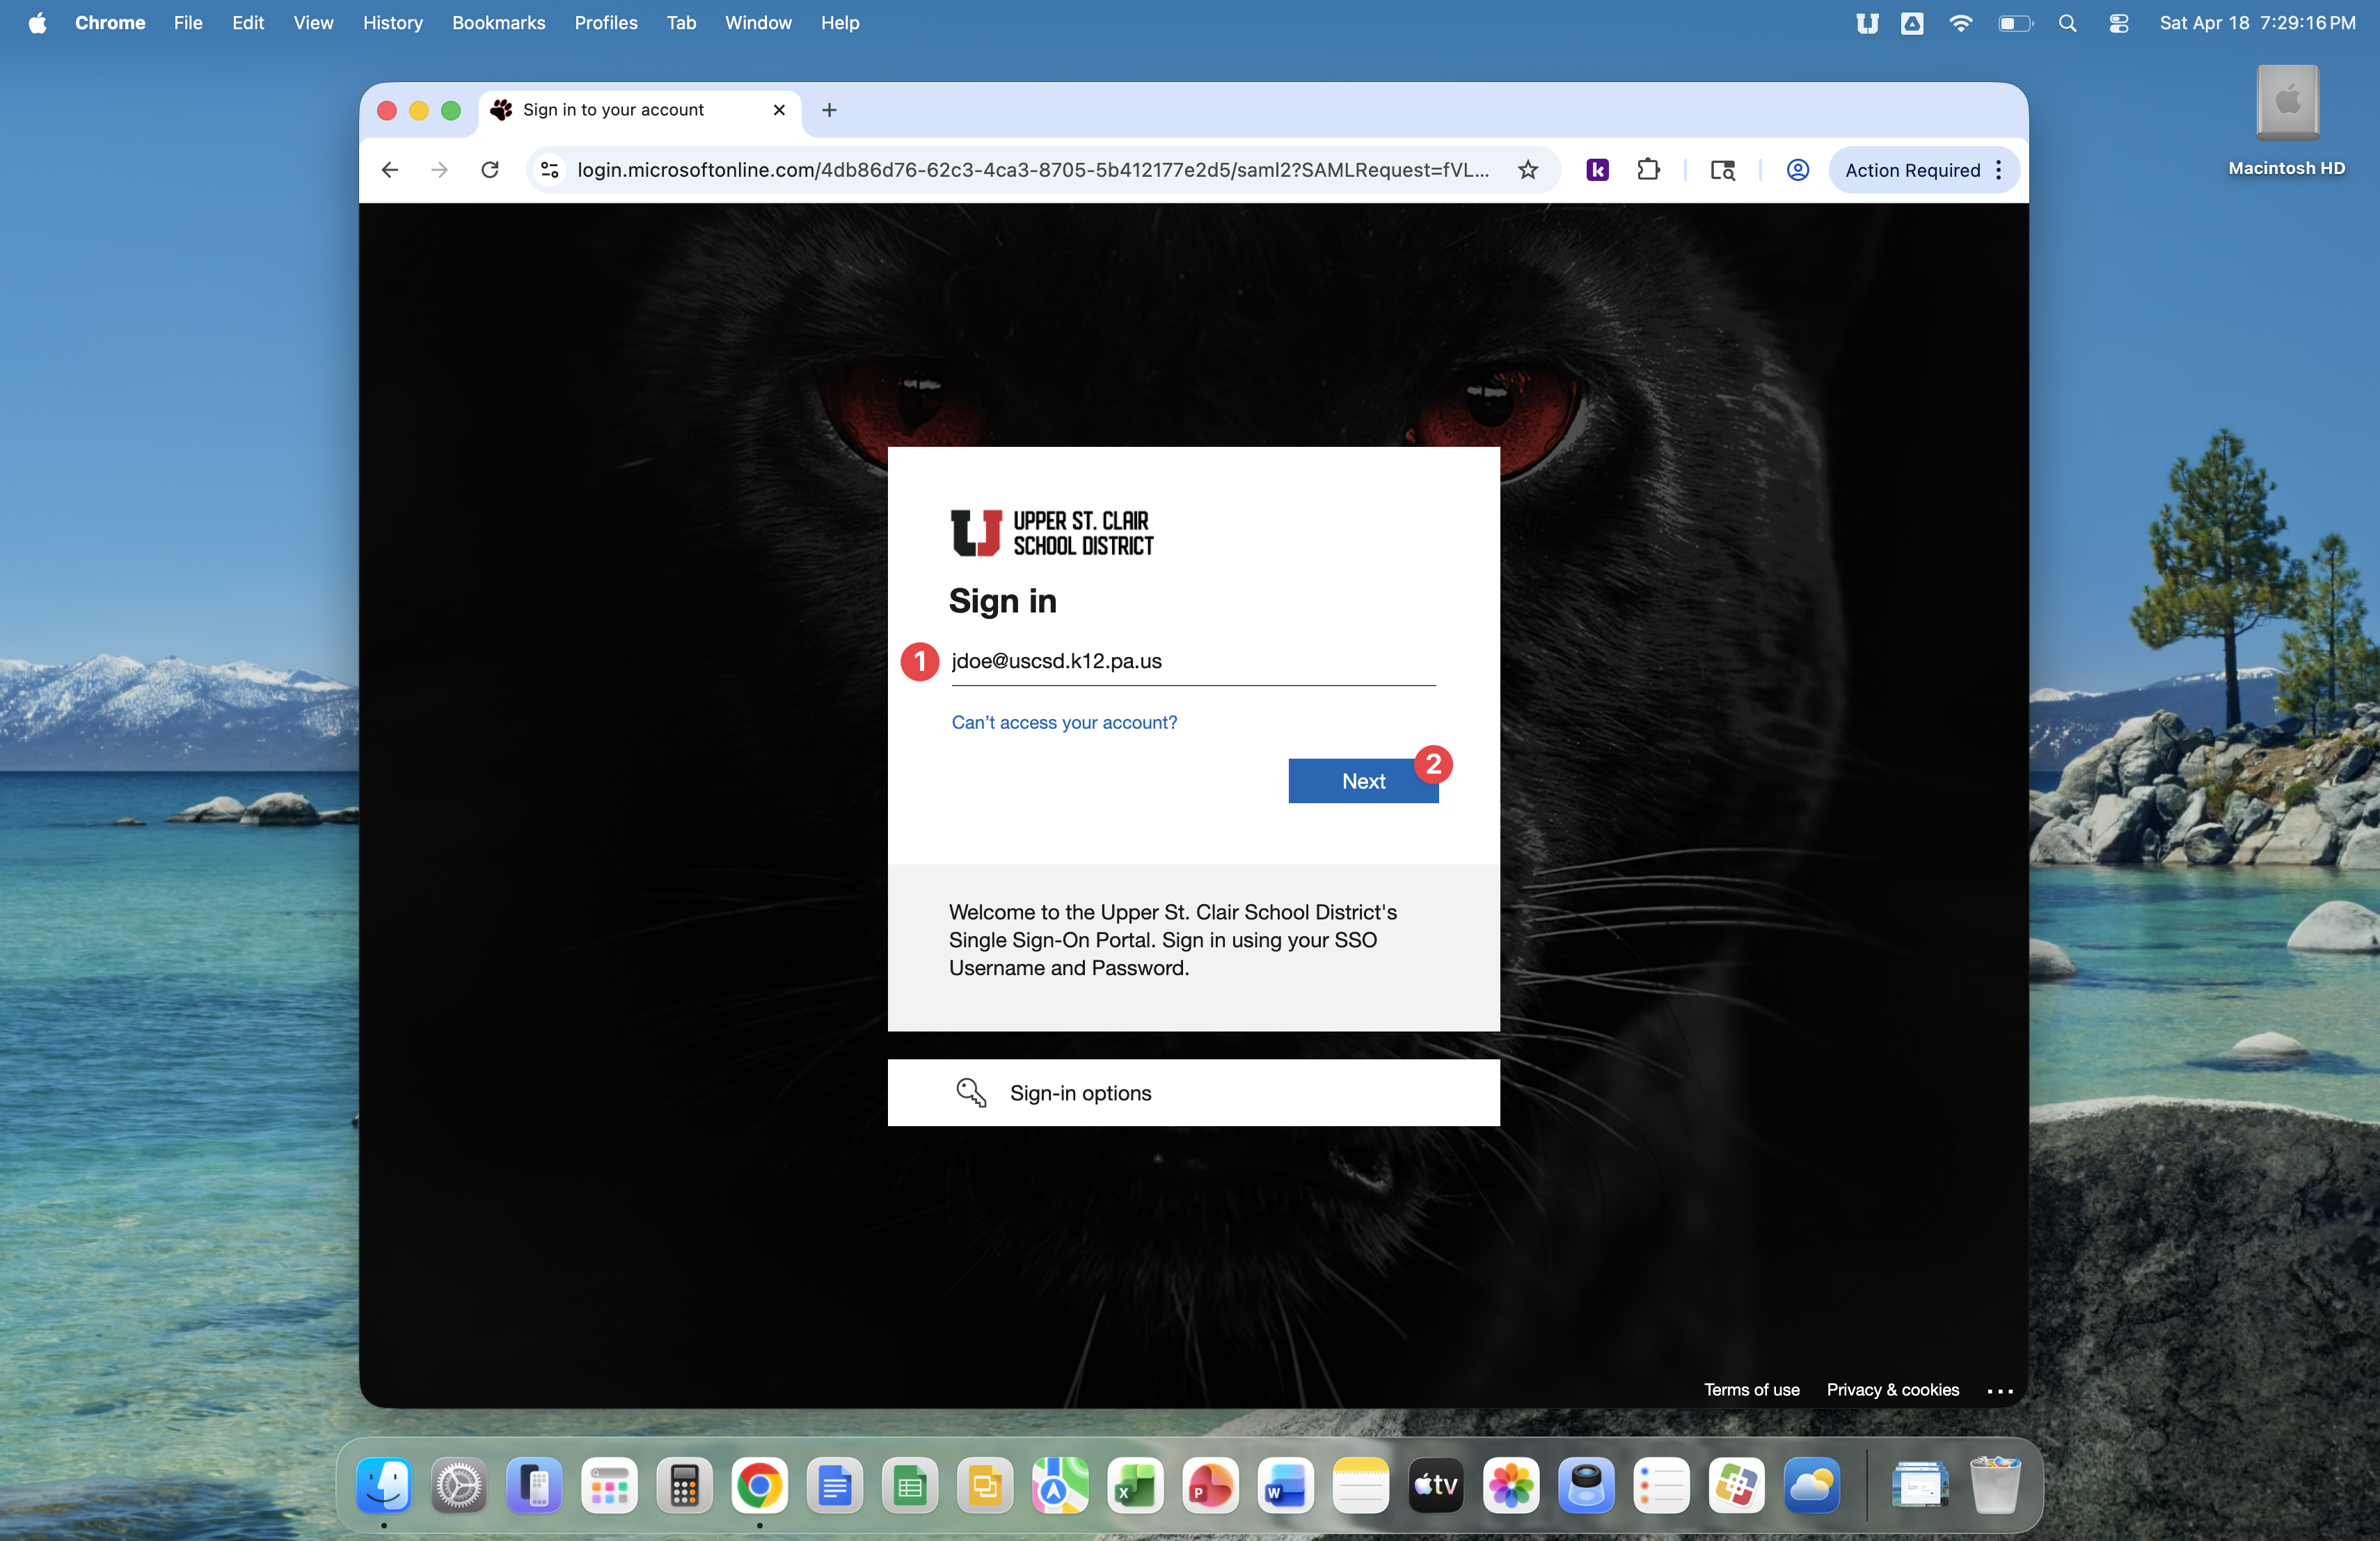
Enter your SSO account username then click the Next button.
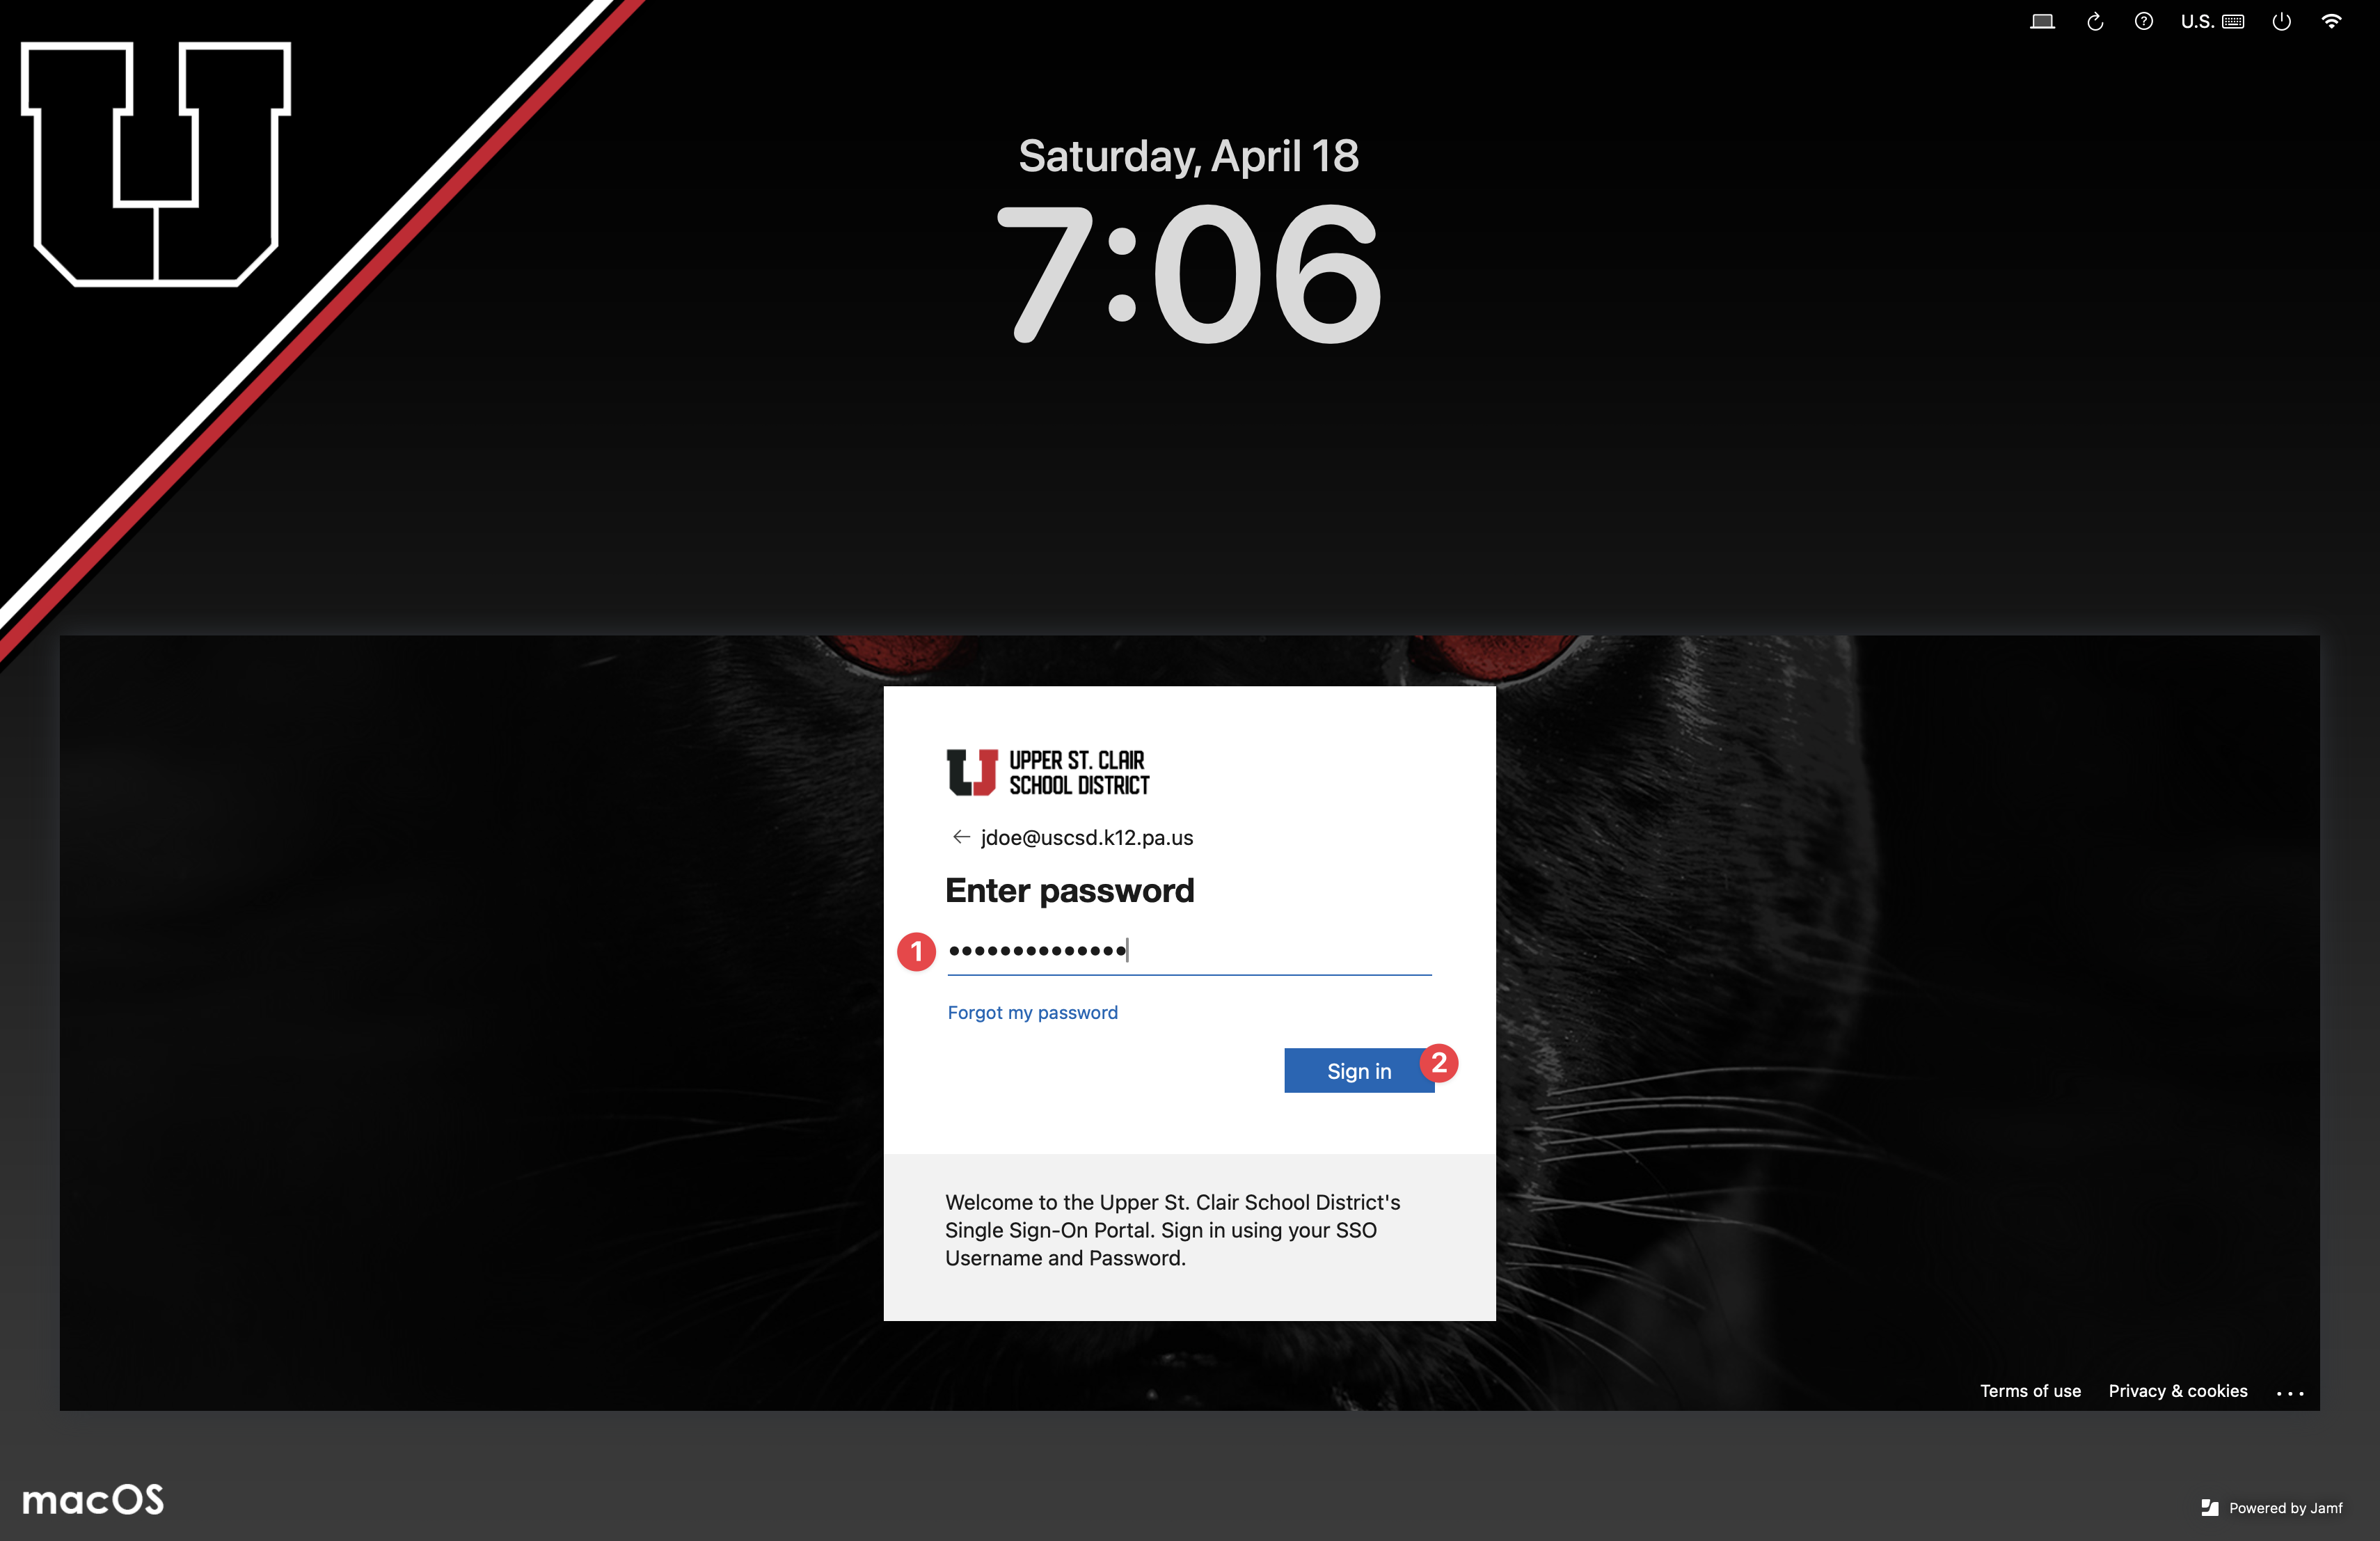
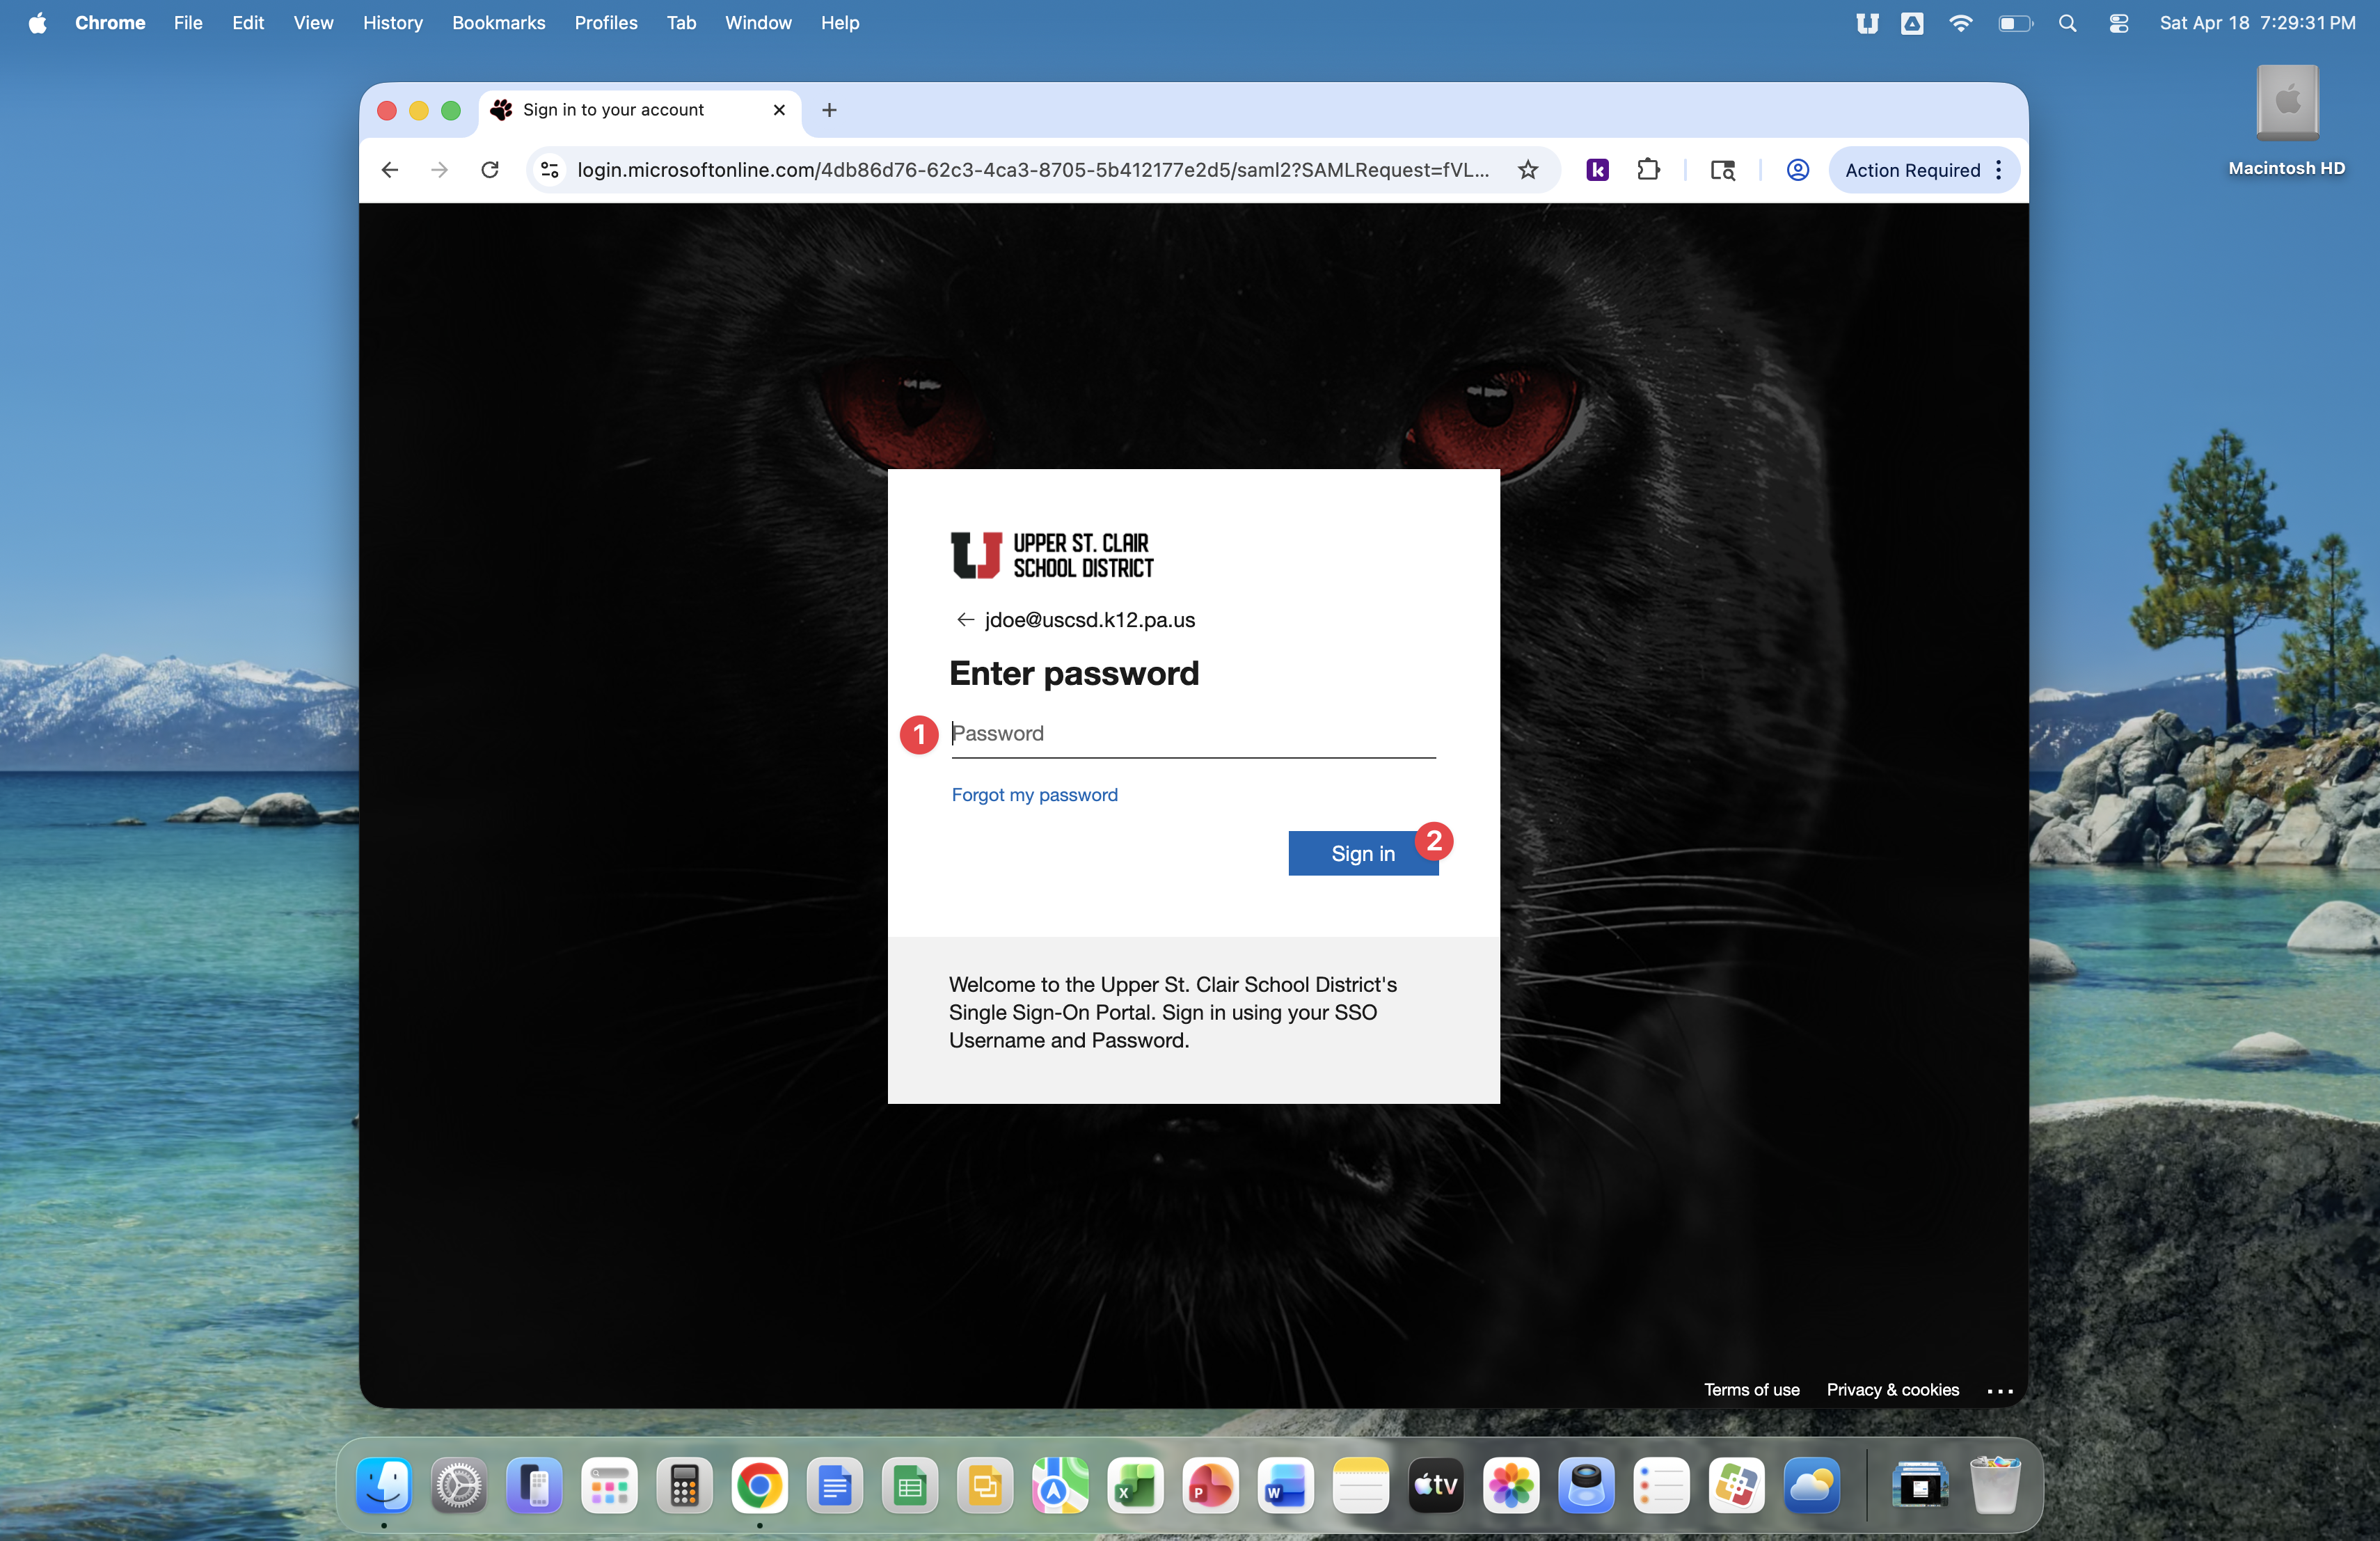
Enter your SSO account password then click the Sign in button.
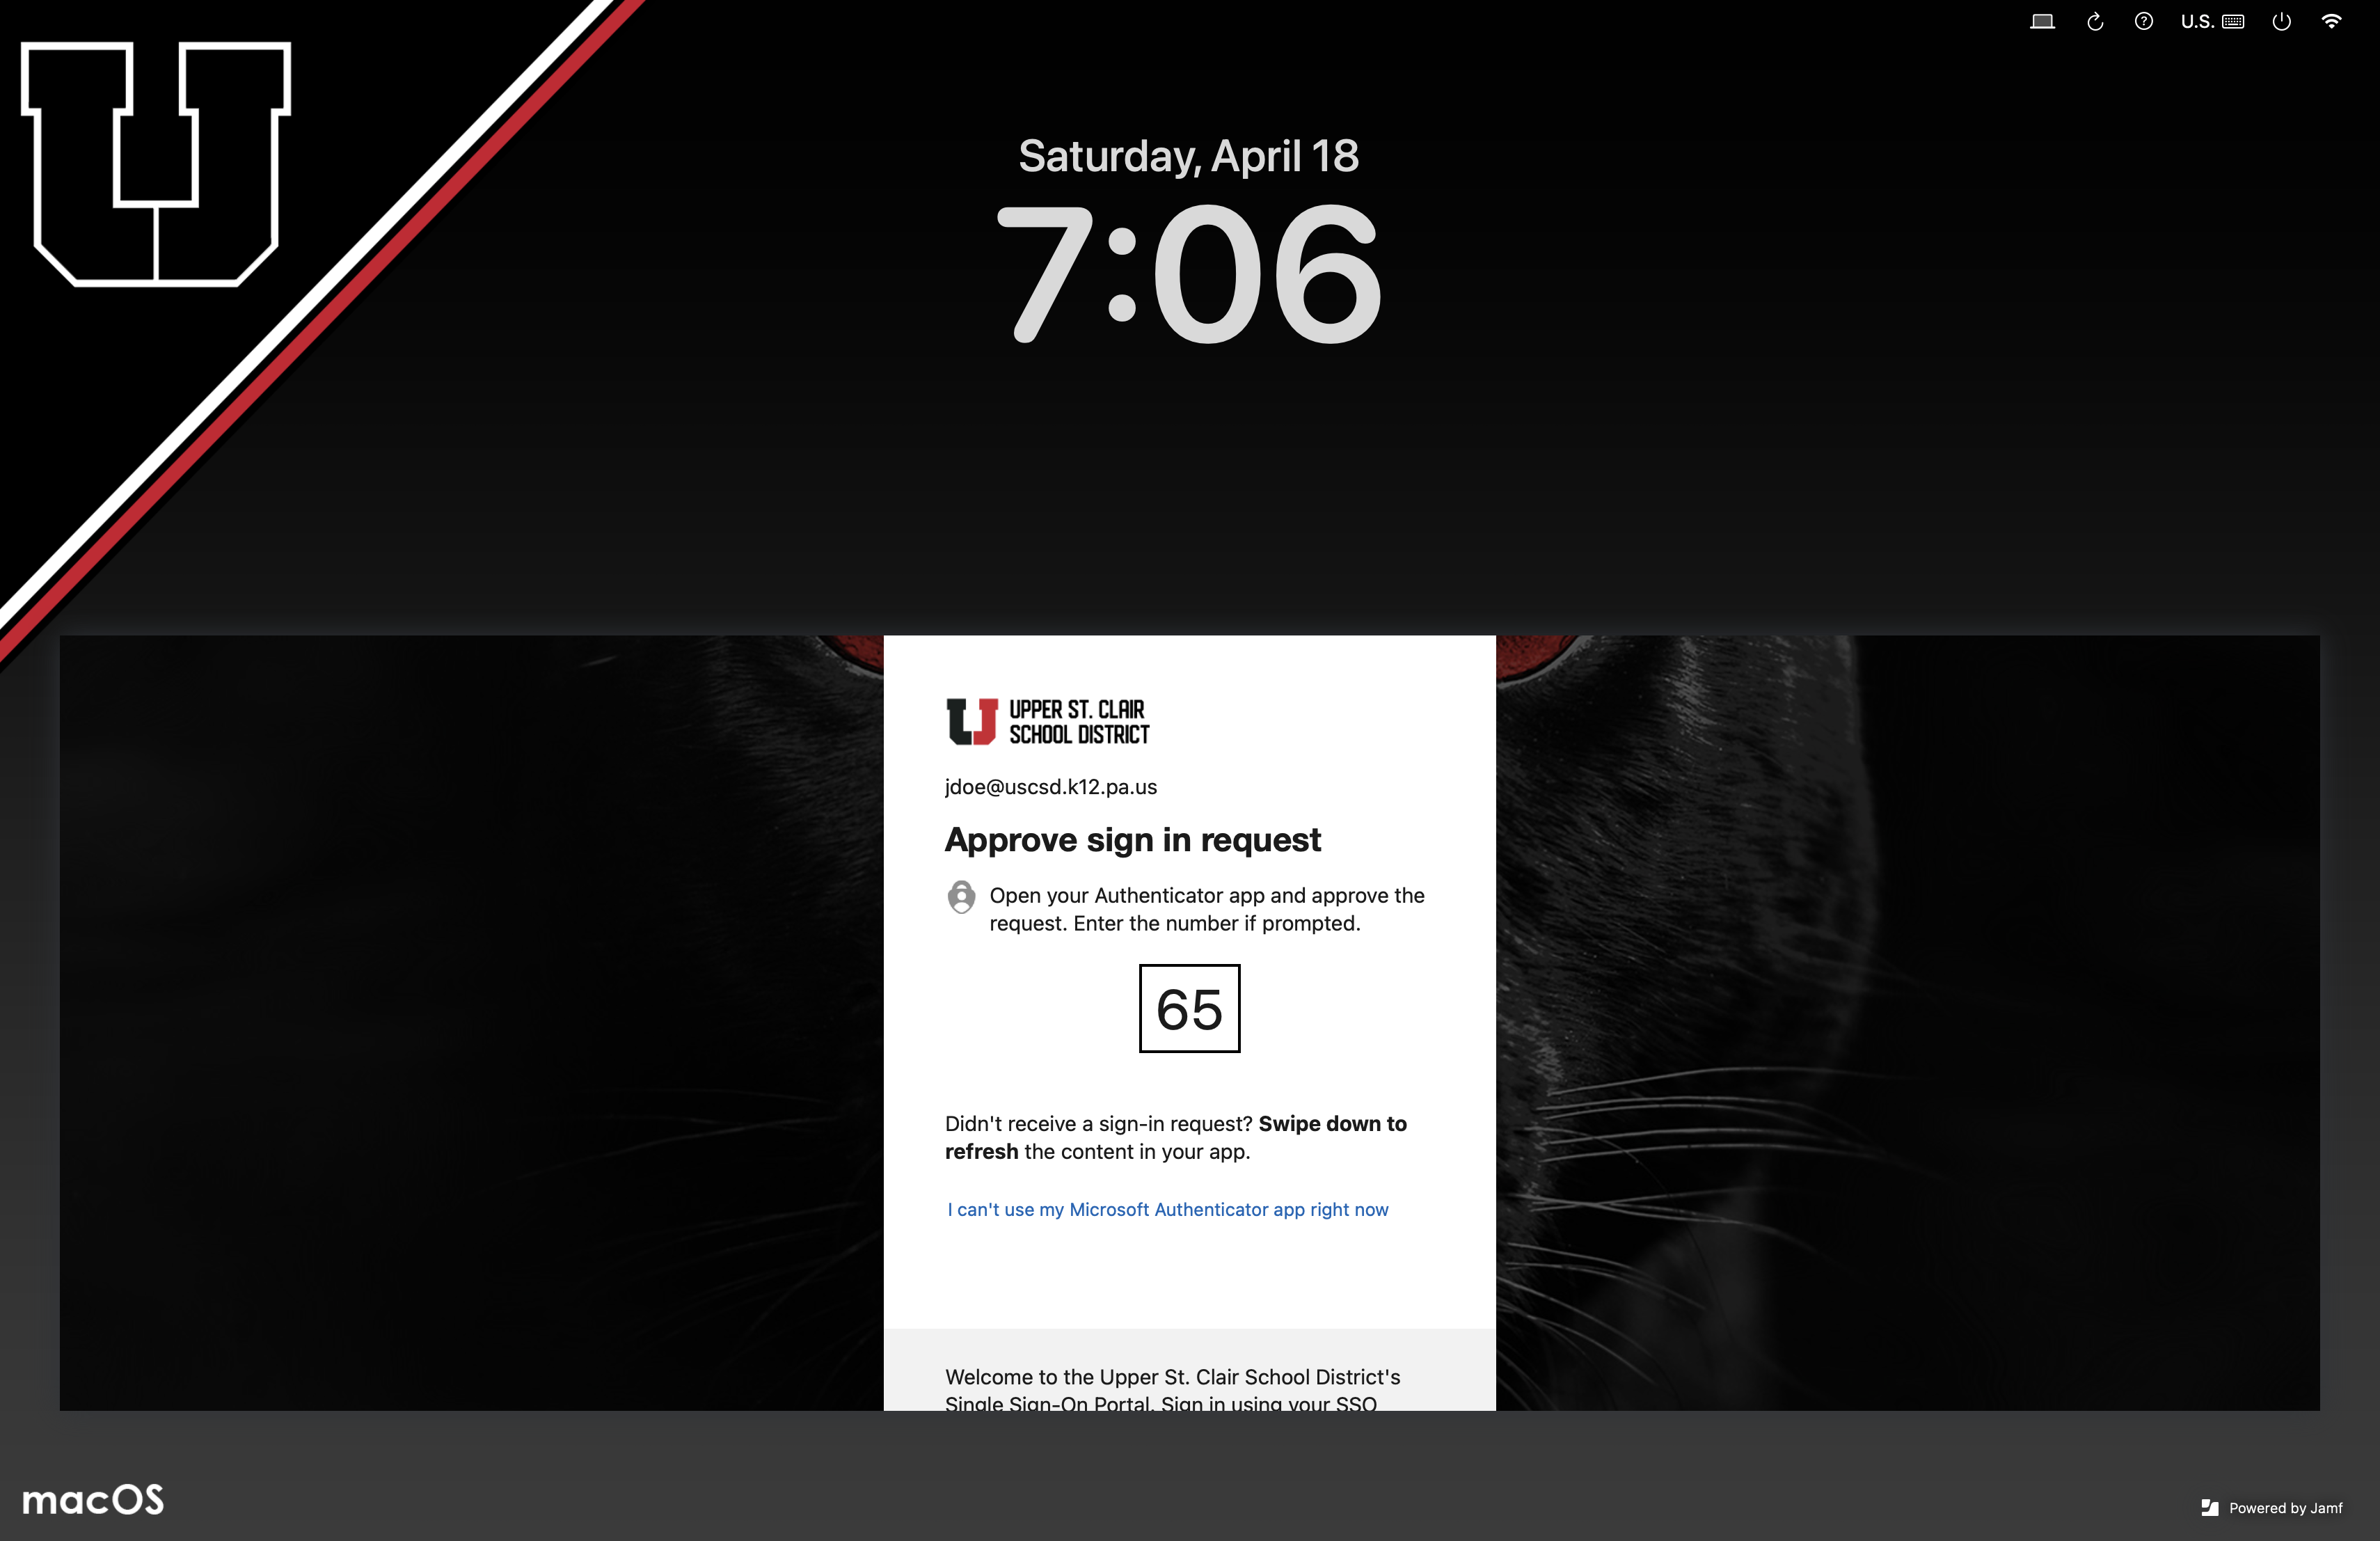
Enter your SSO account code, also known as a MFA code. The image below shows a popular SSO account code method, where two digits are presented and you must enter those digits into the Microsoft Authenticator app on your phone.
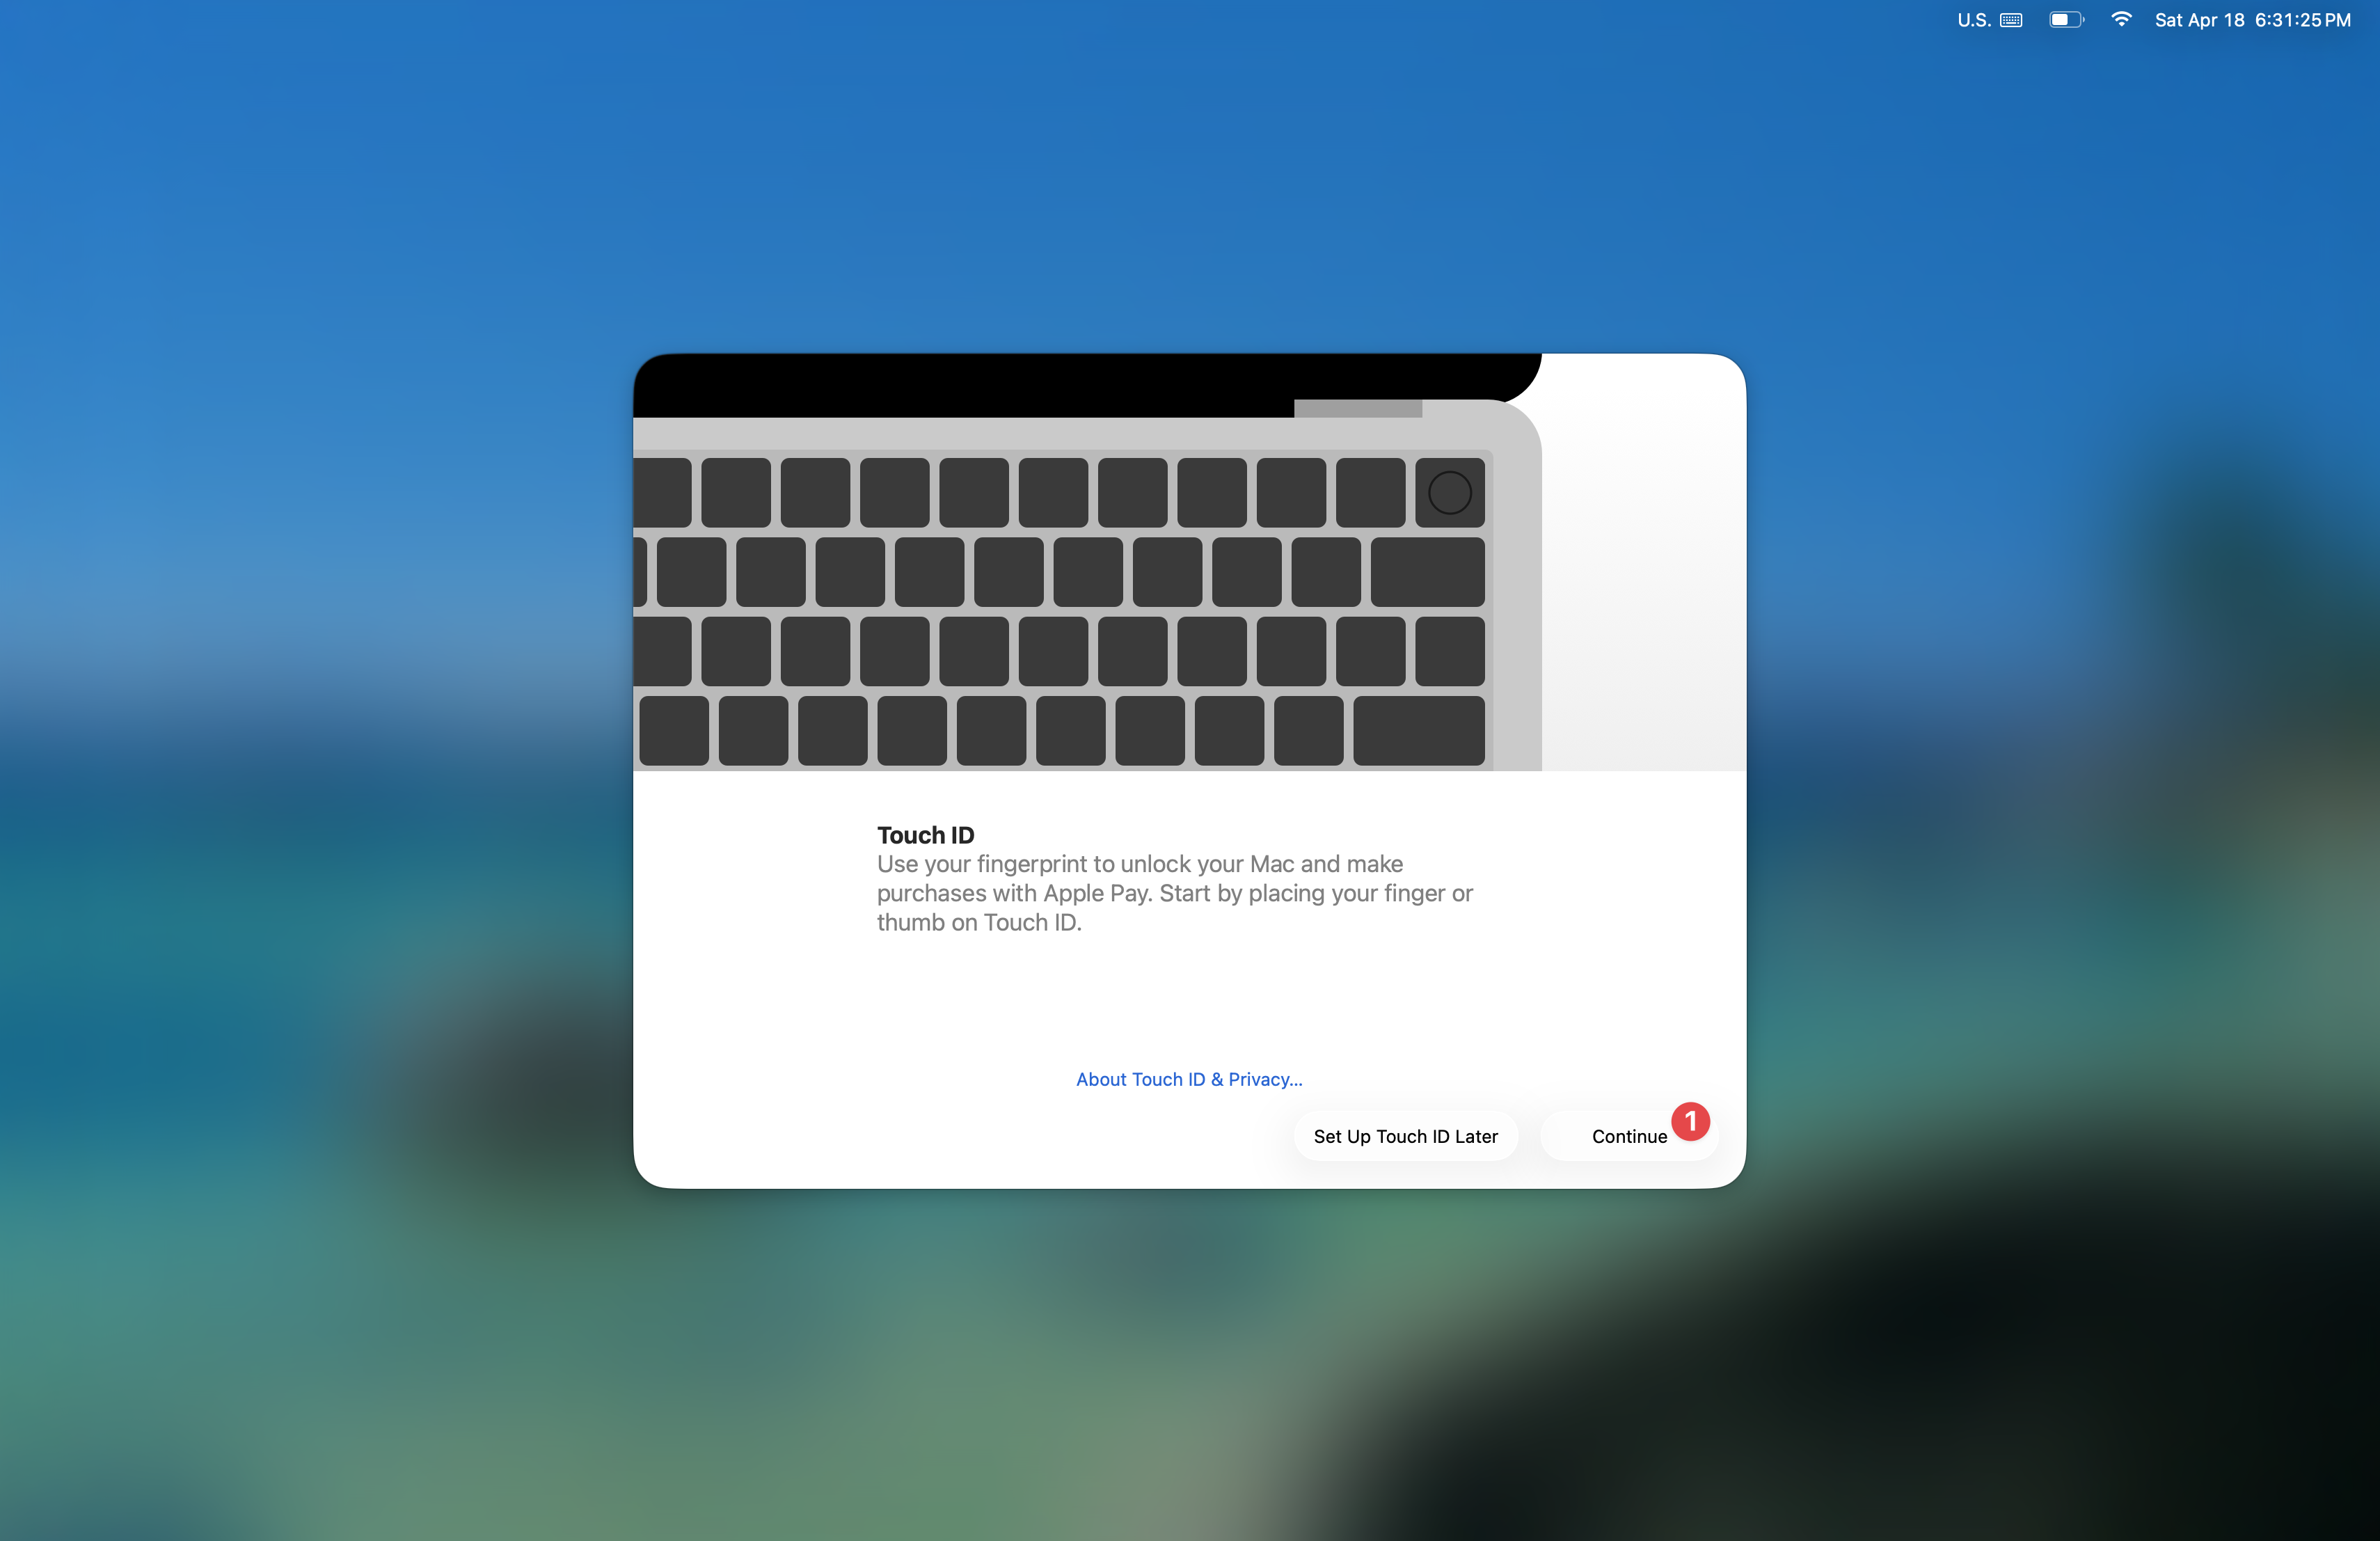
Your Mac will take about 30 seconds to create a computer account for you during your first login.

After your computer account is created, we encourage you to set up Touch ID. Start by clicking the Continue button.
If you want to do this later, you can use the following article for guidance - https://support.uscsd.k12.pa.us/kb/article/825-locking-and-unlocking-your-mac/.
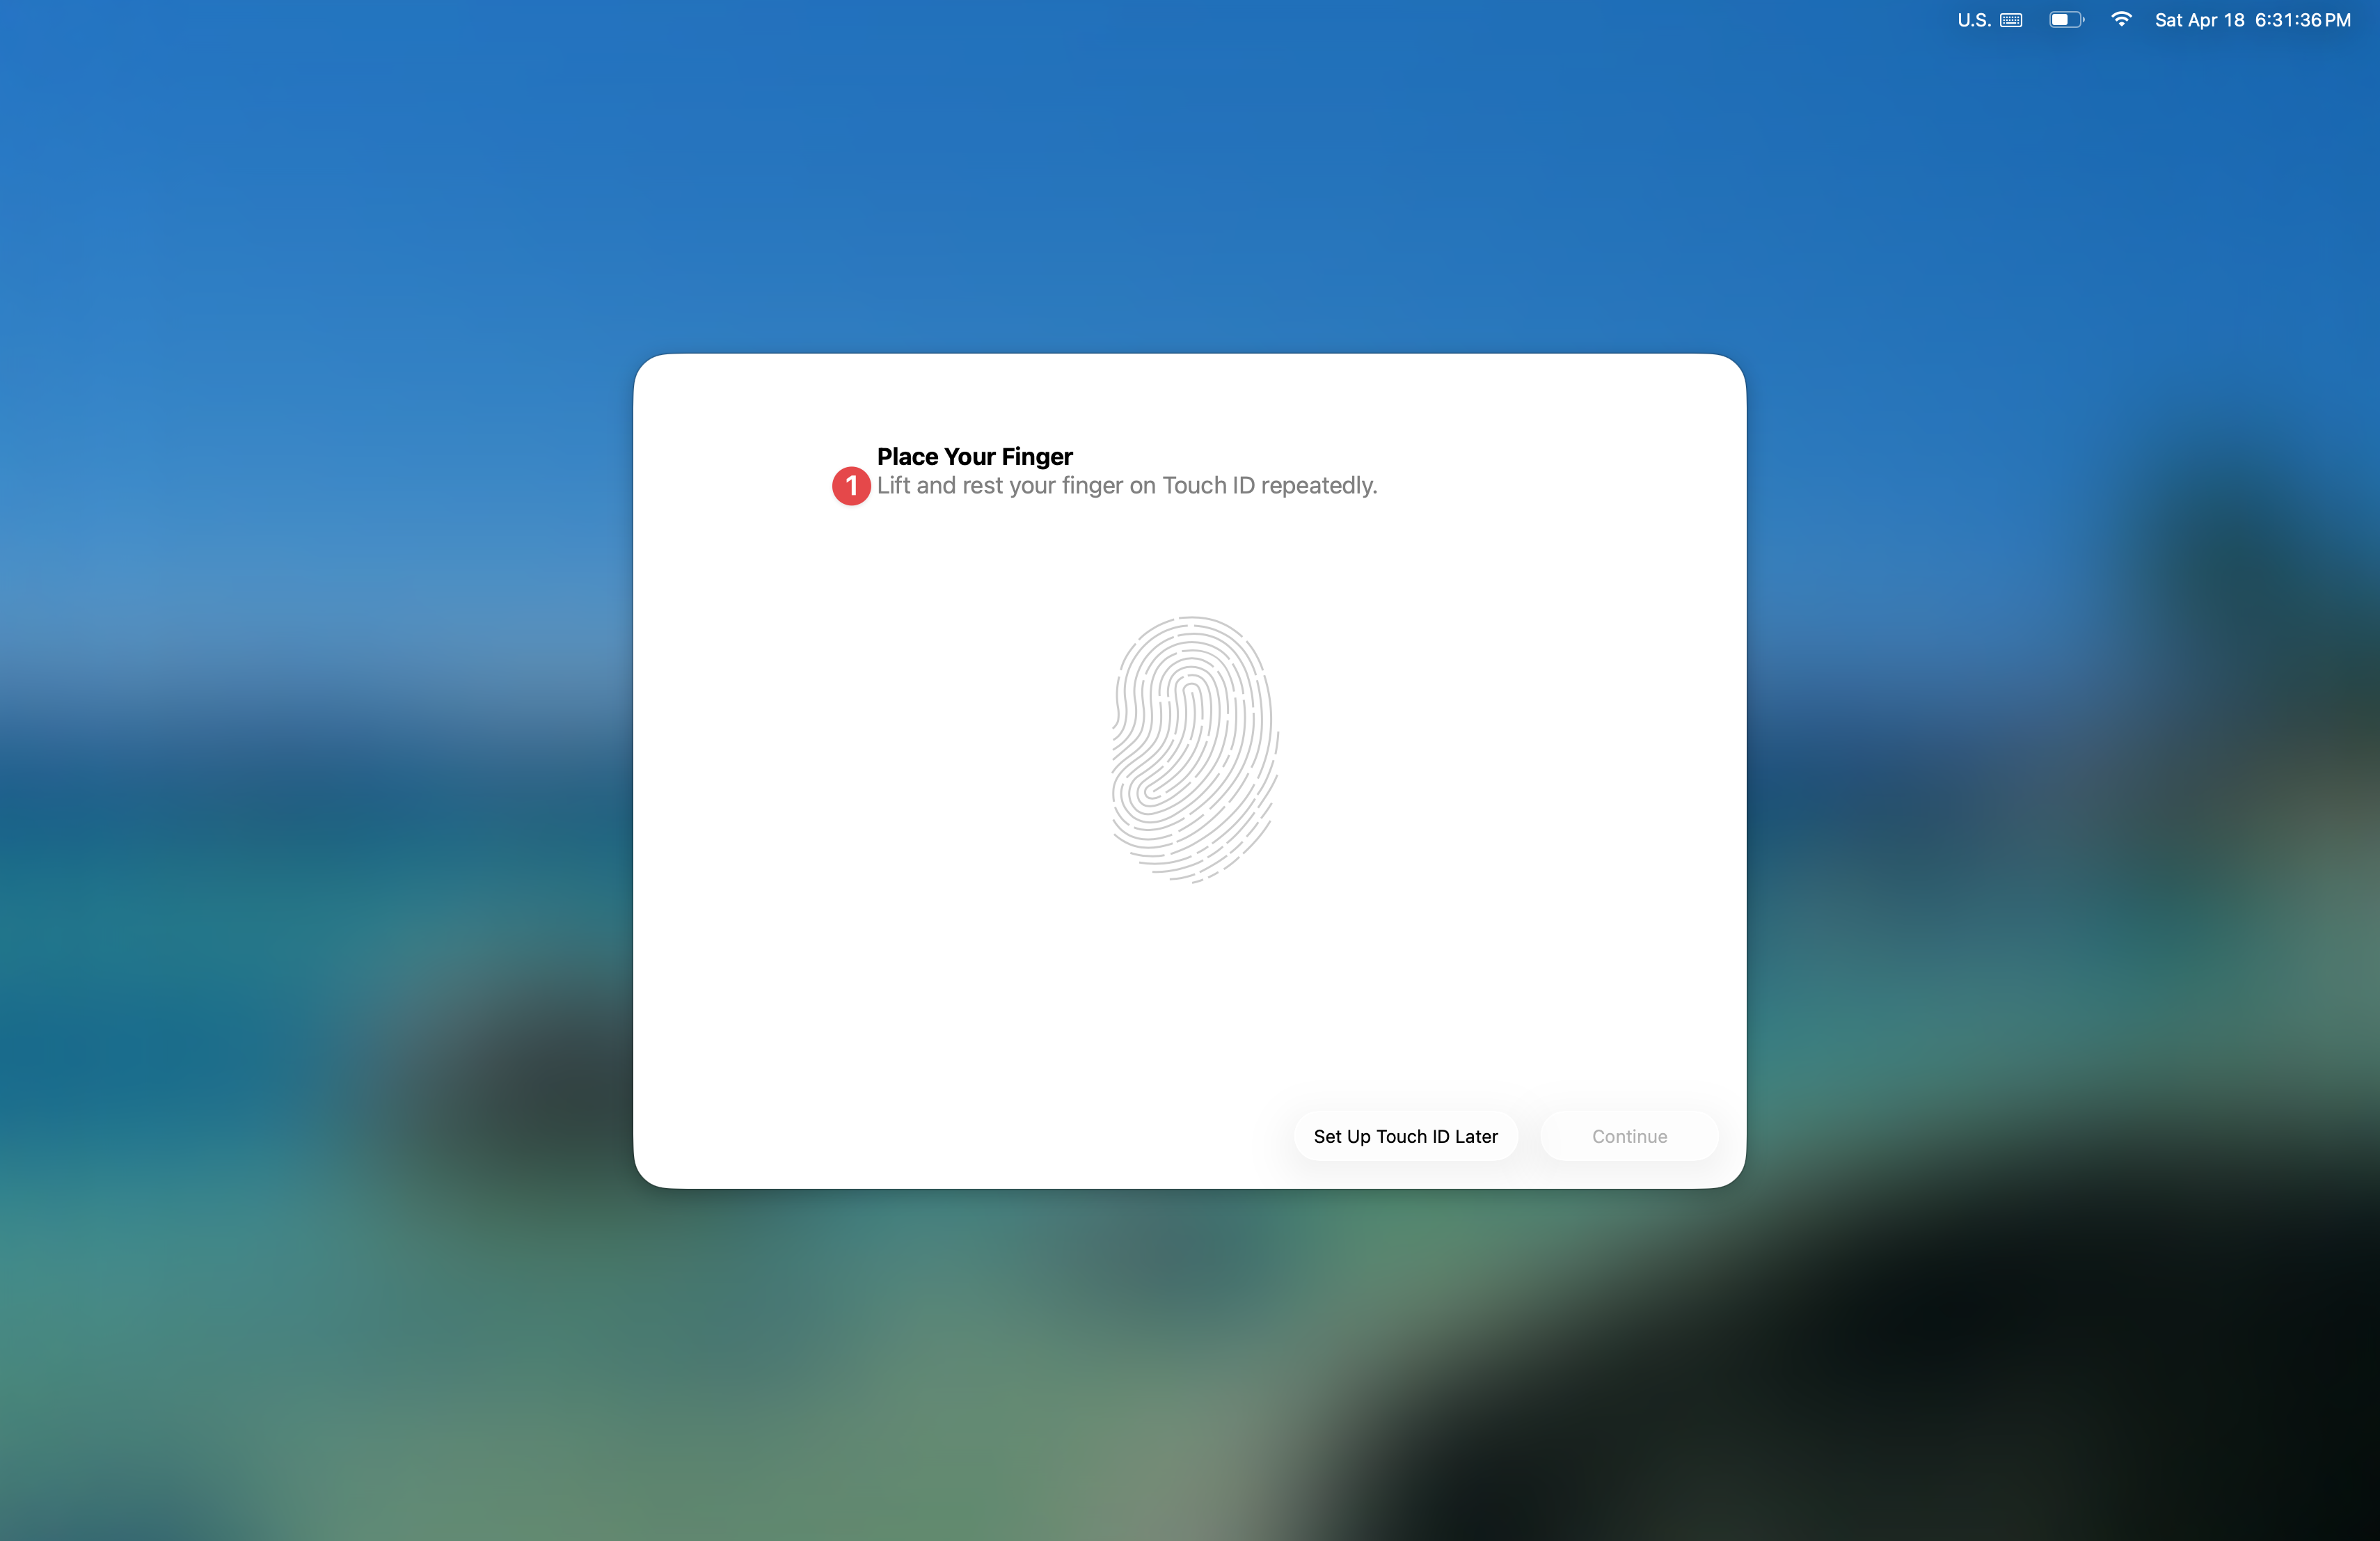
You will now add your fingerprint to your Mac by placing your finger on the fingerprint reader. Follow the direction below Place Your Finger during this process. You will notice that you are asked to raise and lower your finger onto the reader multiple times while your Mac records your fingerprint.
As you lower your finger onto the fingerprint reader, be careful not to press the button down because doing so will lock your Mac and you'll have to start the process over again.
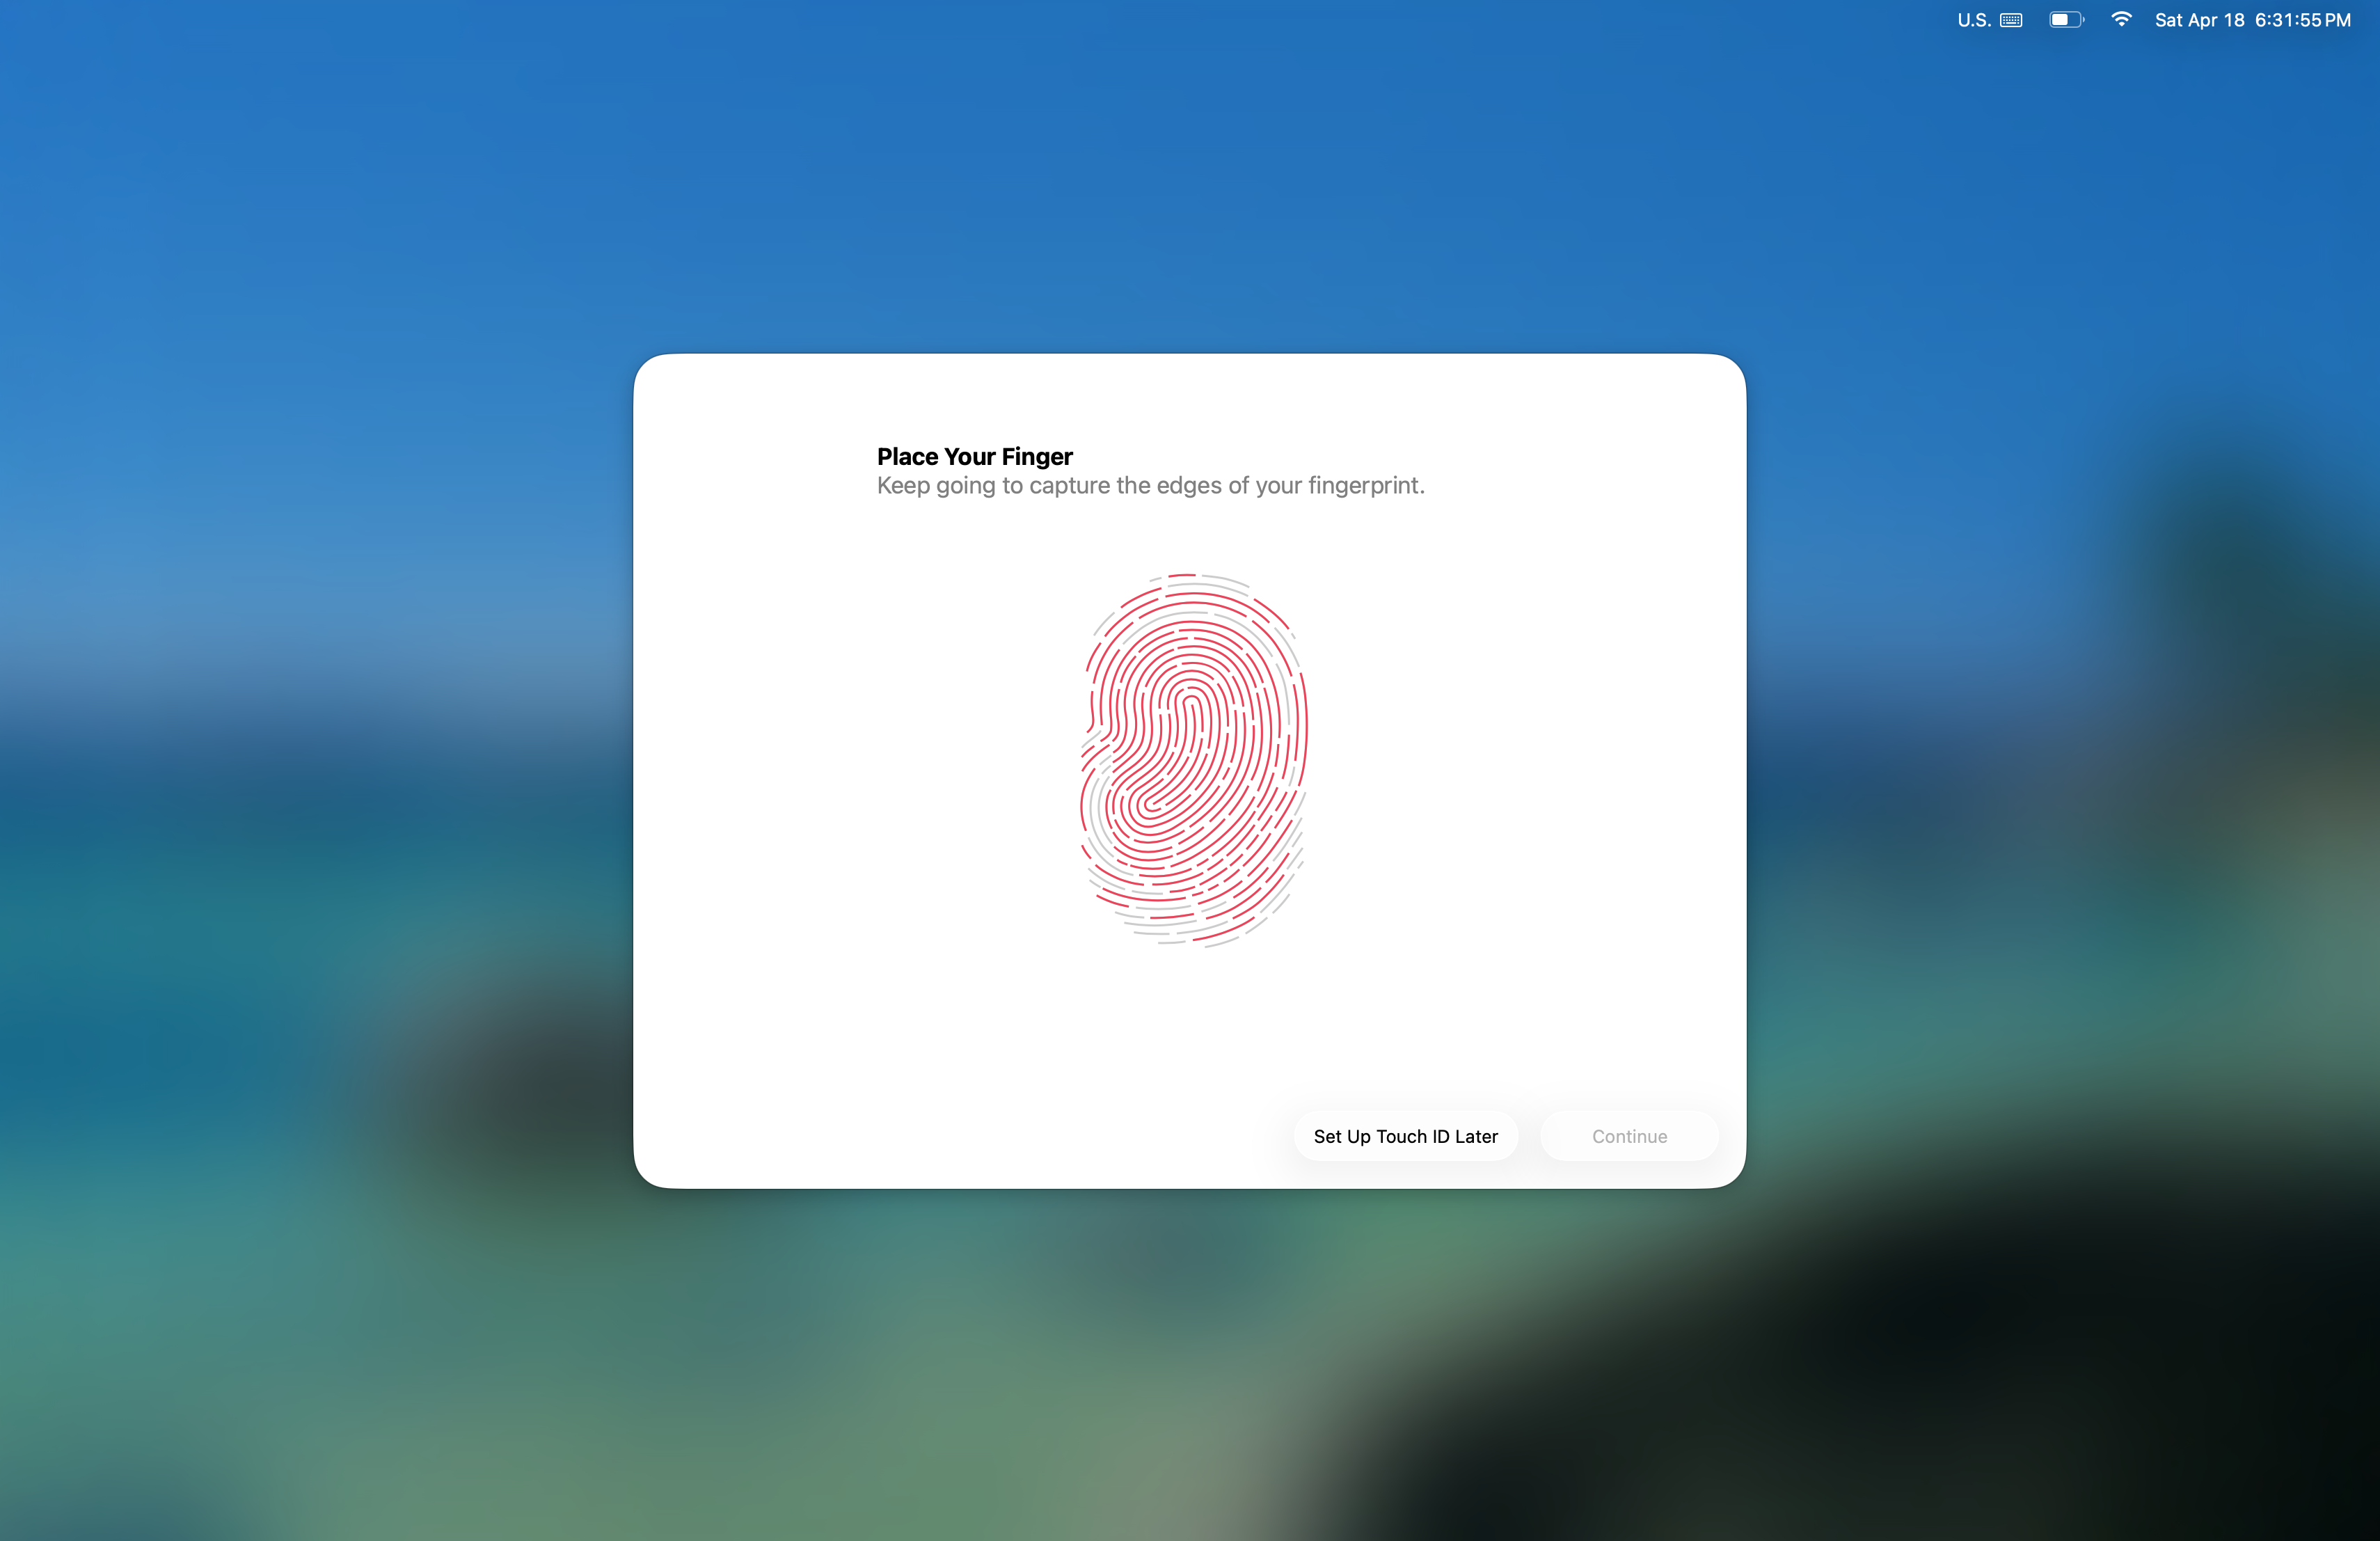
You'll see the fingerprint image change from grey to red during this process.
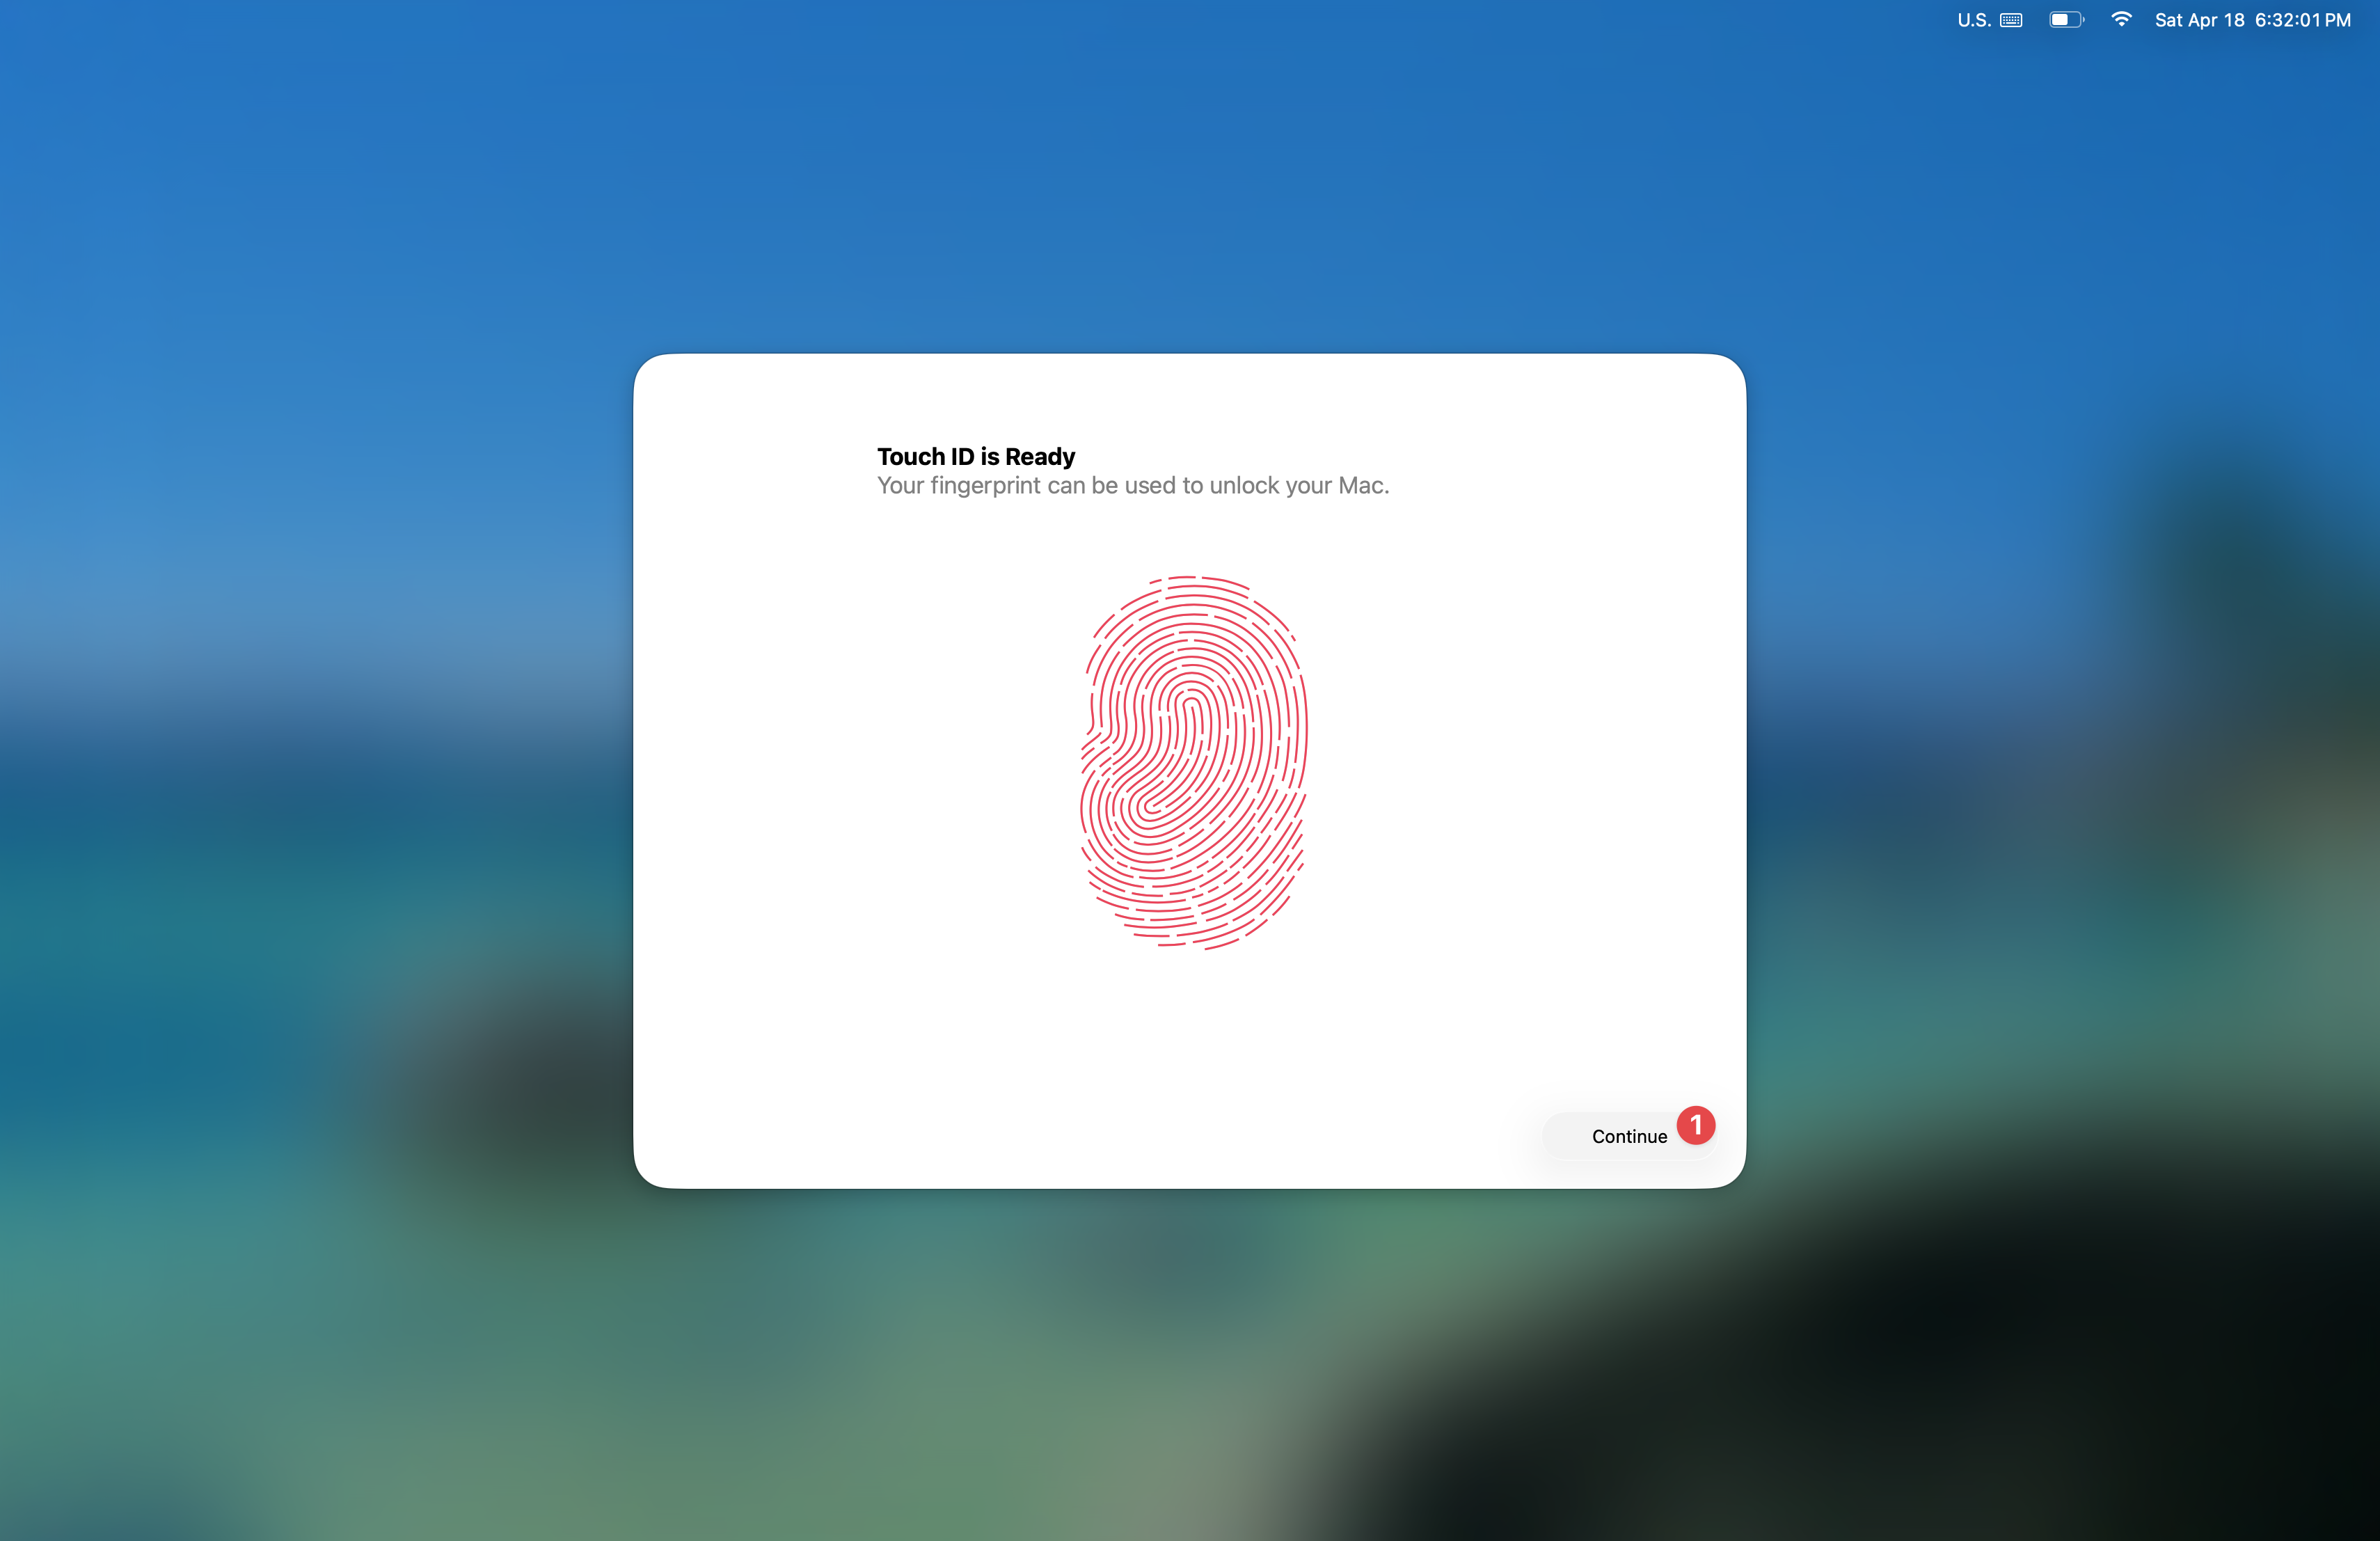
Once you see Touch ID is Ready, click the Continue button.
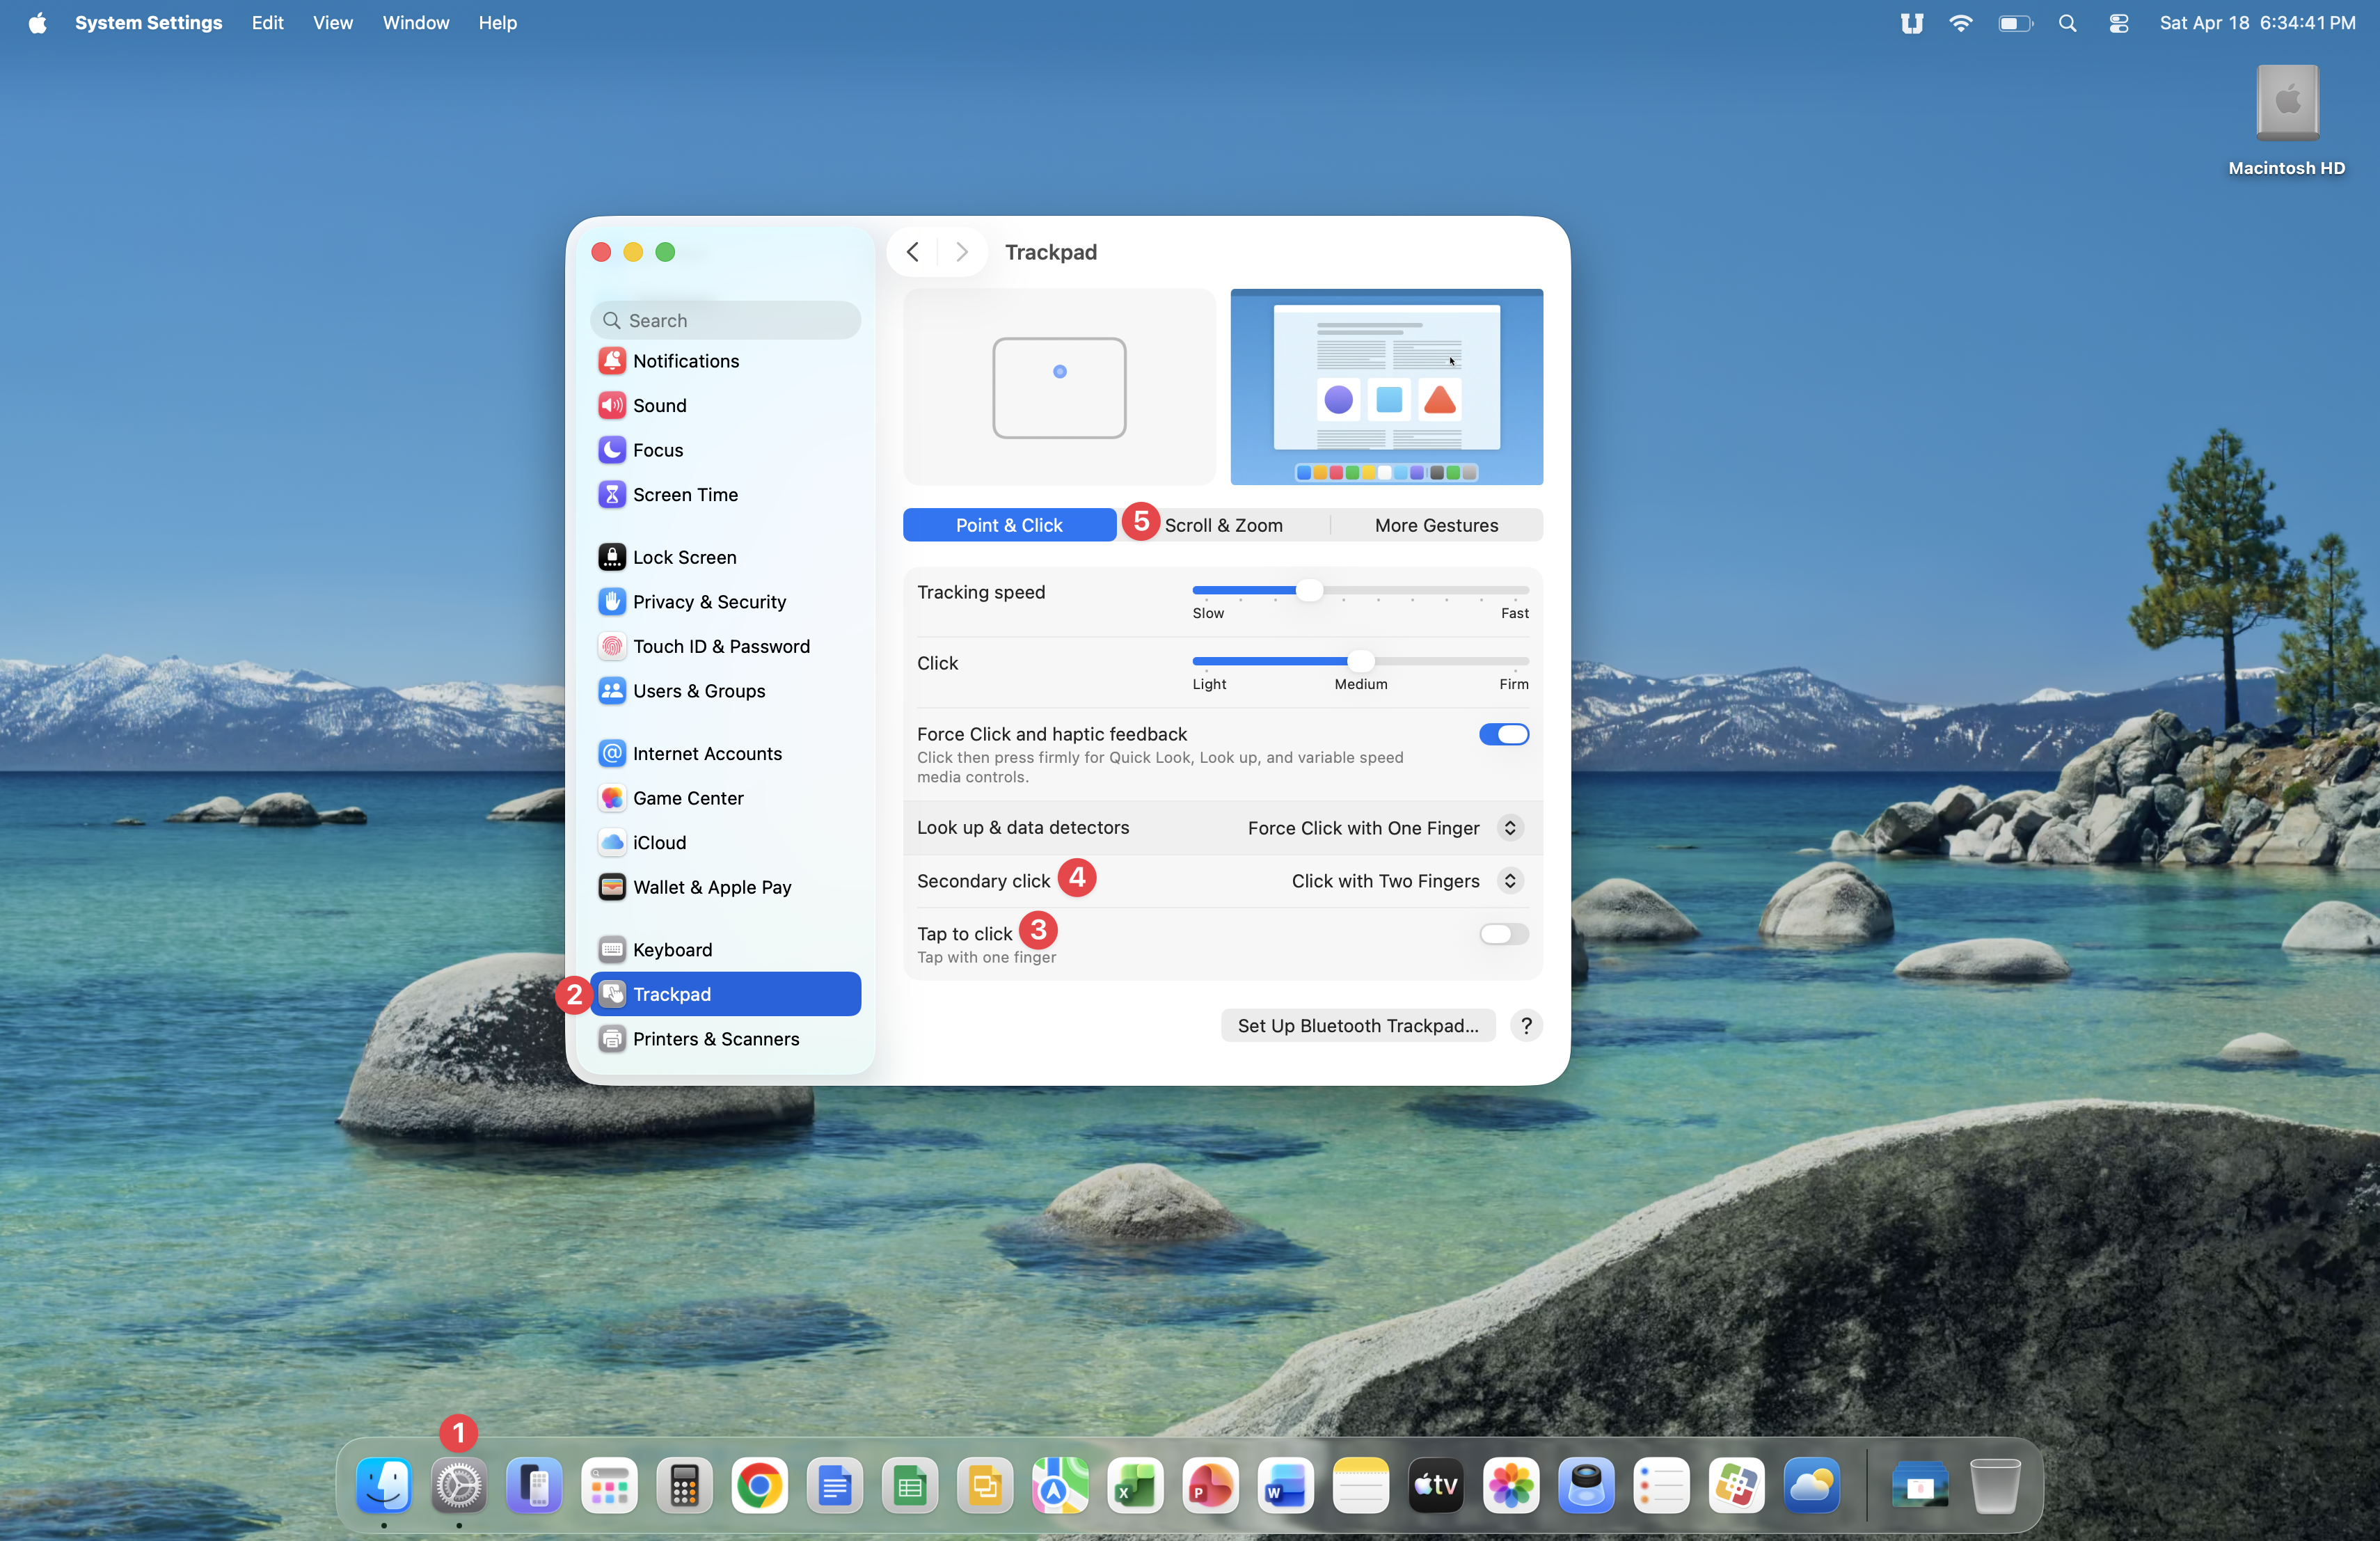
Once your desktop appears, open the System Settings app and scroll down in the left pane until you see the Trackpad section. In this section, you can enable Tap to click, Secondary click, and set your scrolling style.
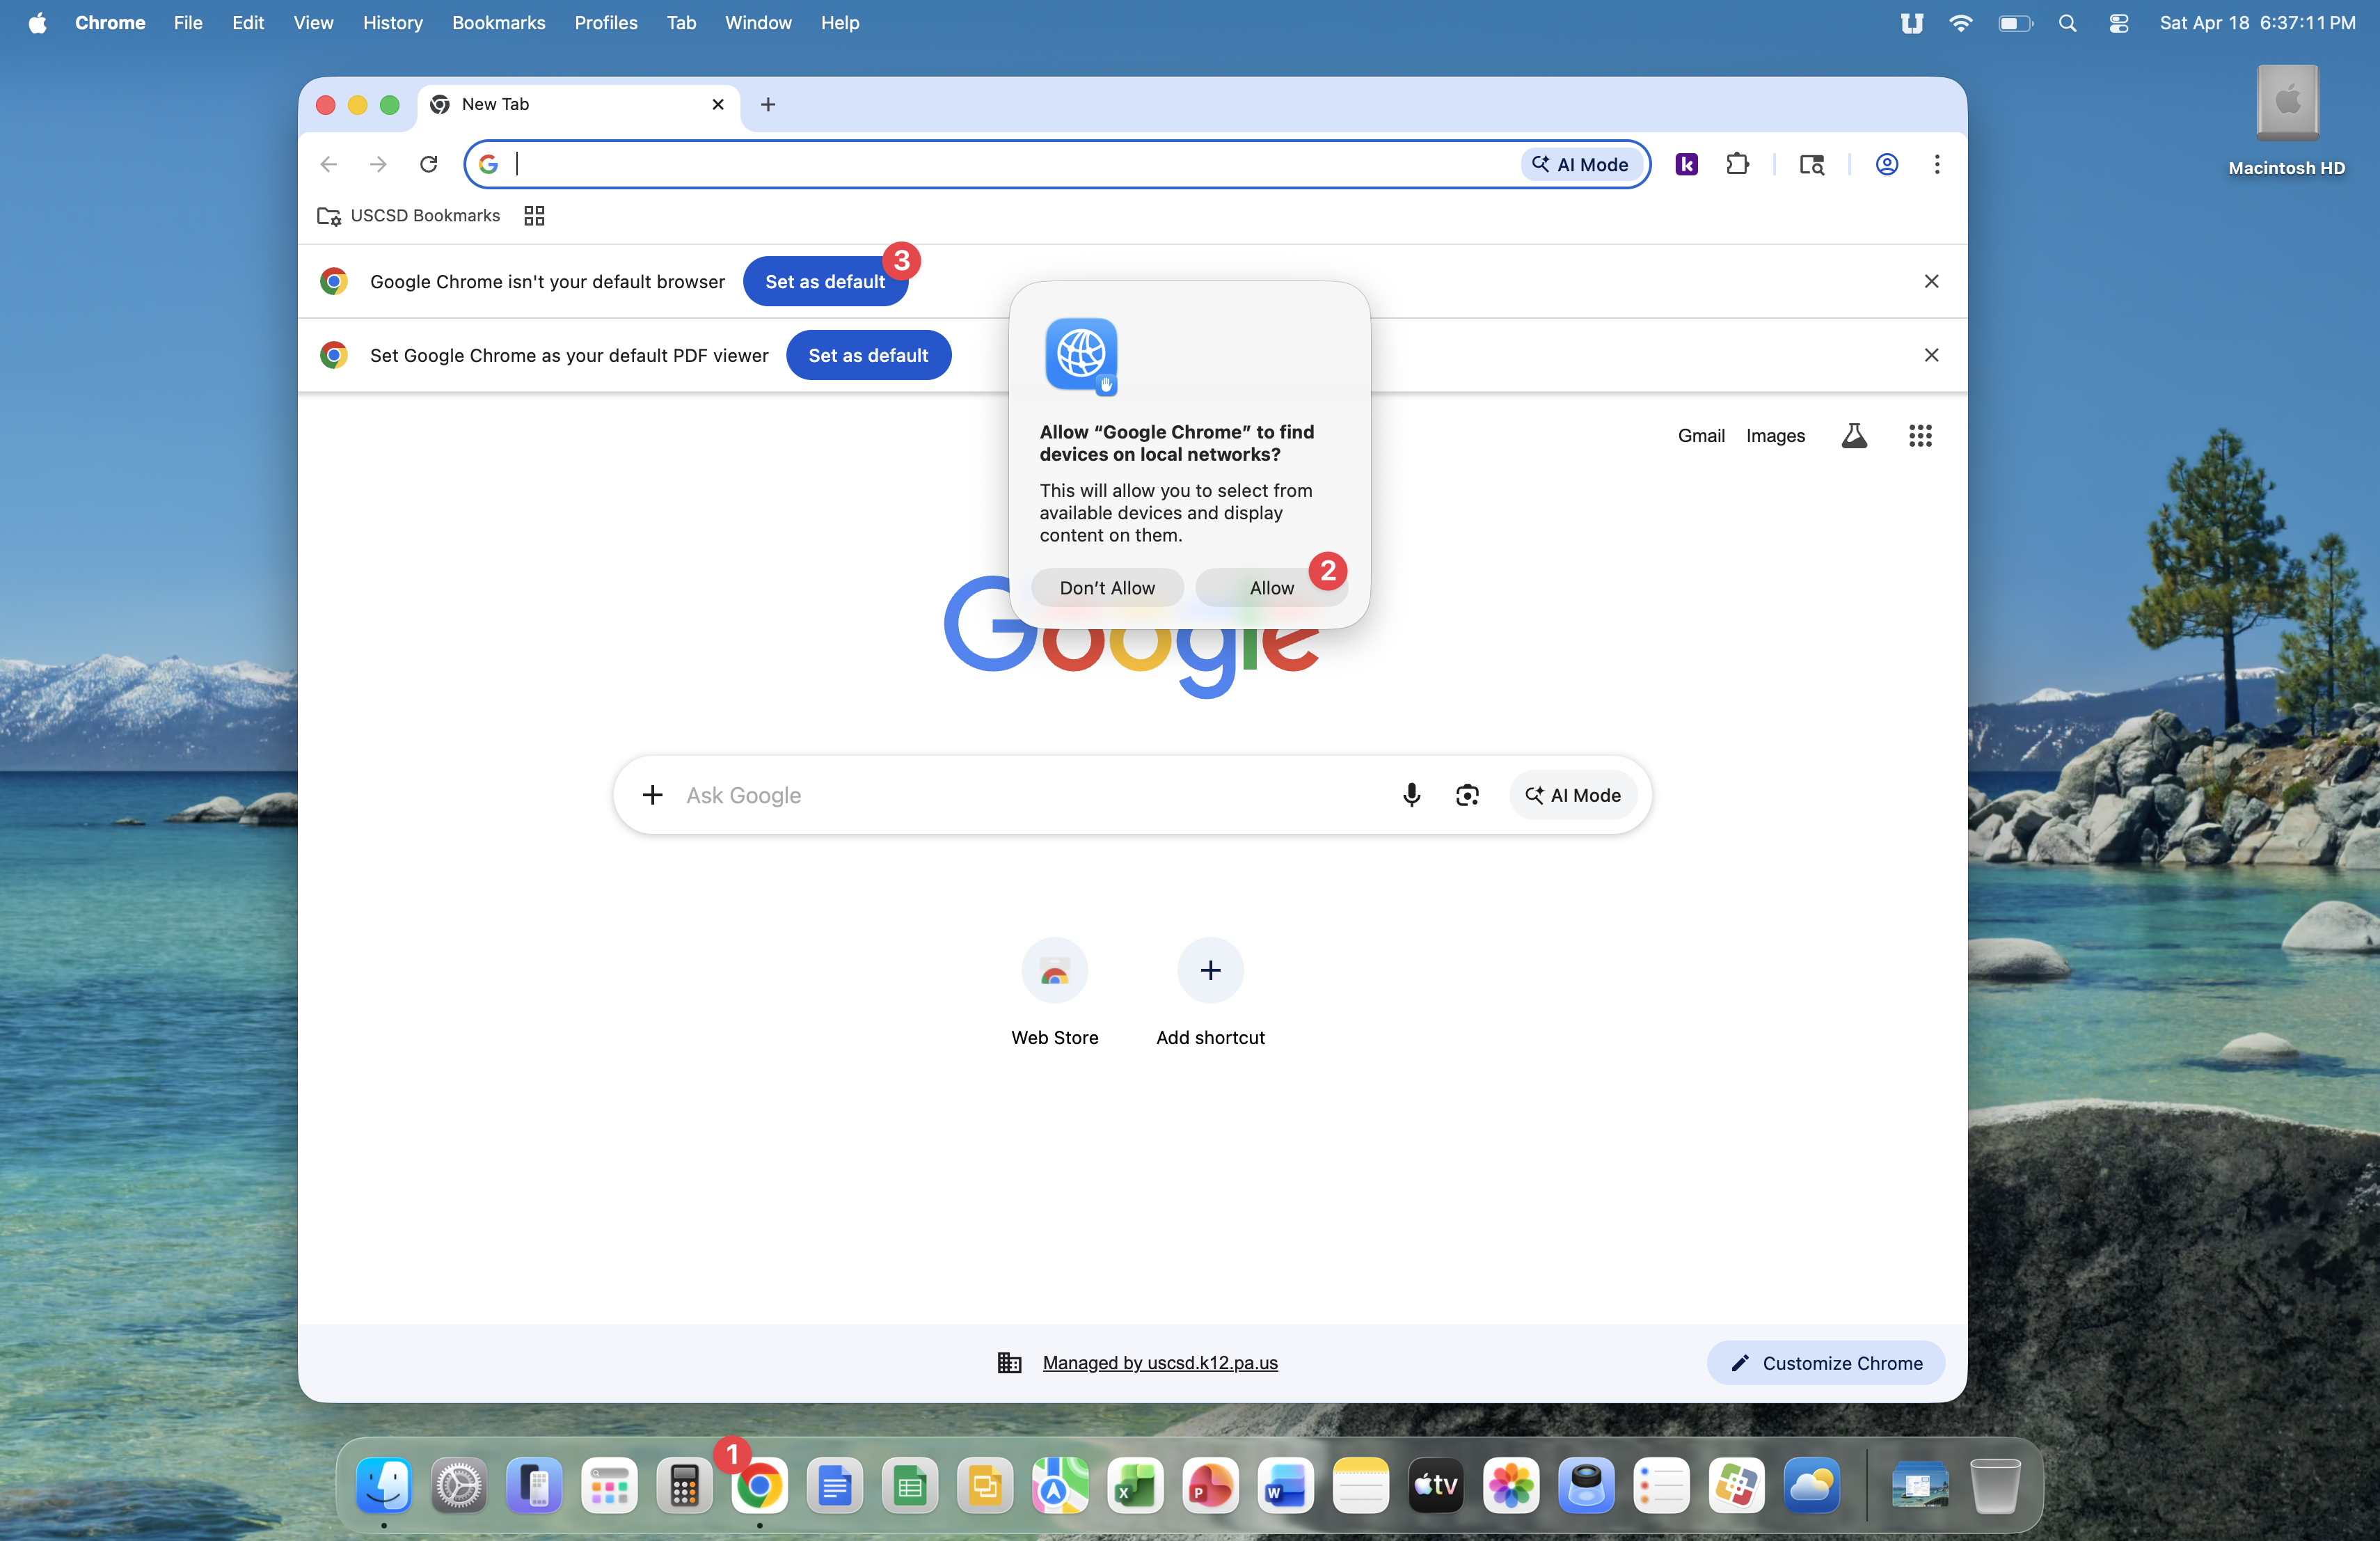
Now, you'll set up Google Chrome. Click the Google Chrome icon in your Dock. Now click the Allow button on the 'Allow Google Chrome to find devices on your network' prompt. Next, click the Set as default button to set Google Chrome as the default web browser on your Mac.
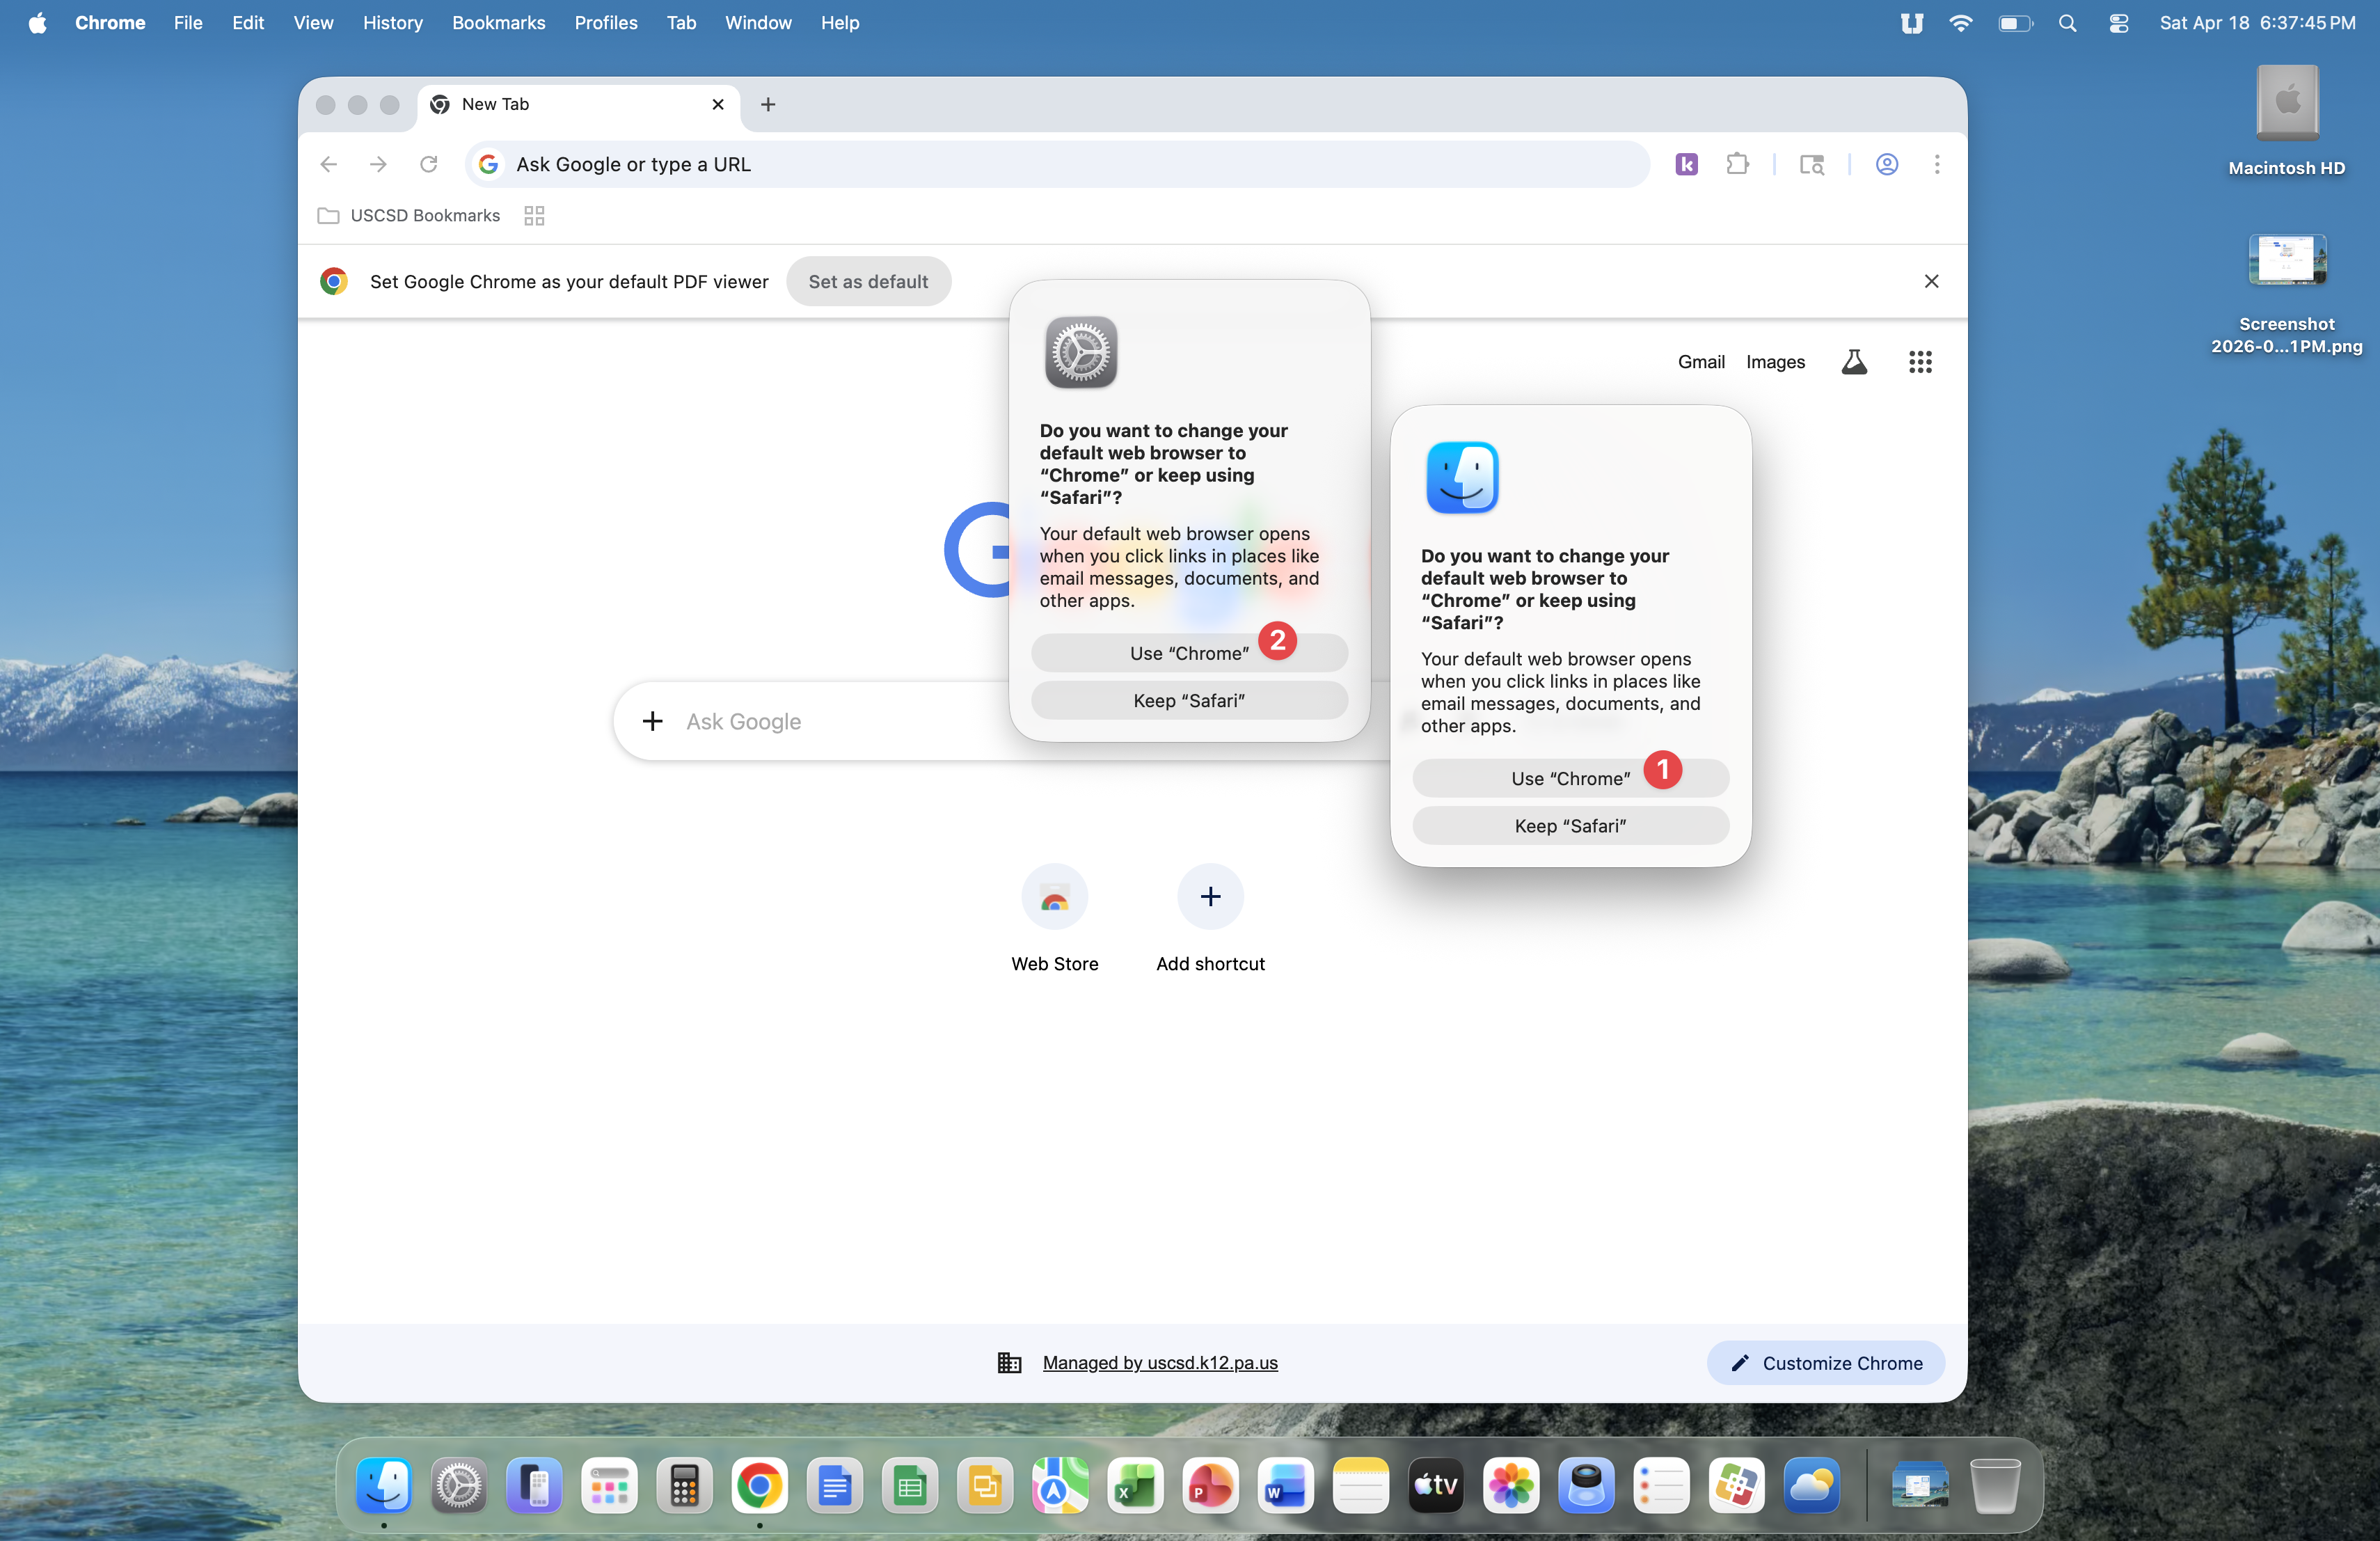
The Finder application and the System Settings application will display a prompt, asking if you want to change the default web browser on your Mac. Click the Use Chrome button on each prompt.
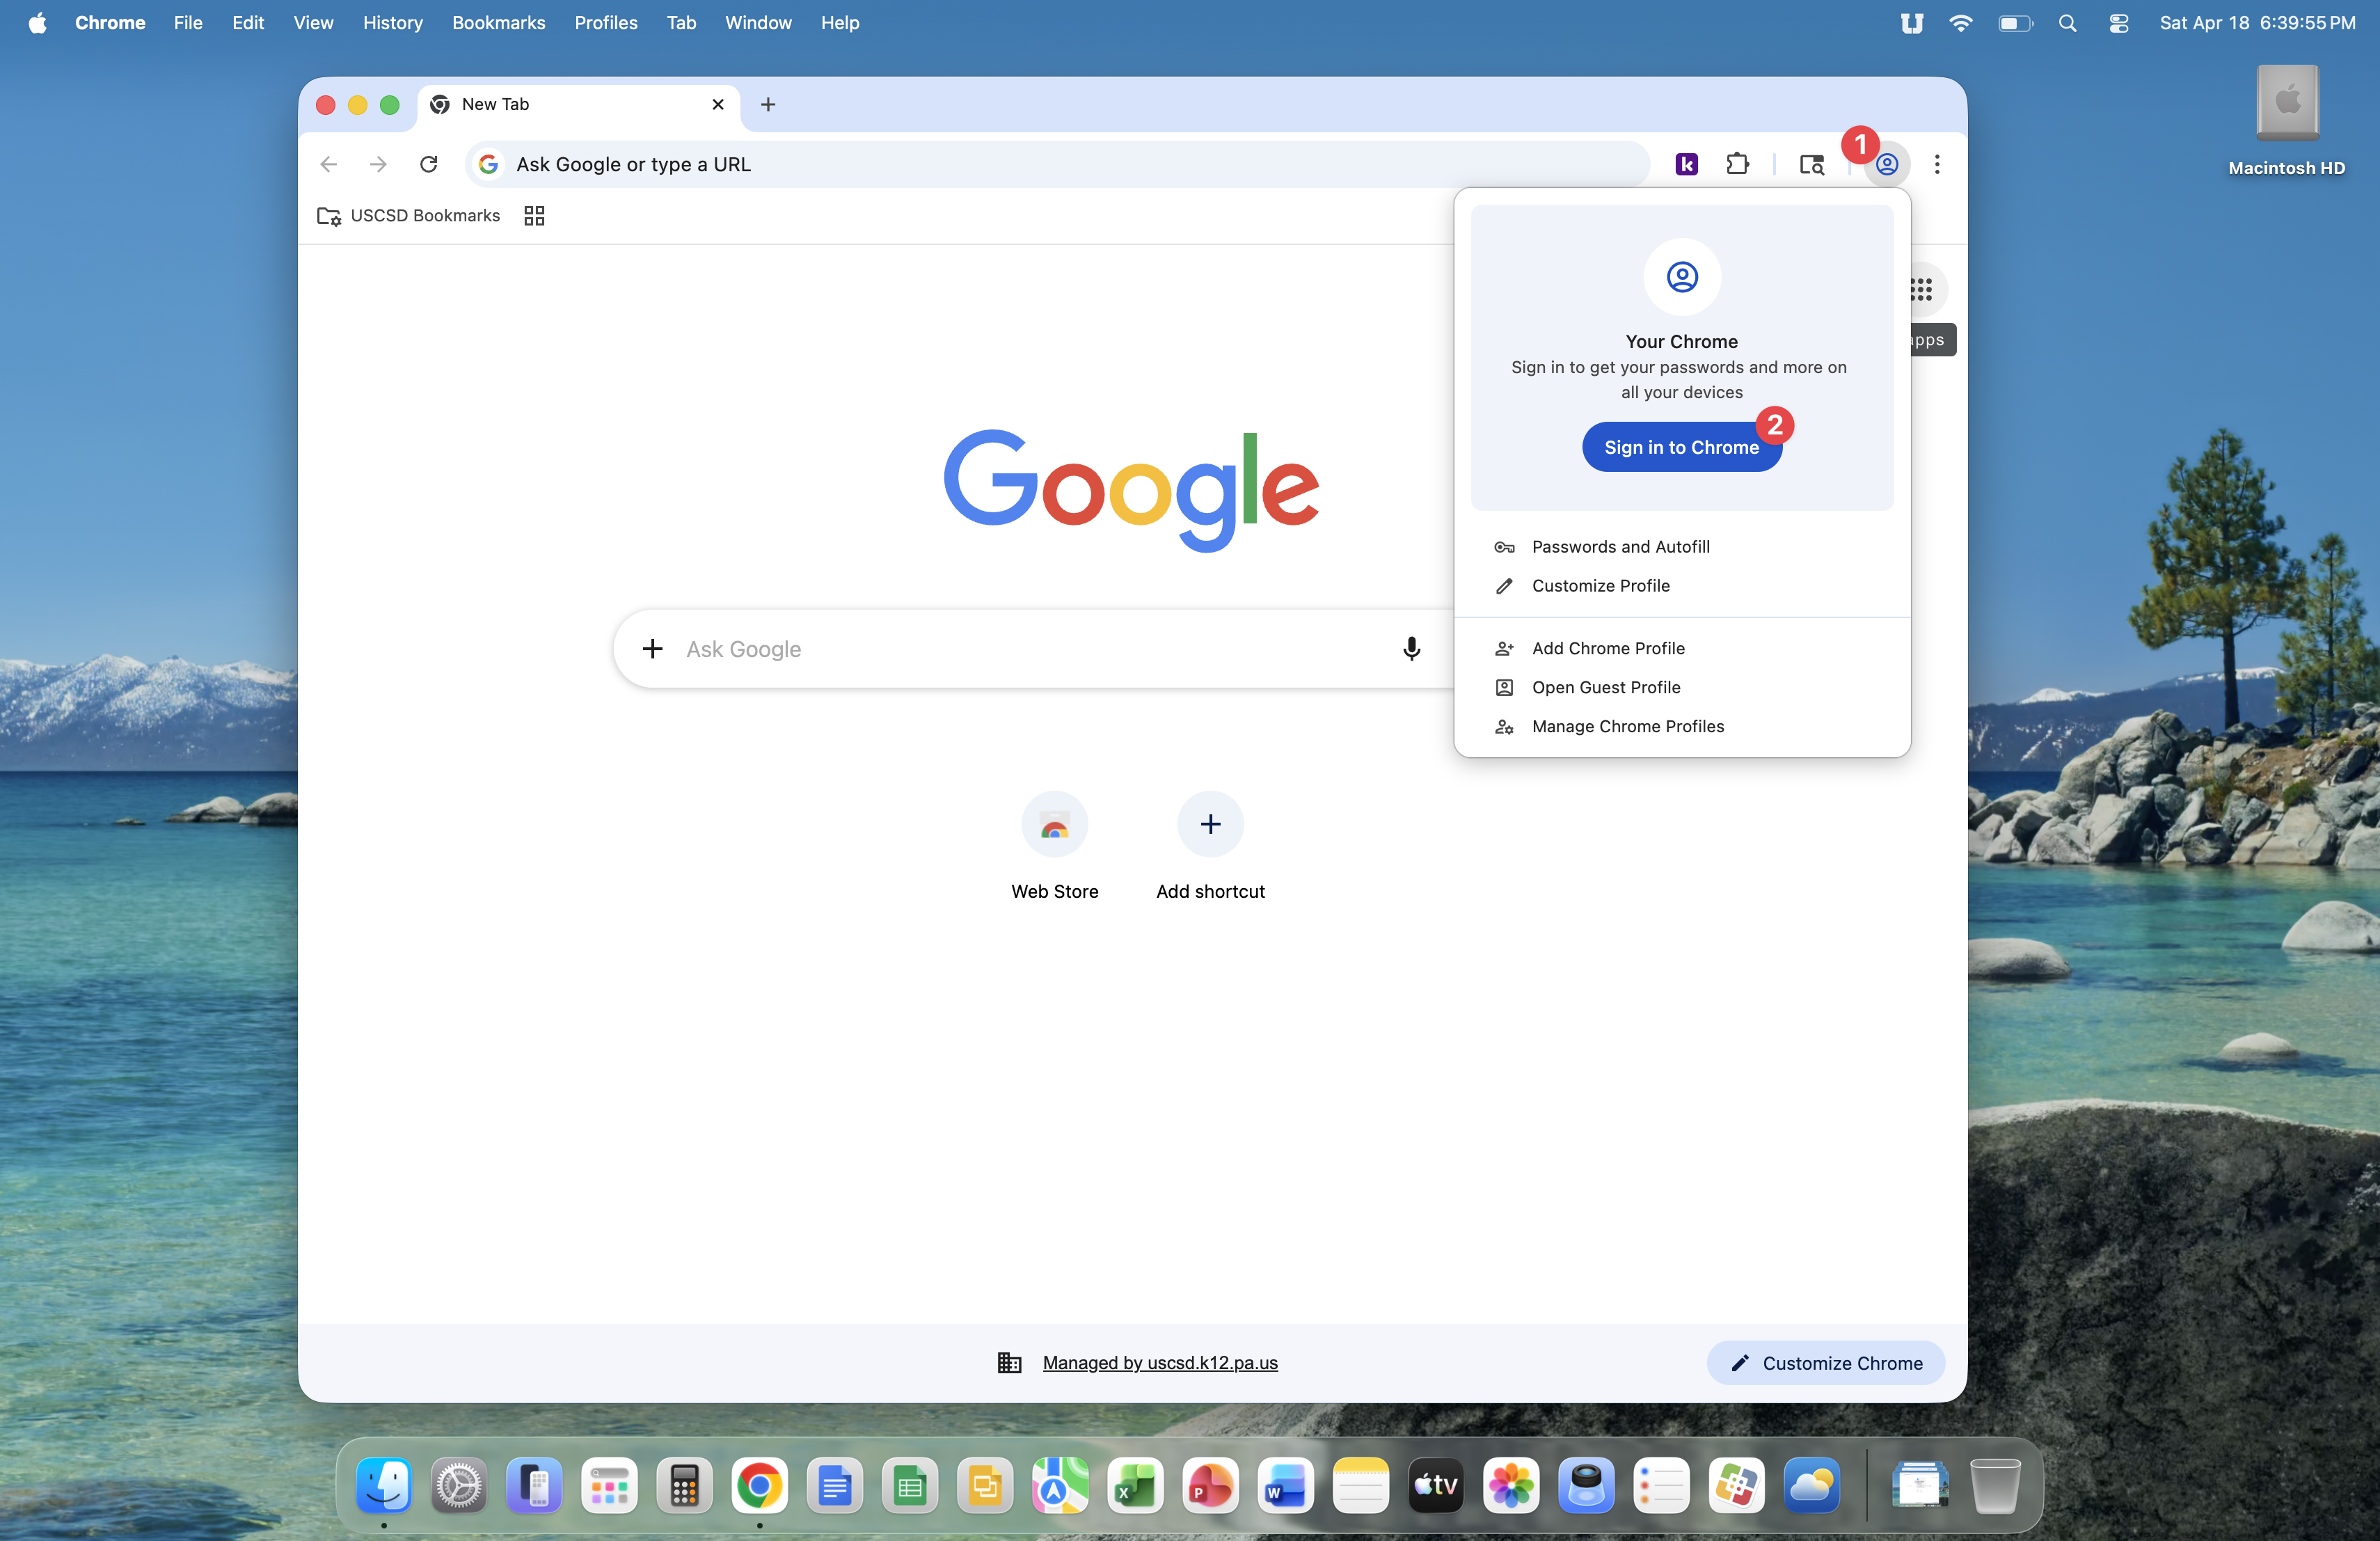
Sign into Chrome by clicking on the person icon, then the Sign in to Chrome button.
Enter your email address and click the Next button.
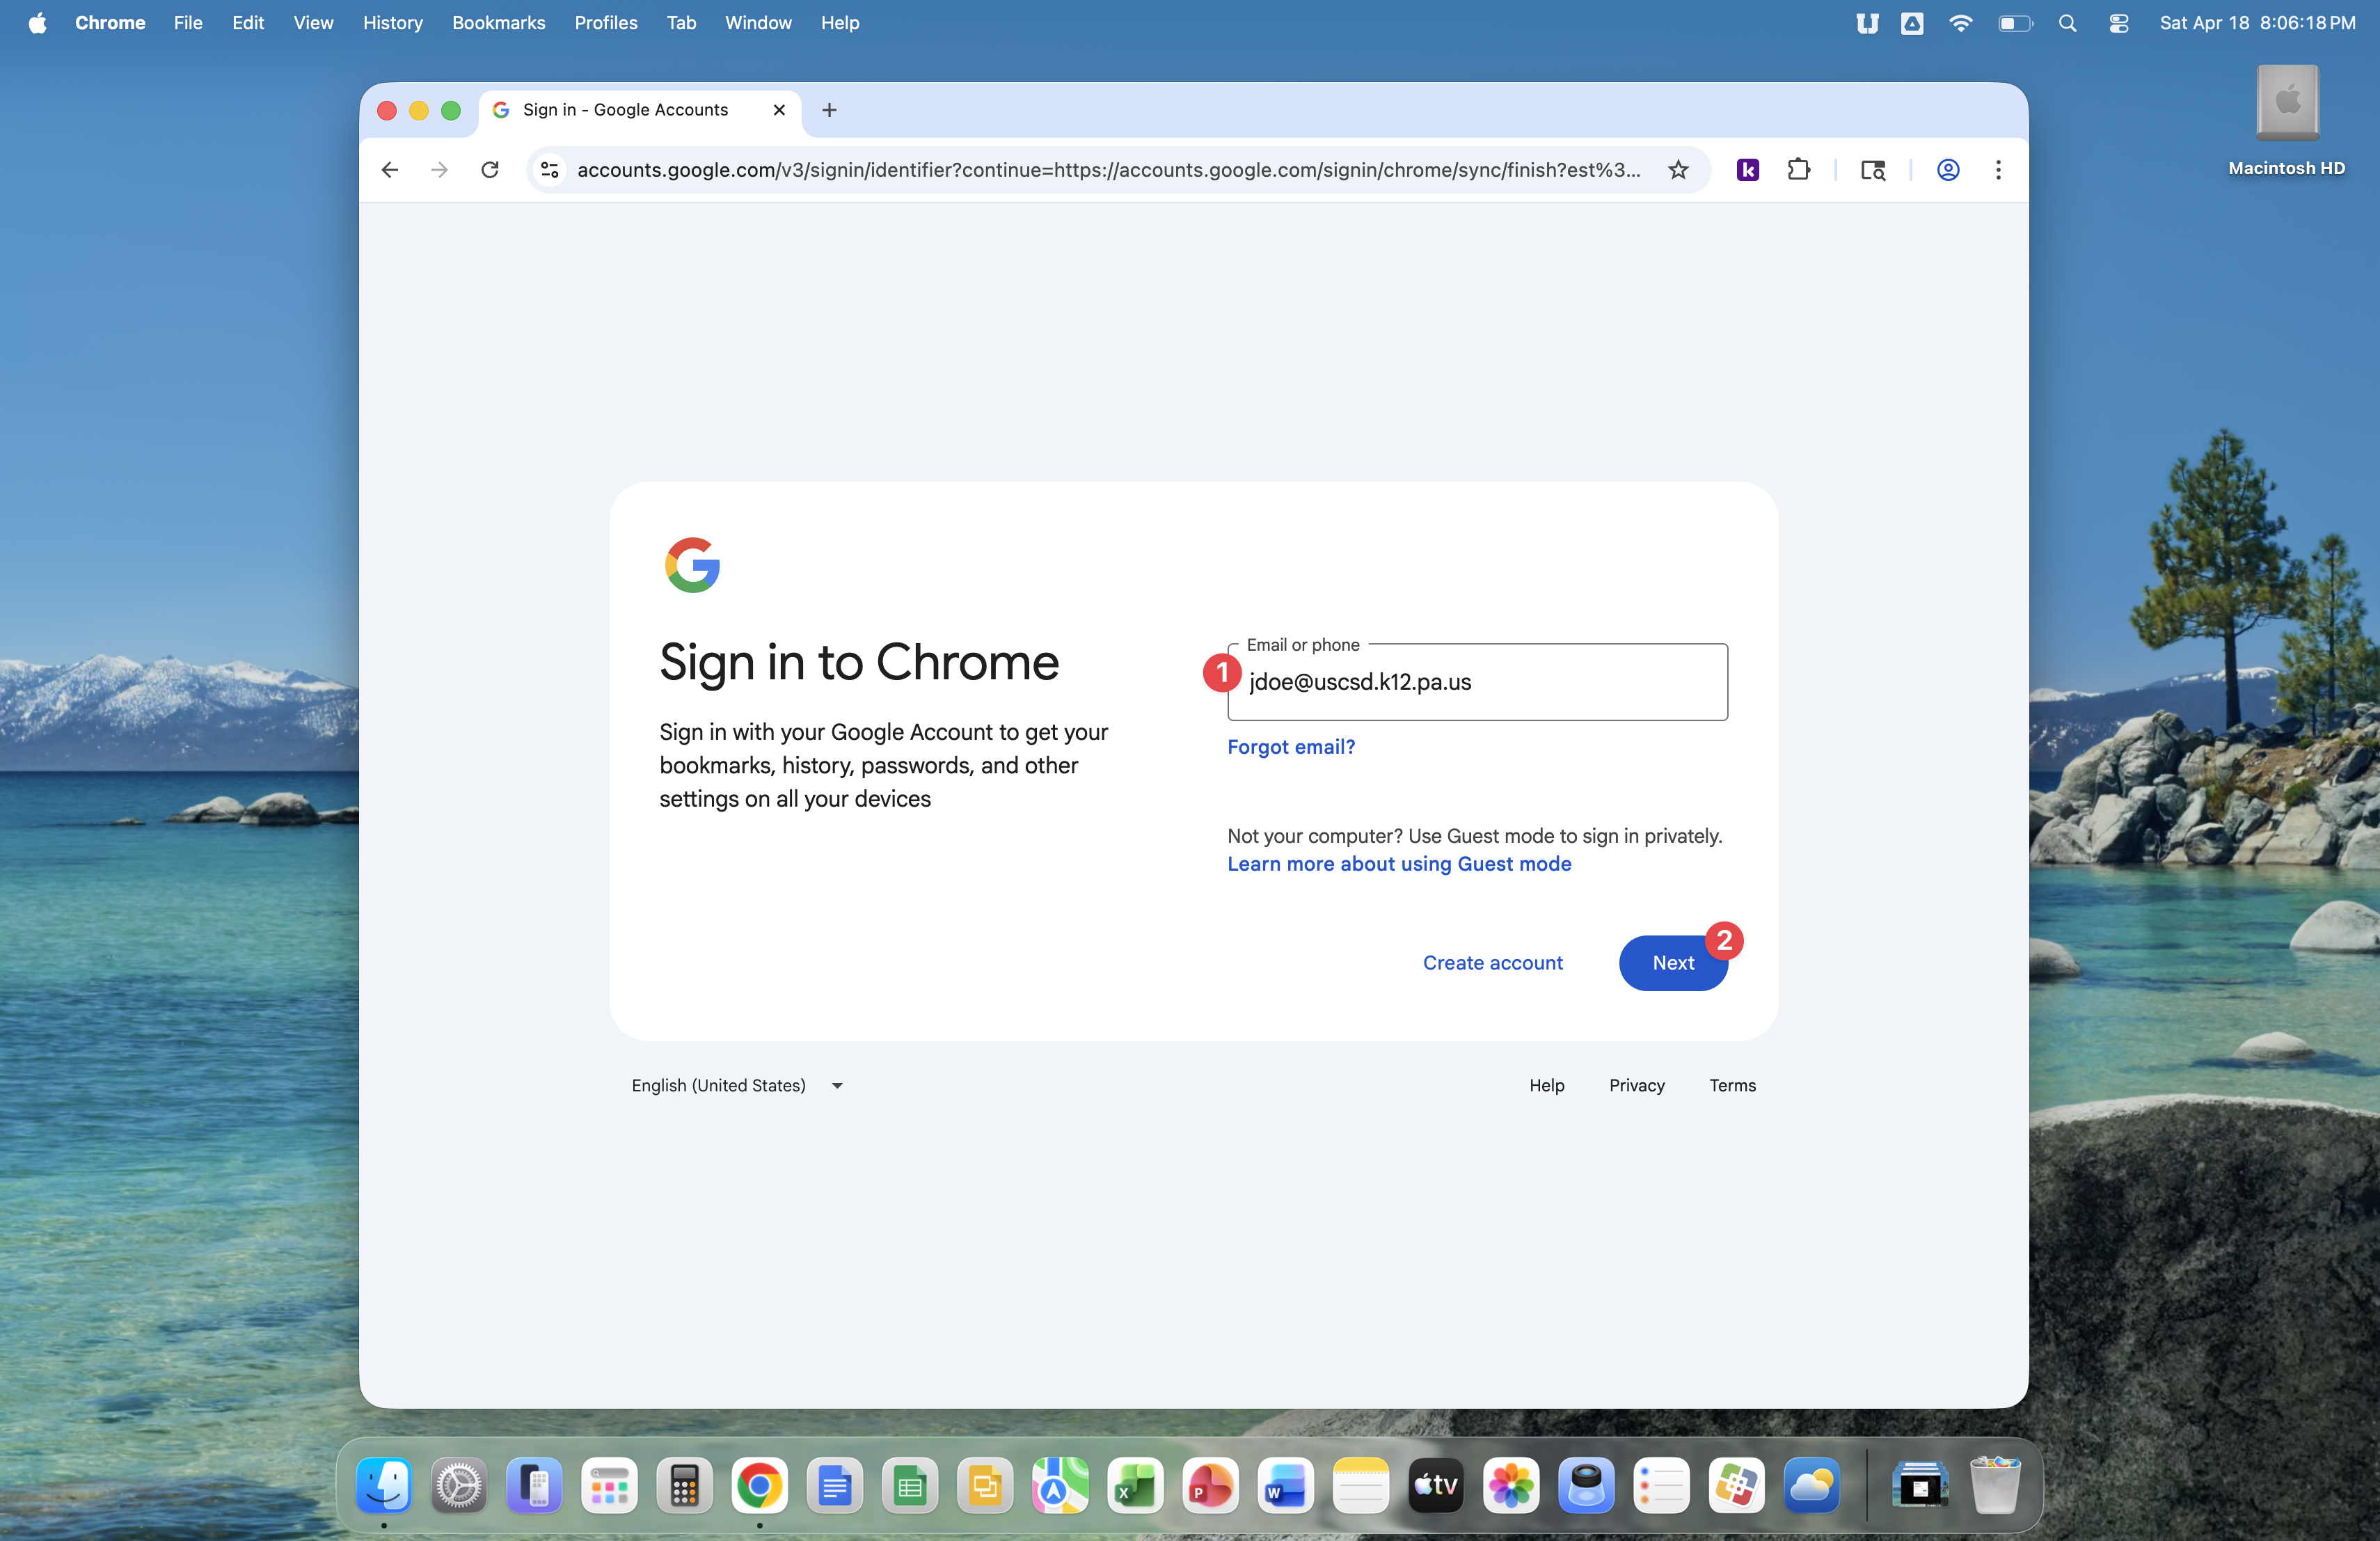
Enter your SSO account username then click the Next button.
Enter your SSO account password then click the Sign in button.
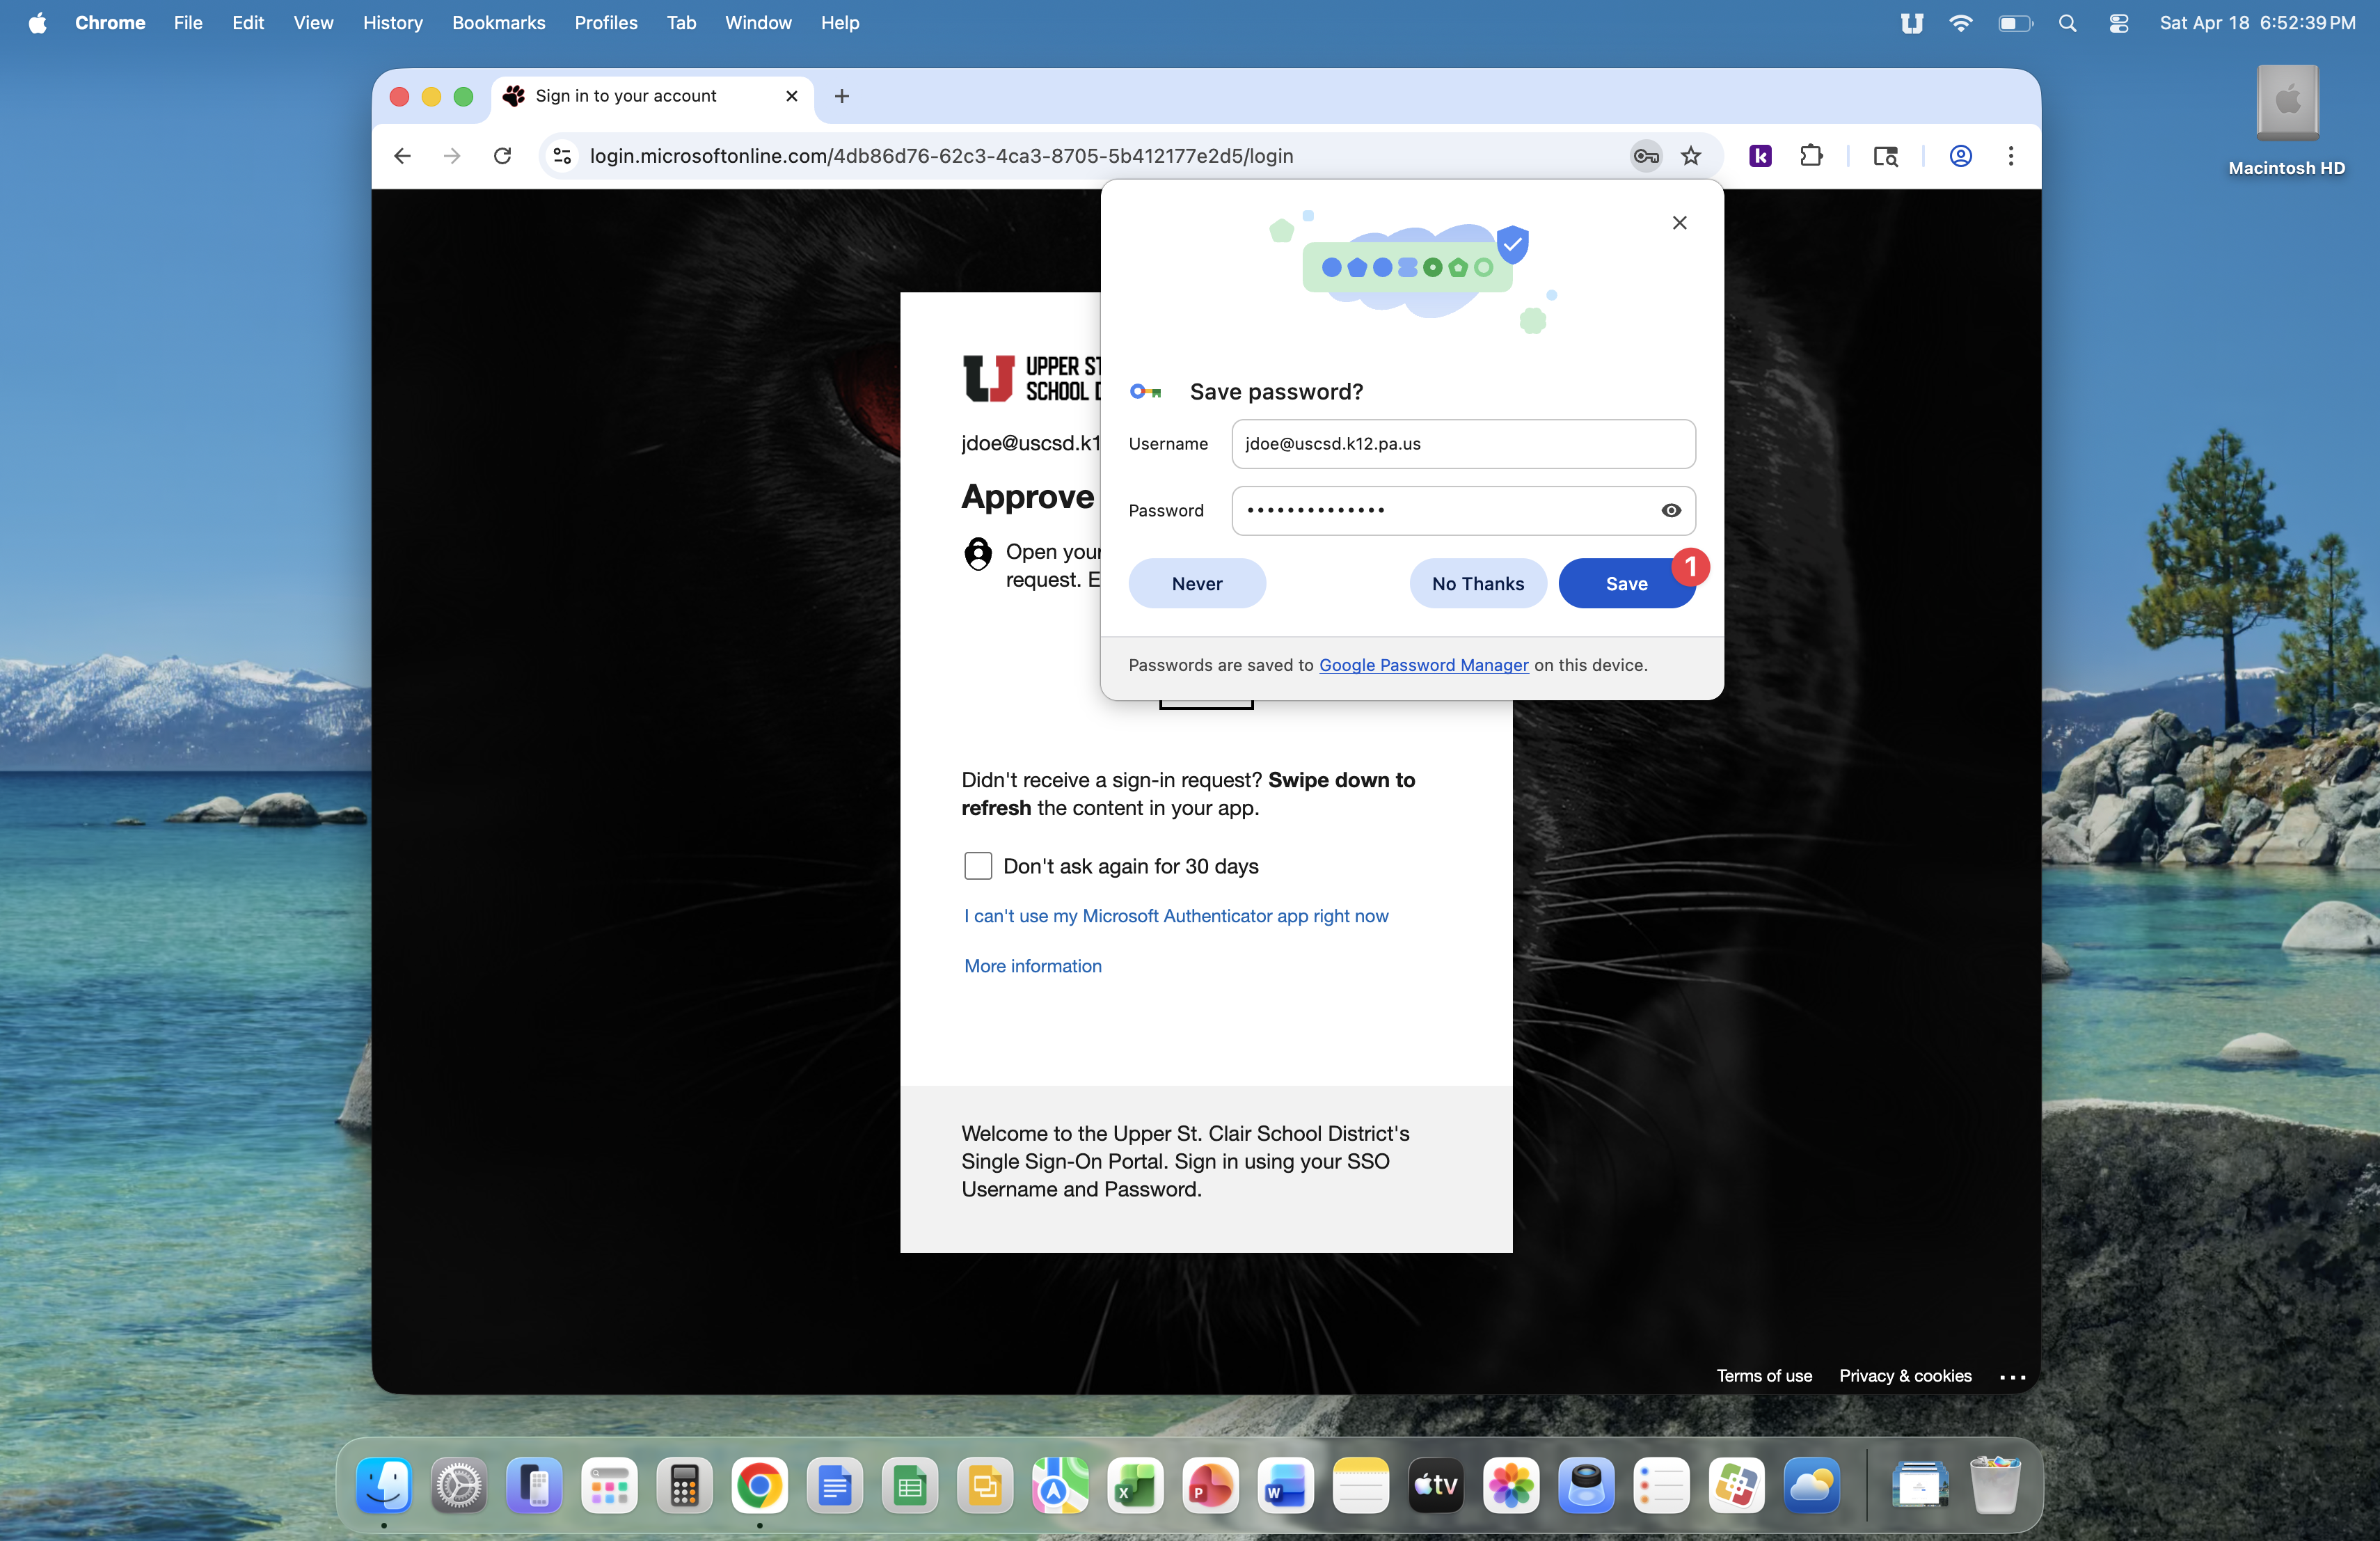
Google Password Manager will ask if it can save your SSO account username and password. It is suggested that you click the Save button.
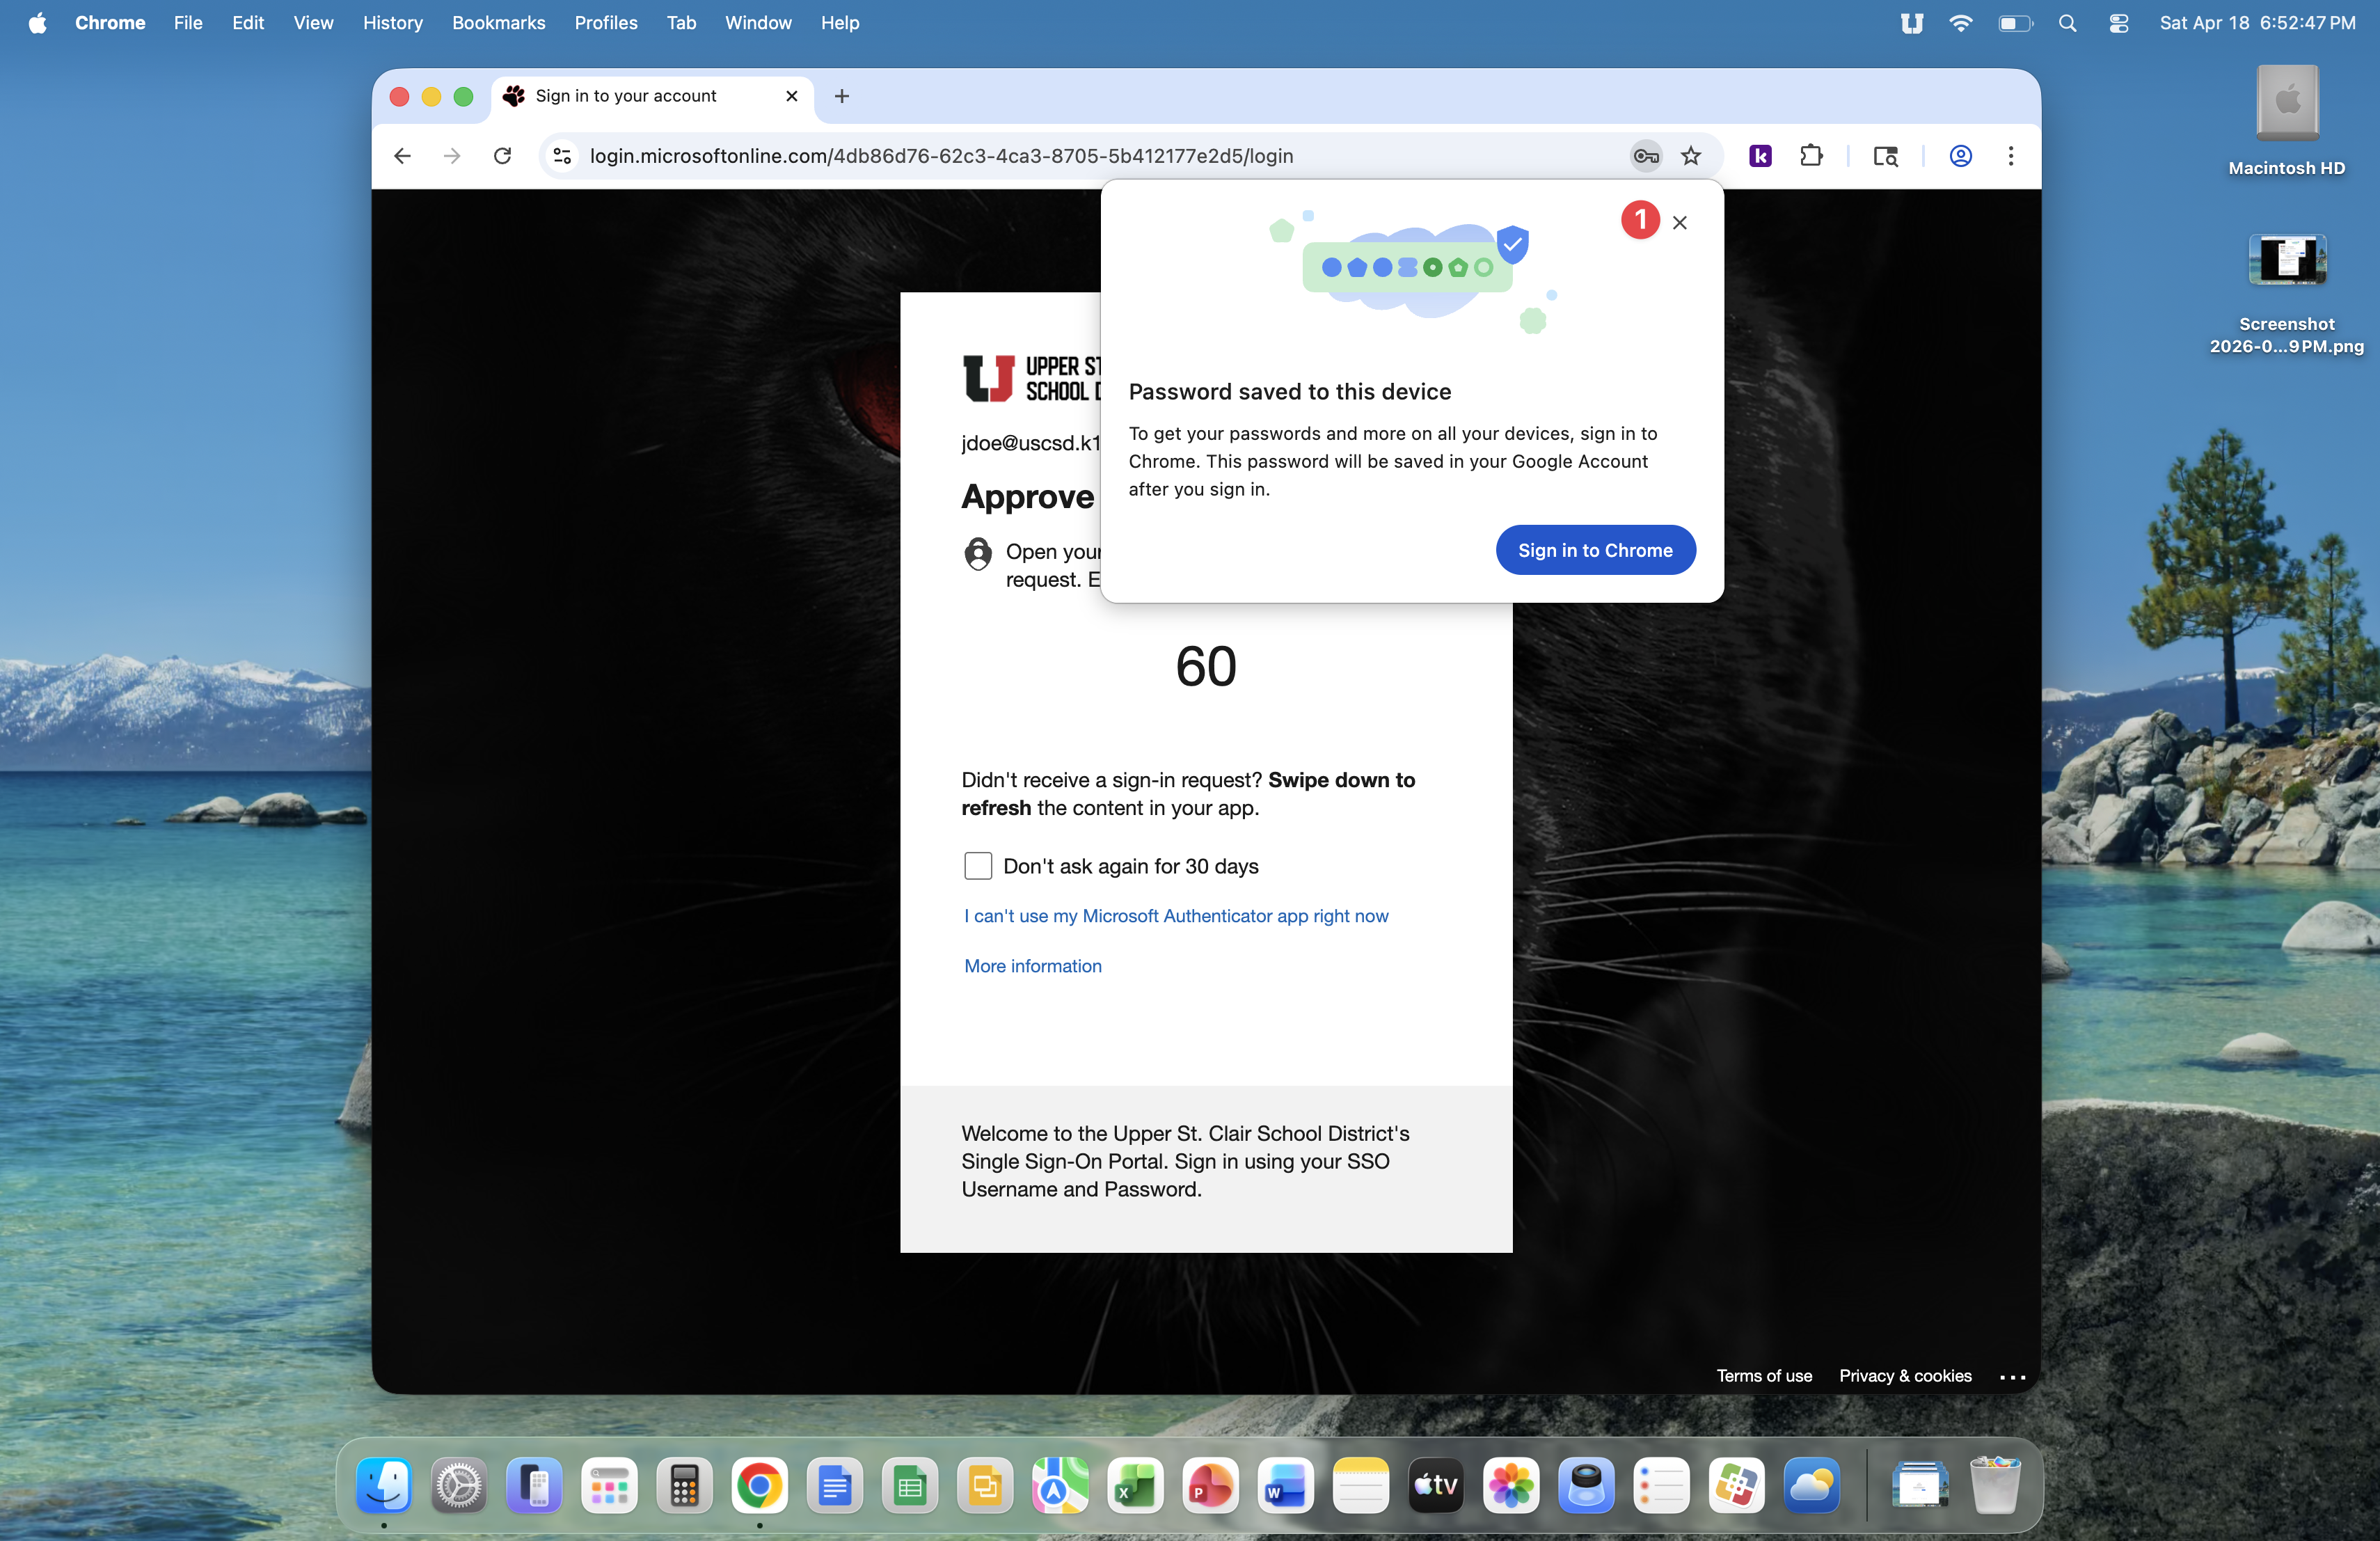
Google Password Manager will display the 'Password saved to this device' prompt. Click the x icon to close this window.
Next, enter your SSO account code, also known as a MFA code. The image below shows a popular SSO account code method, where two digits are presented and you must enter those digits into the Microsoft Authenticator app on your phone.
Click the Continue button.

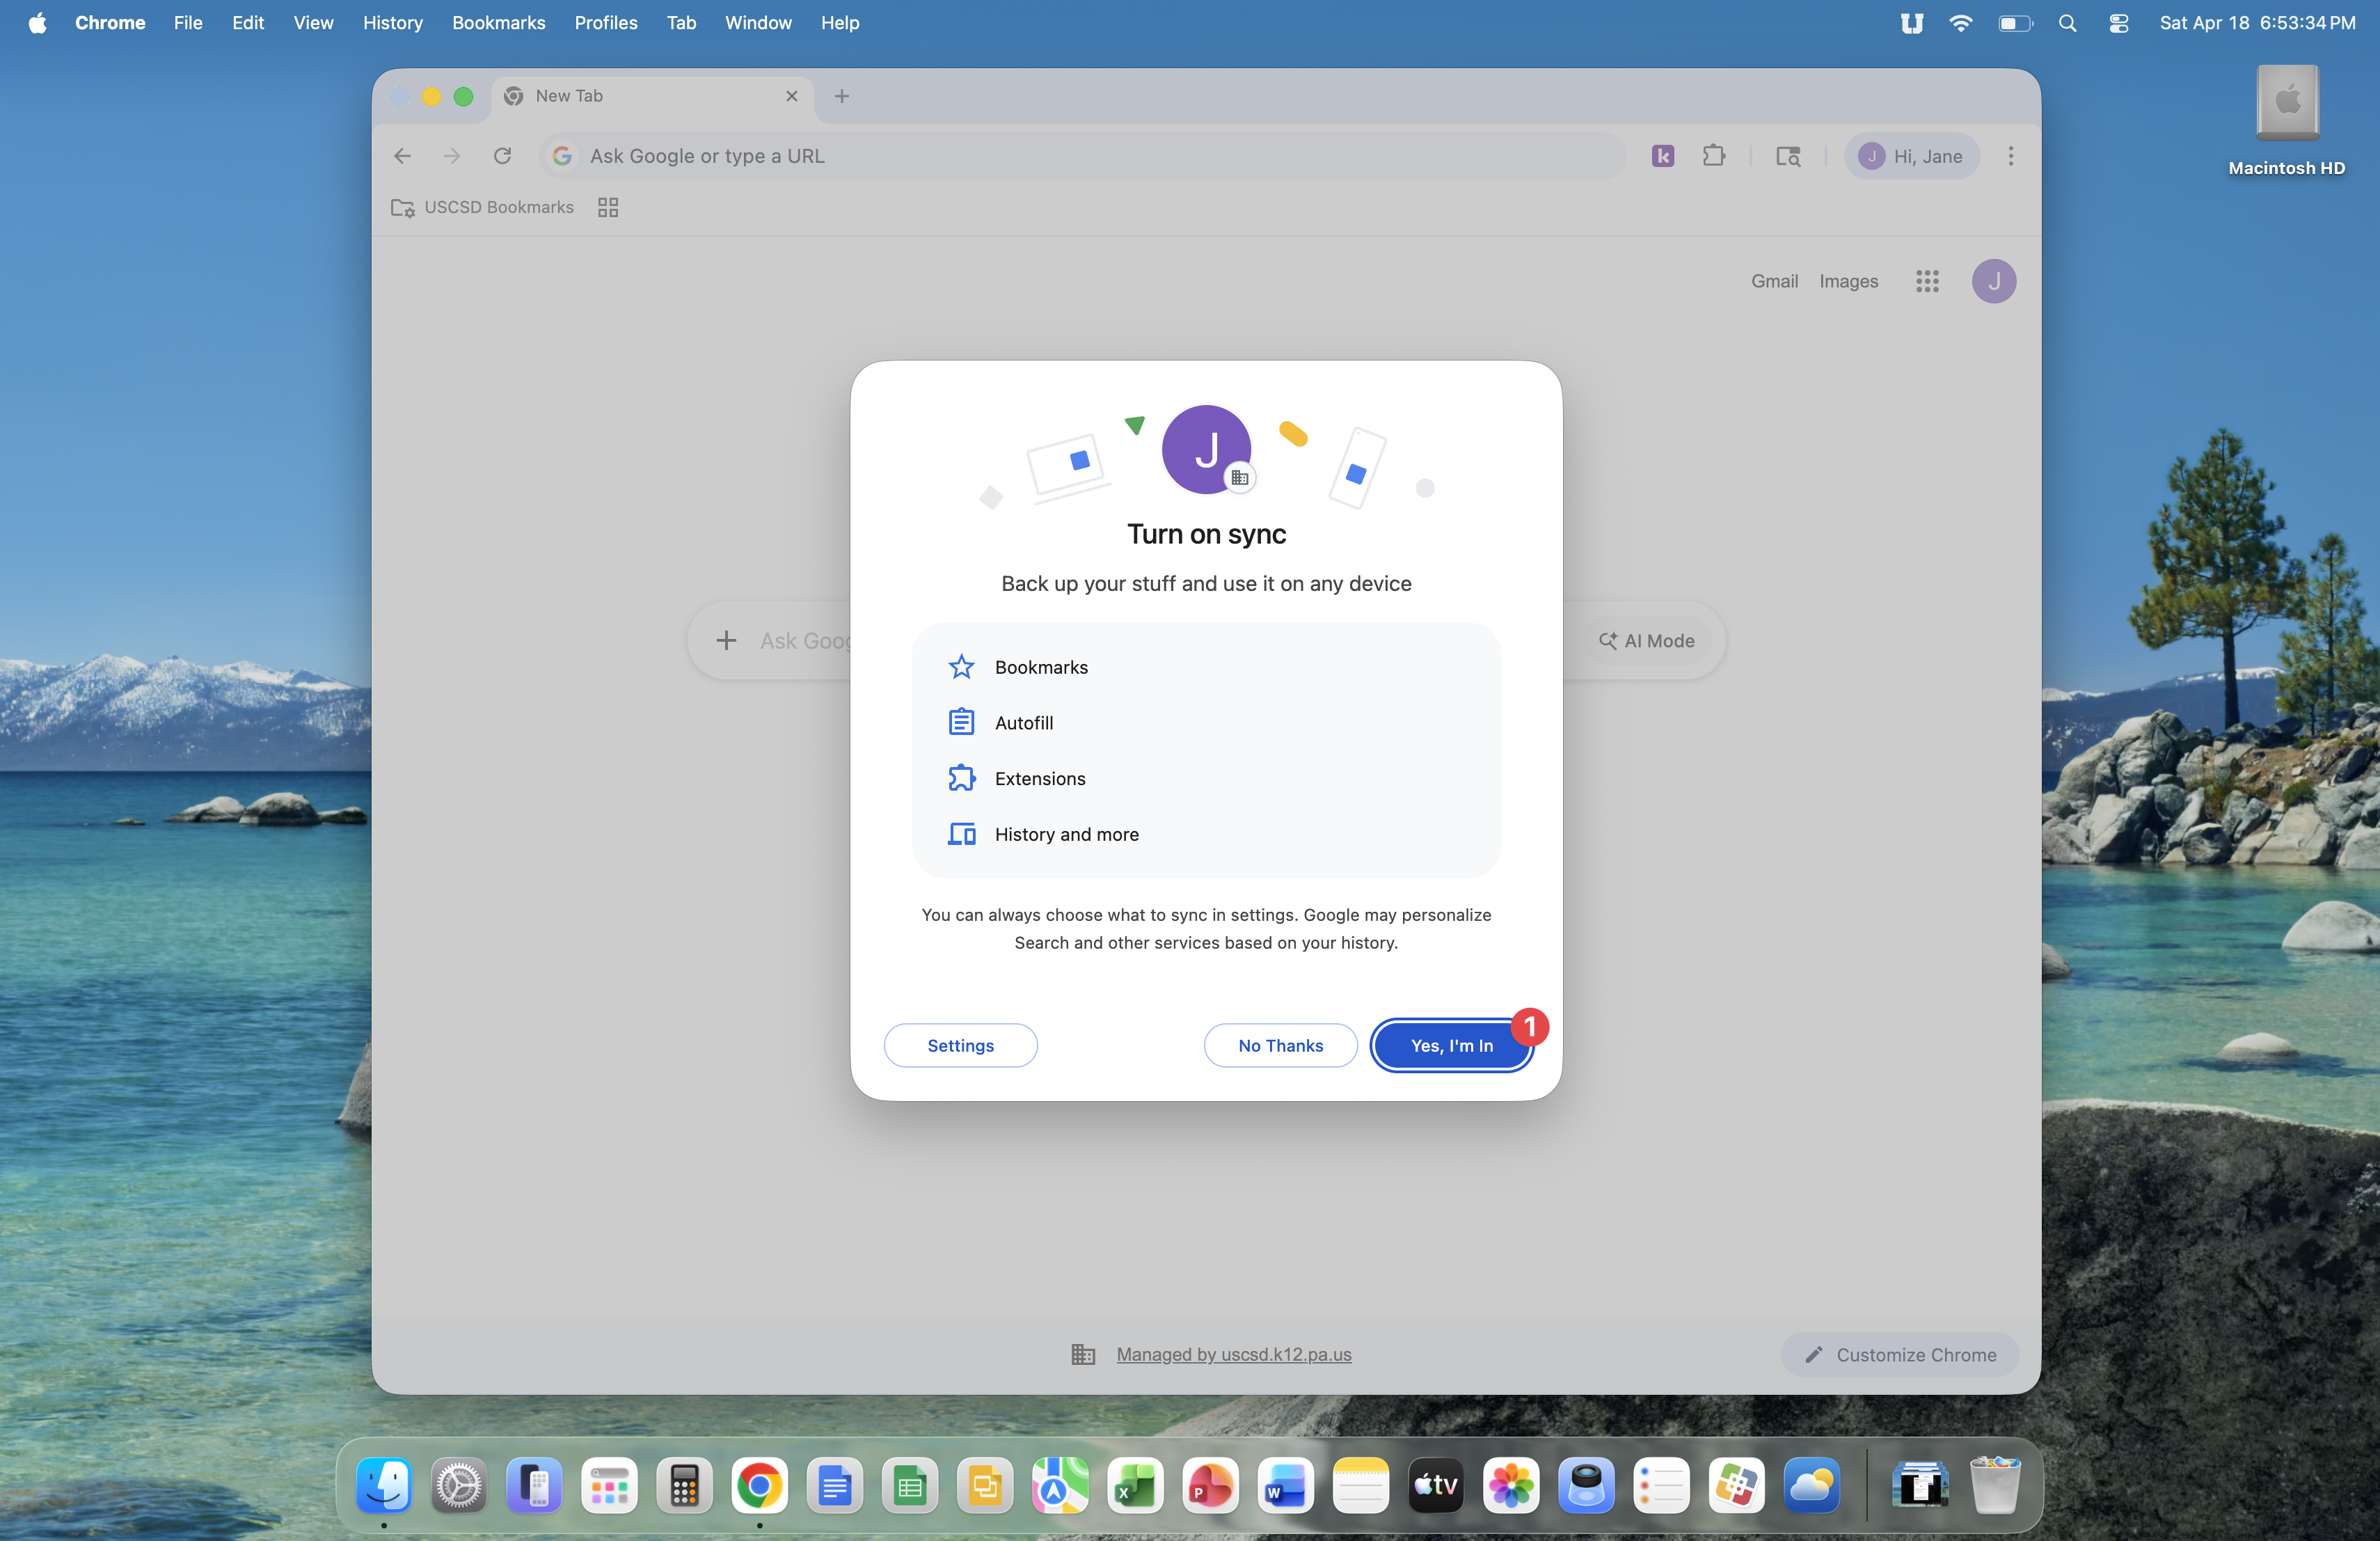
Click the Yes, I'm in button. You're now syncing from your computer to Google. This allows you to sign into Chrome on another device and gain access to your bookmarks, autofill, extensions and search history.
Google Chrome is now set up. Next we'll set up Google Drive.
Google Drive is used for storing, opening, saving and sharing work related files.
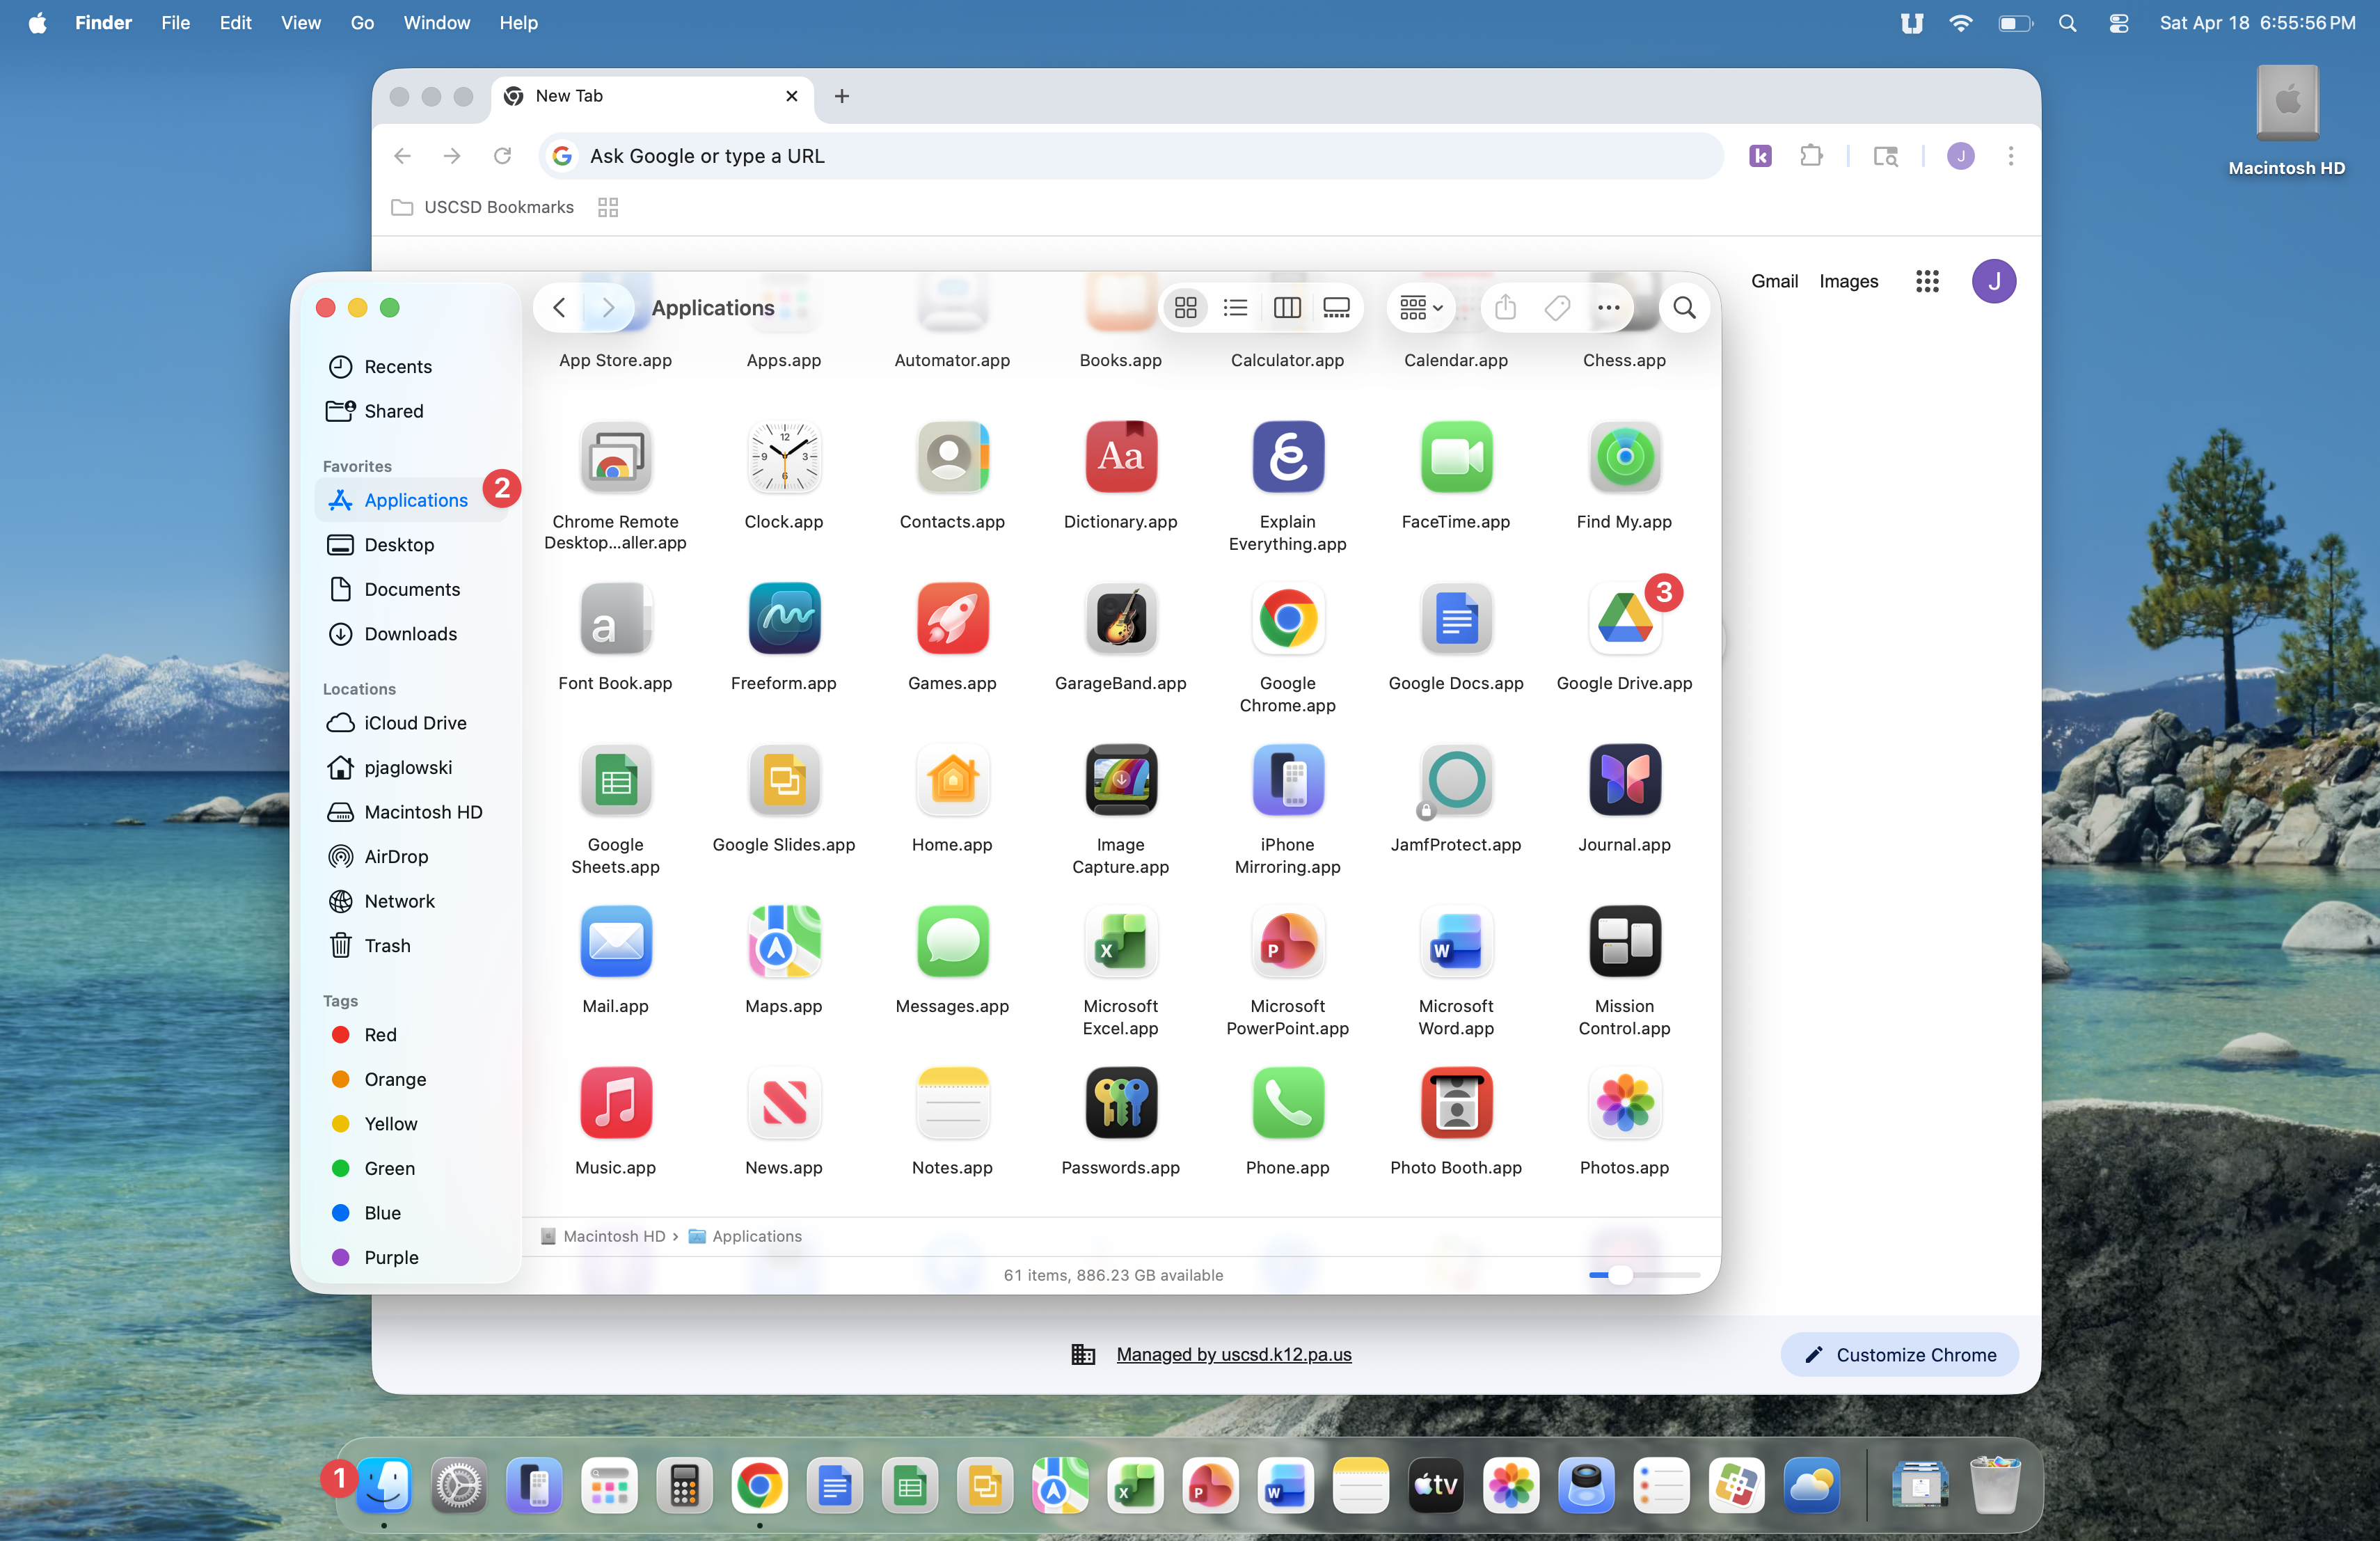
Click the Finder application in the Dock, then click Applications and double-click the Google Drive icon.
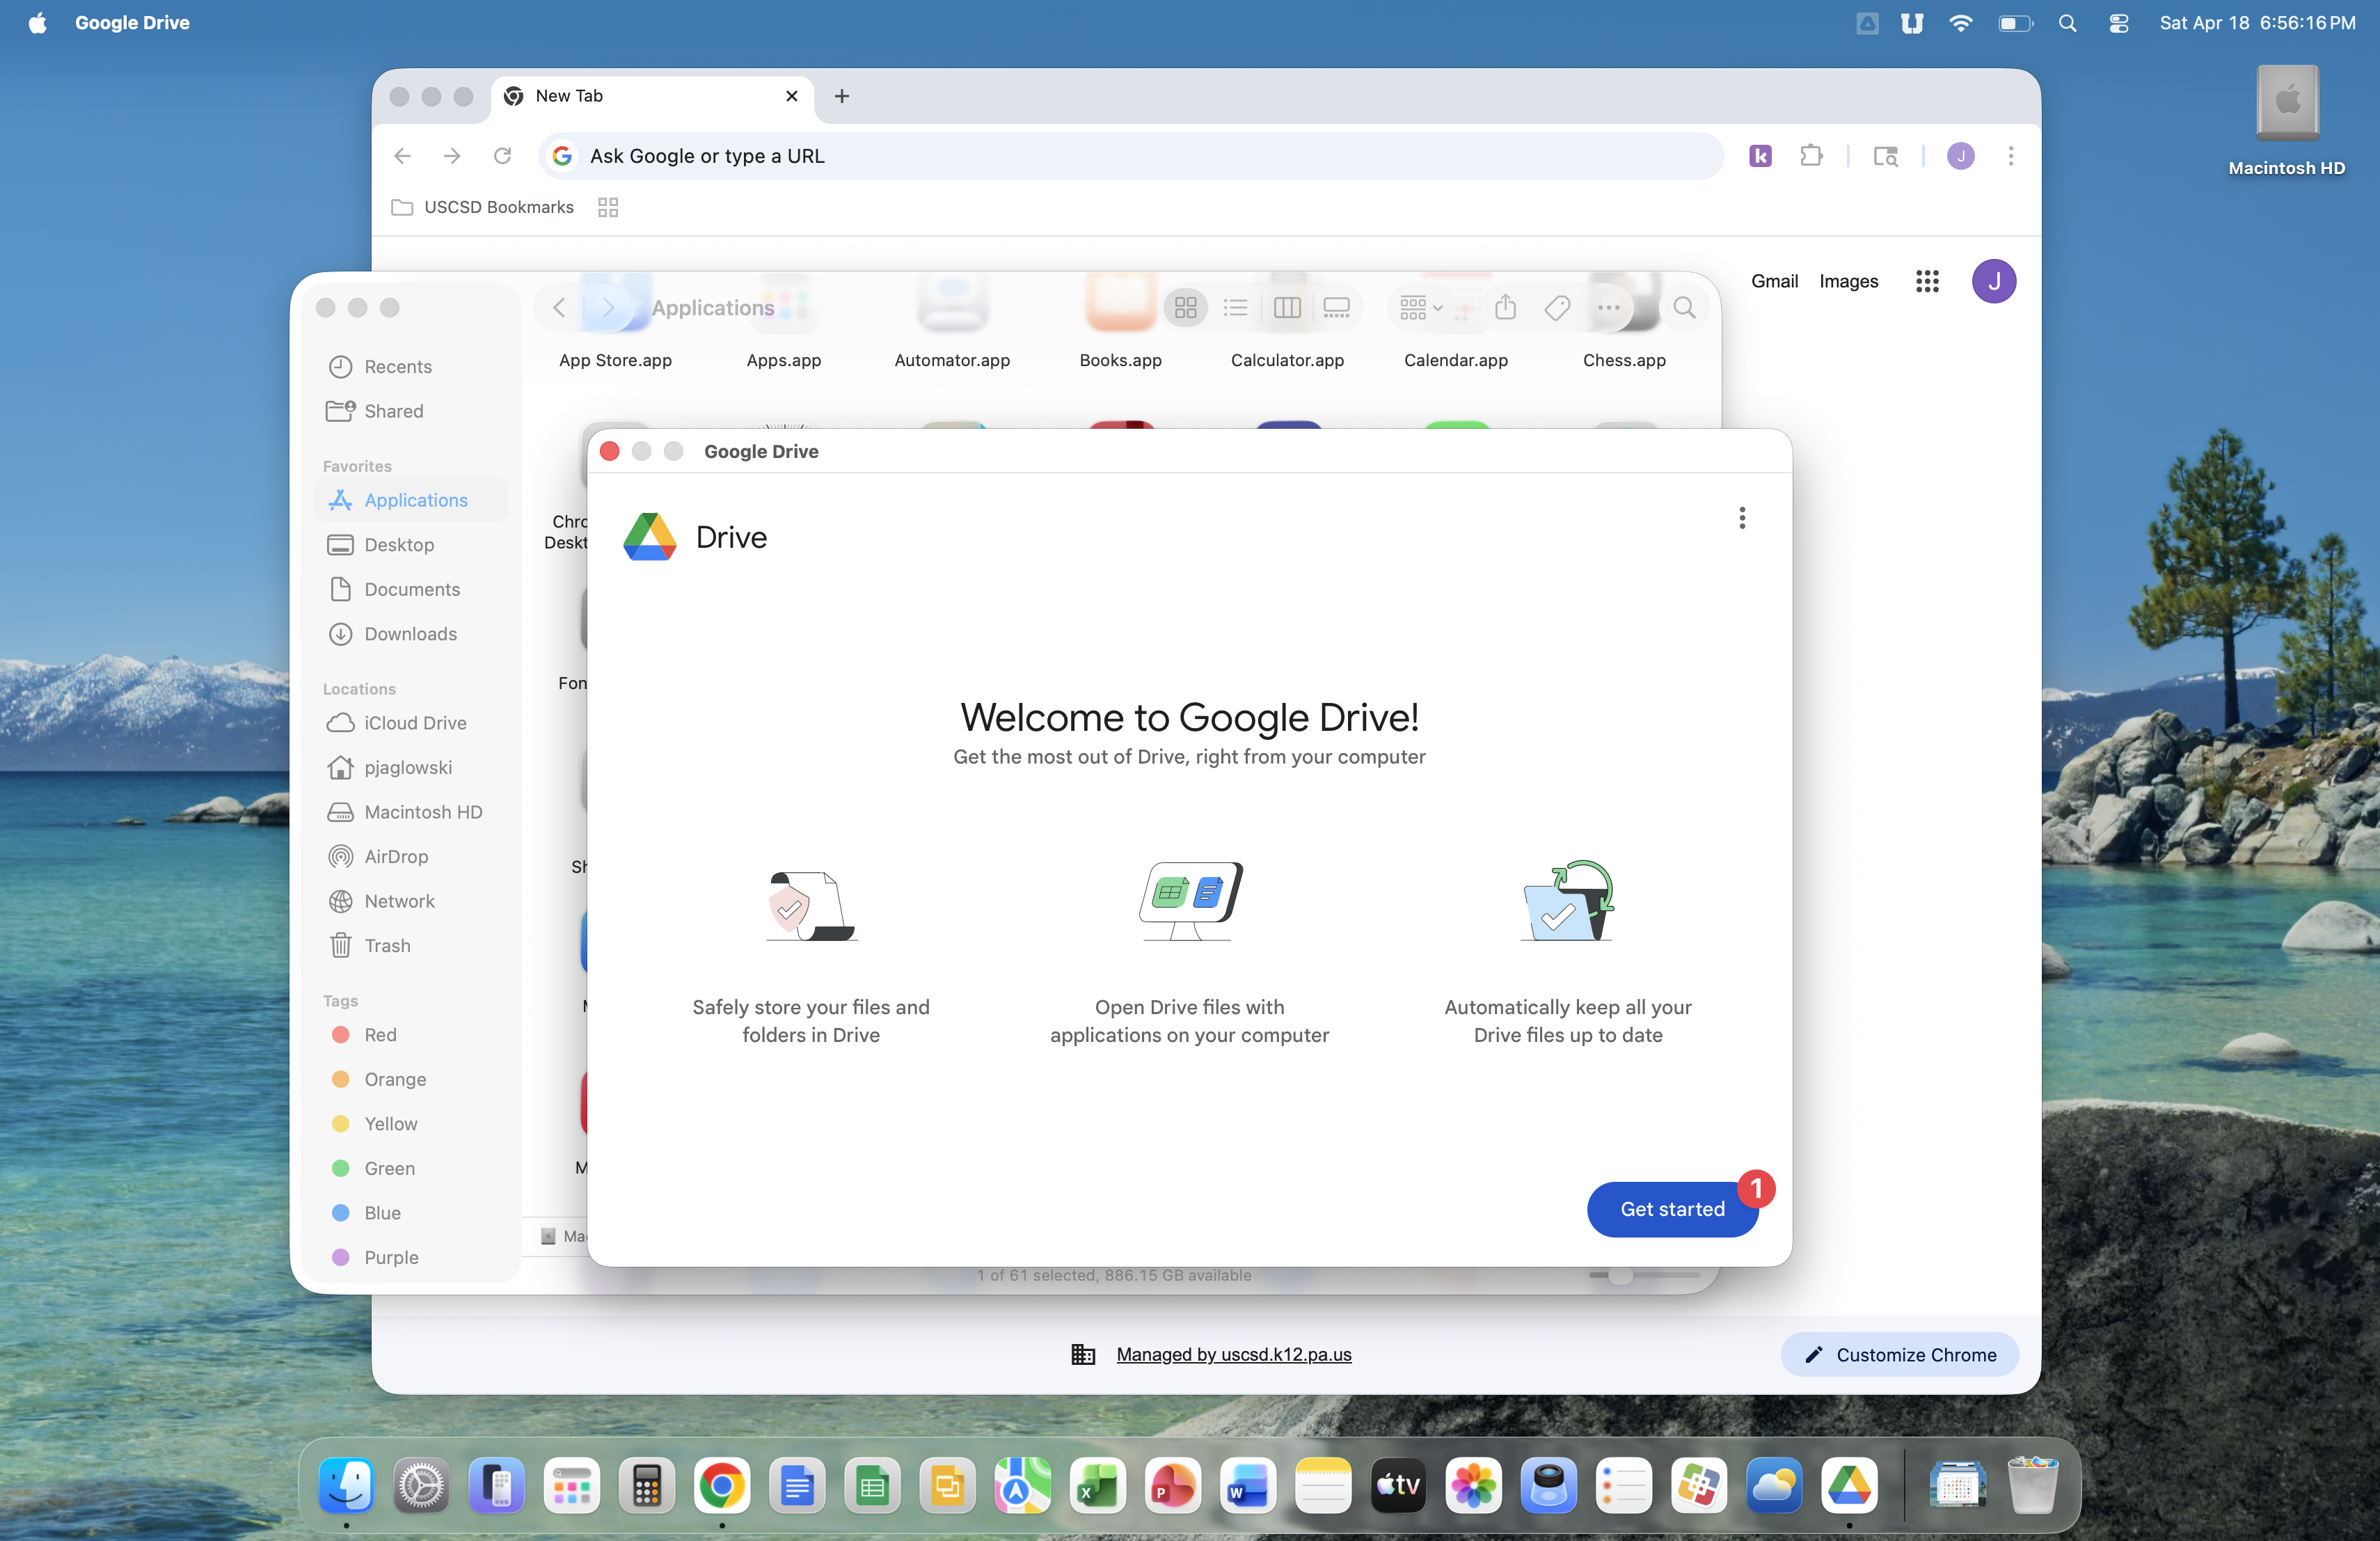
Click the Get started button.
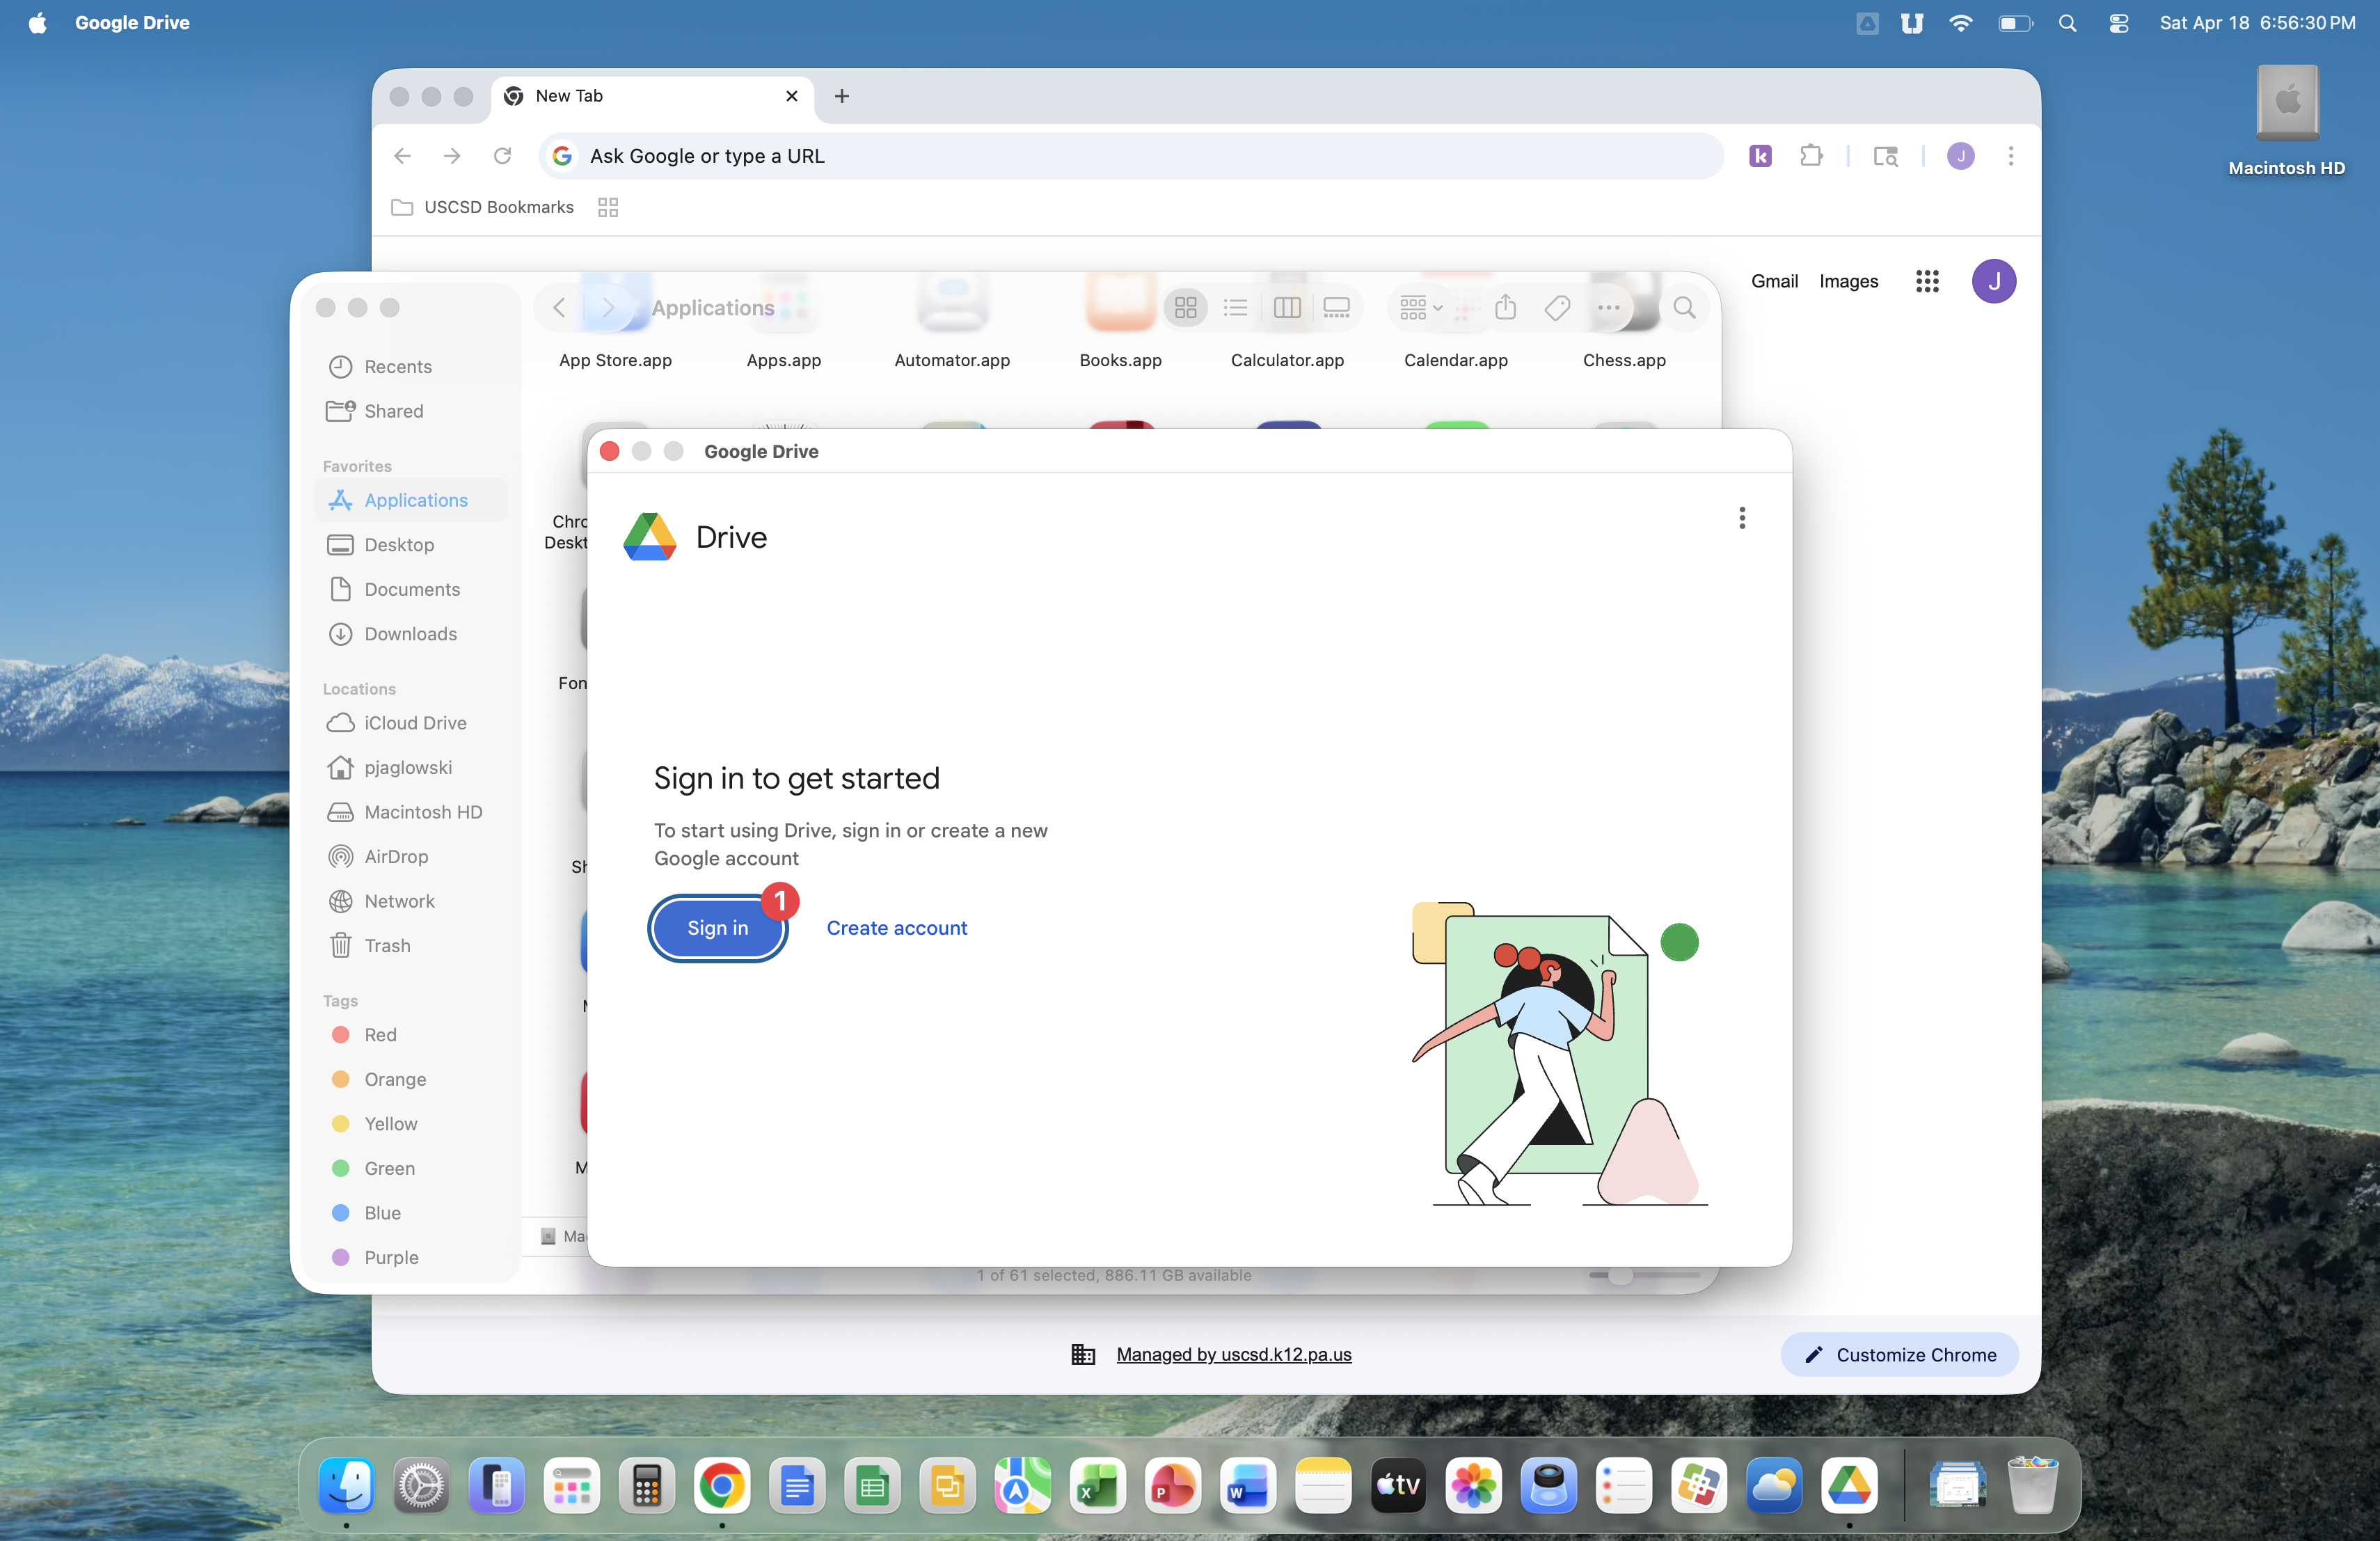
Click the Sign in button.
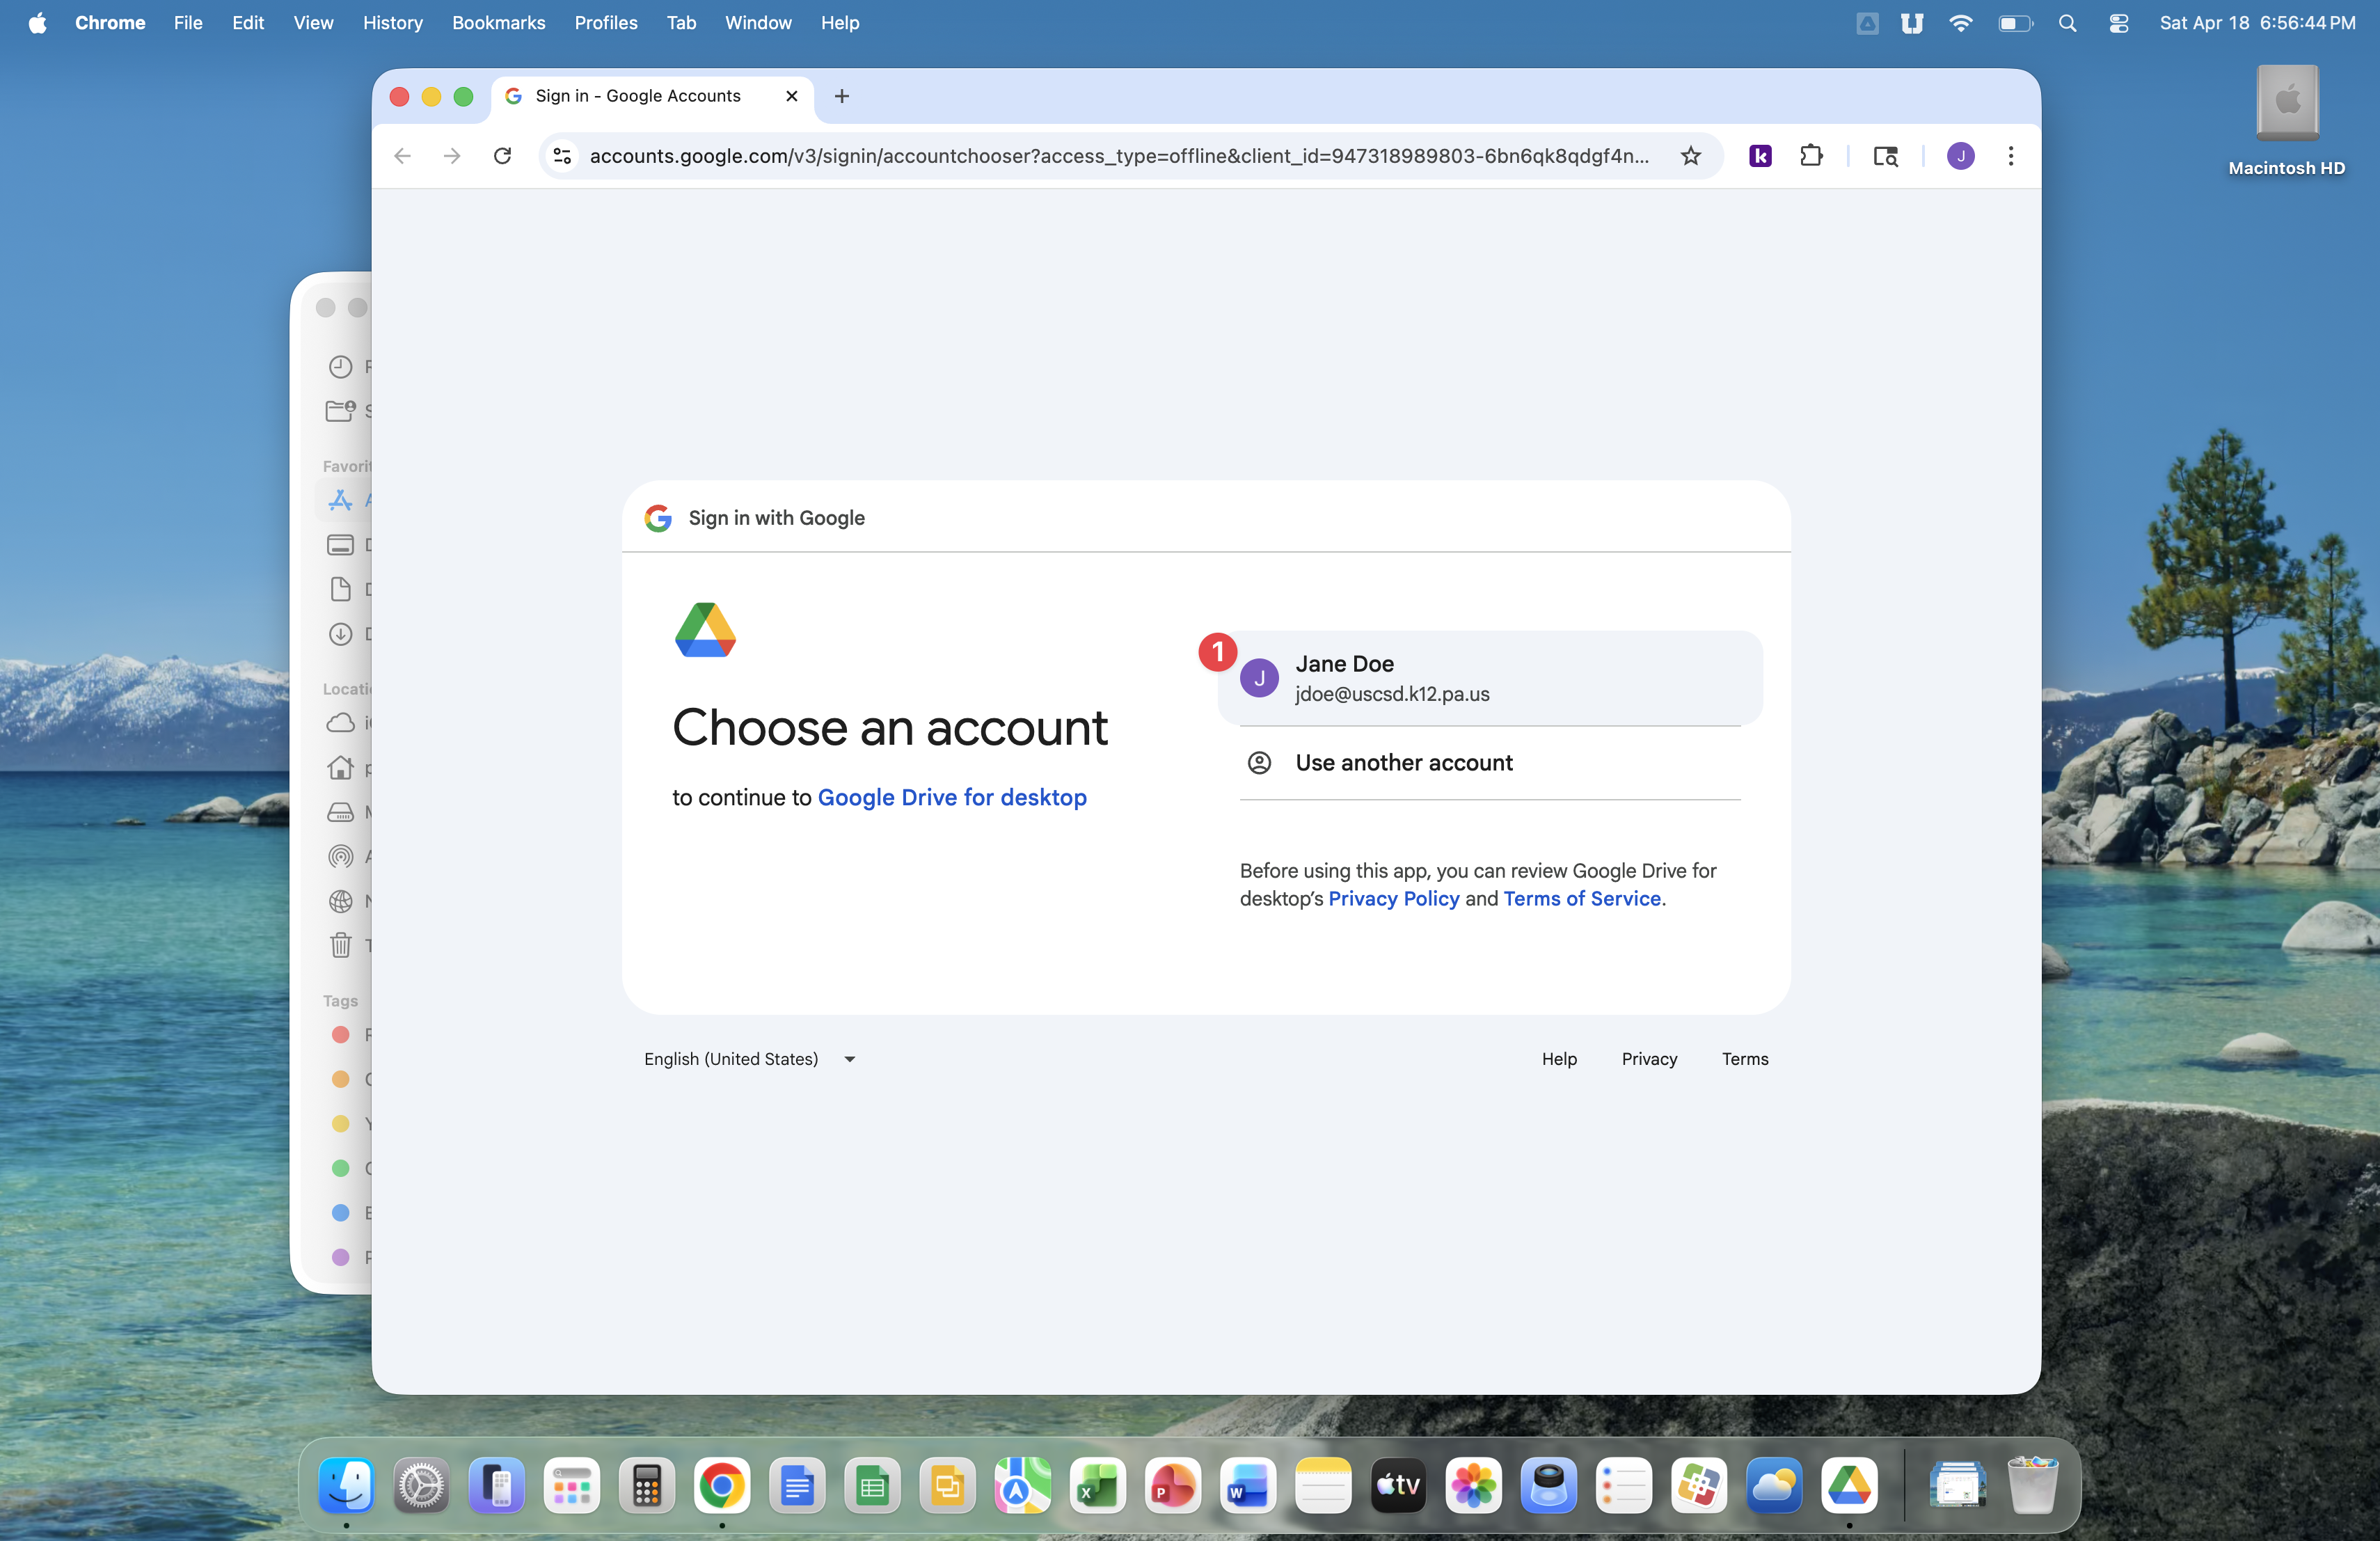
Select your SSO account.
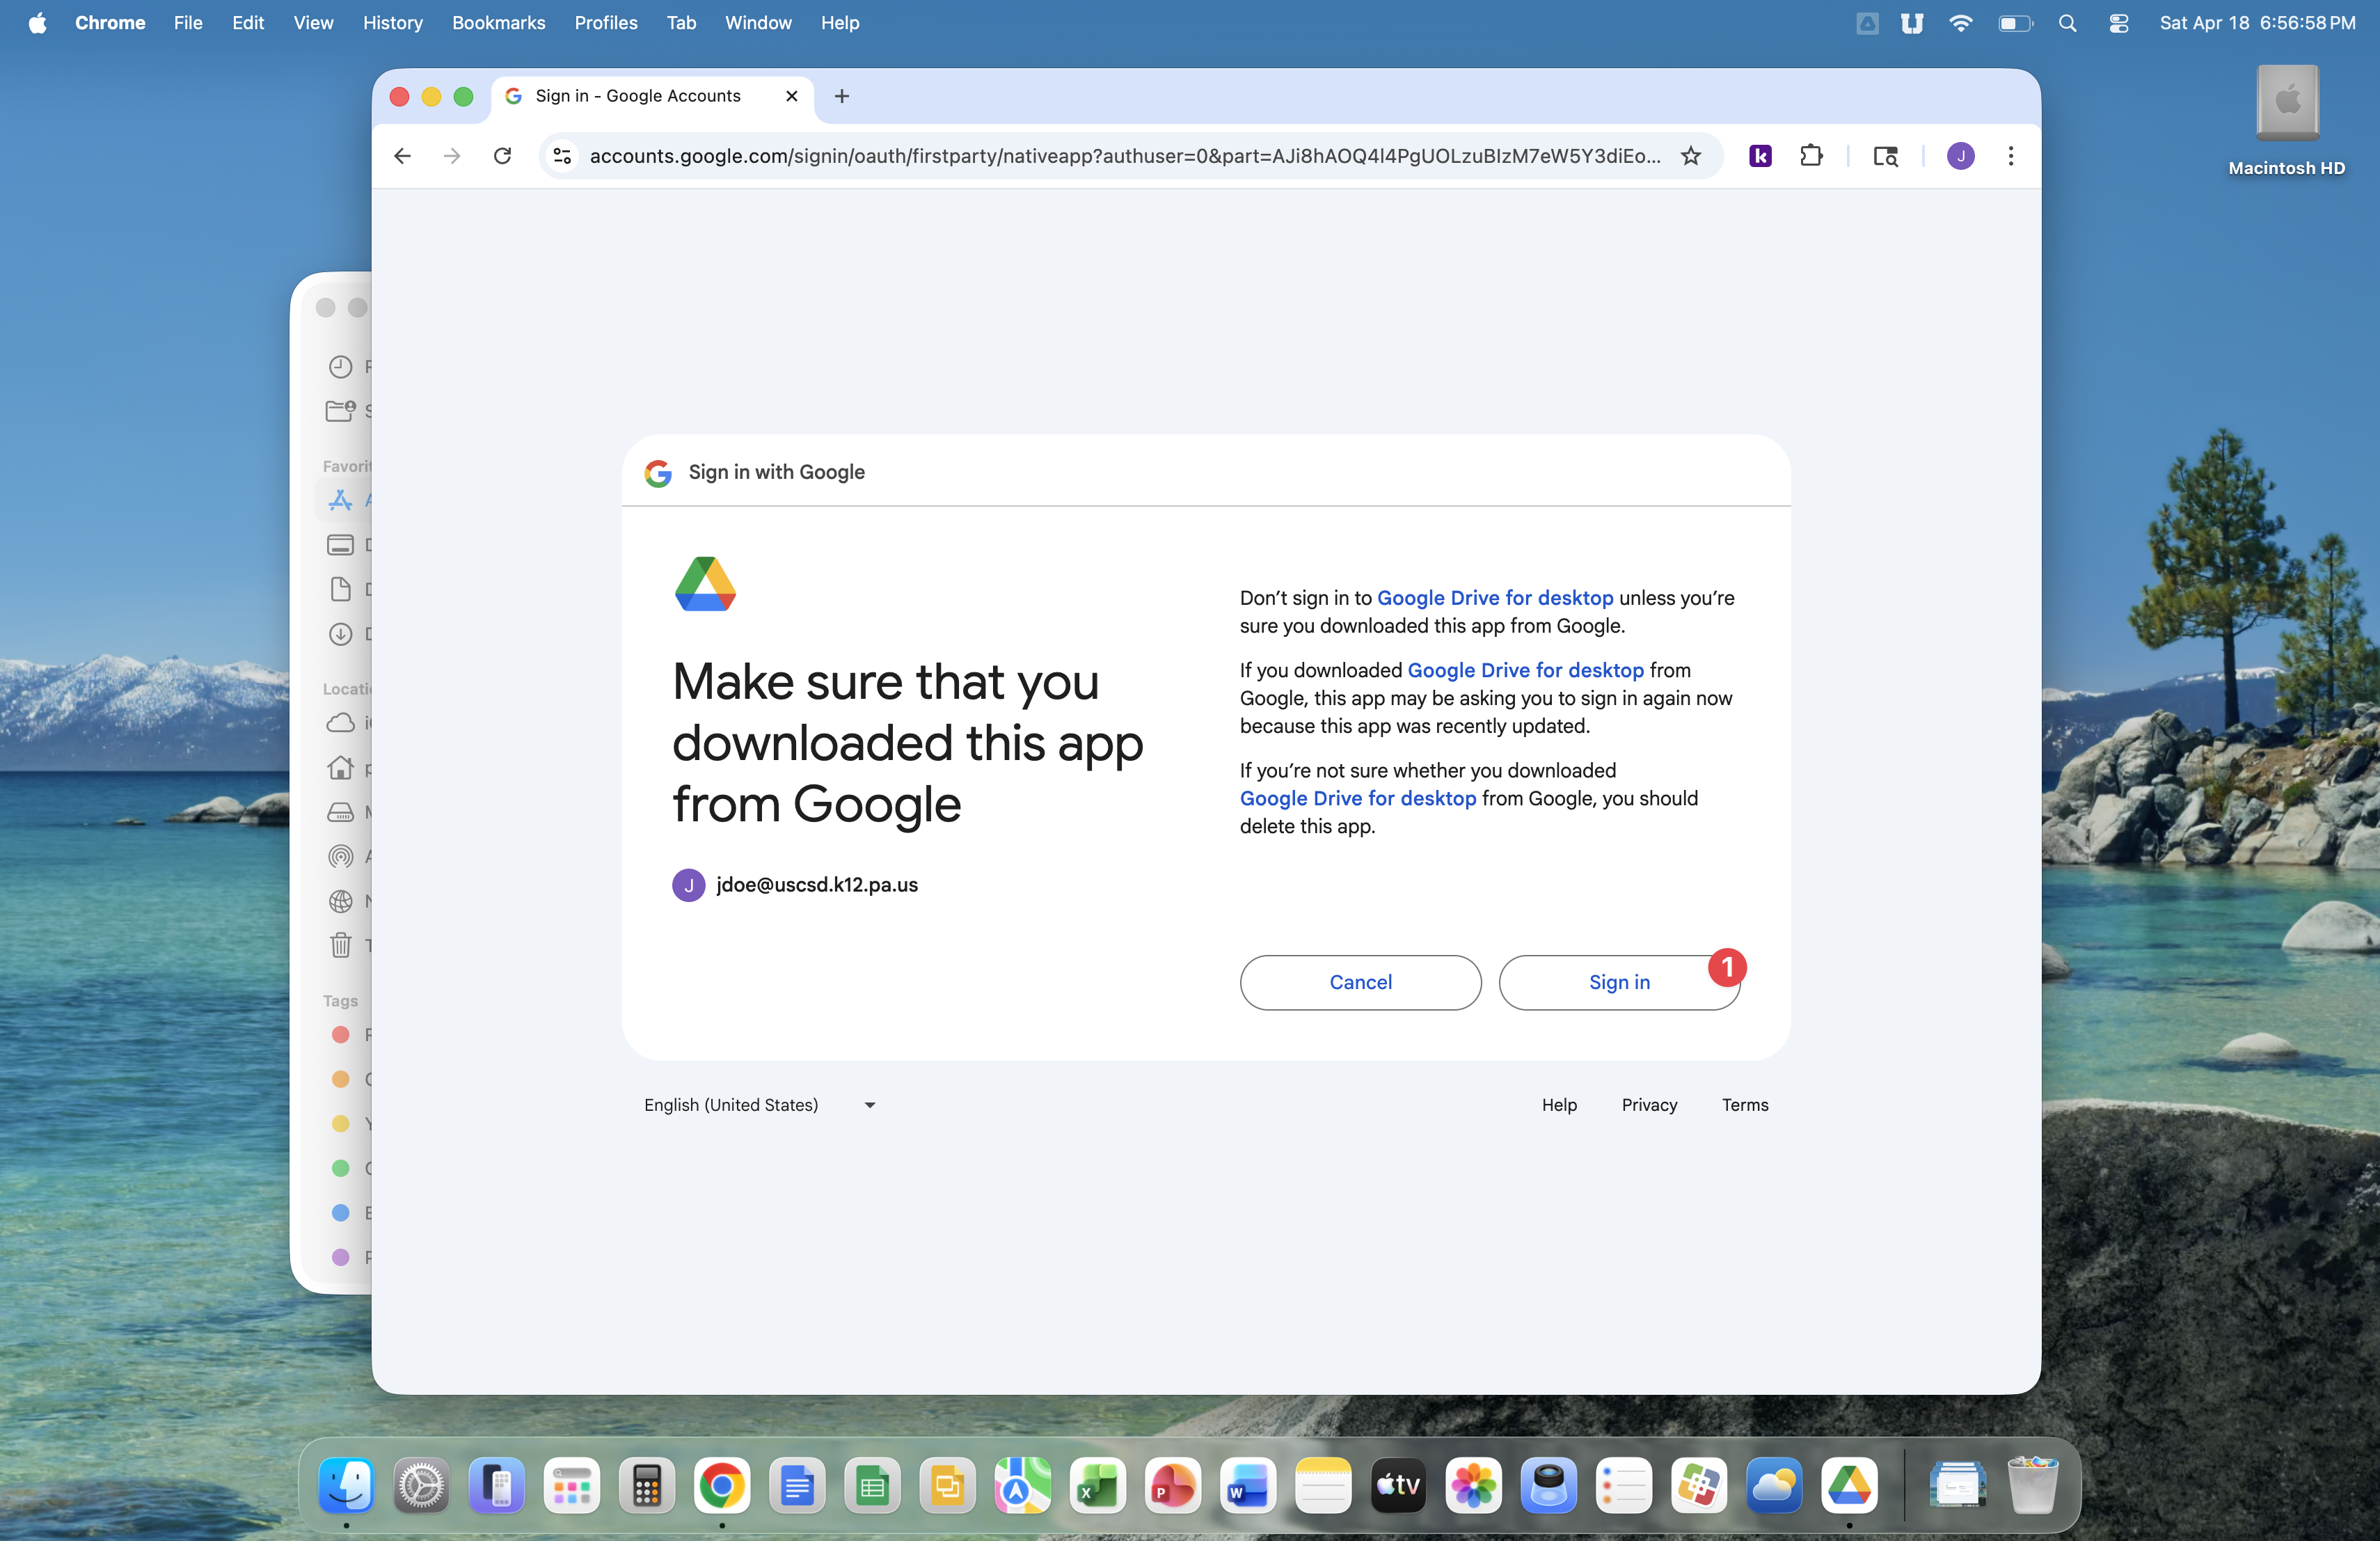
Click the Sign in button.
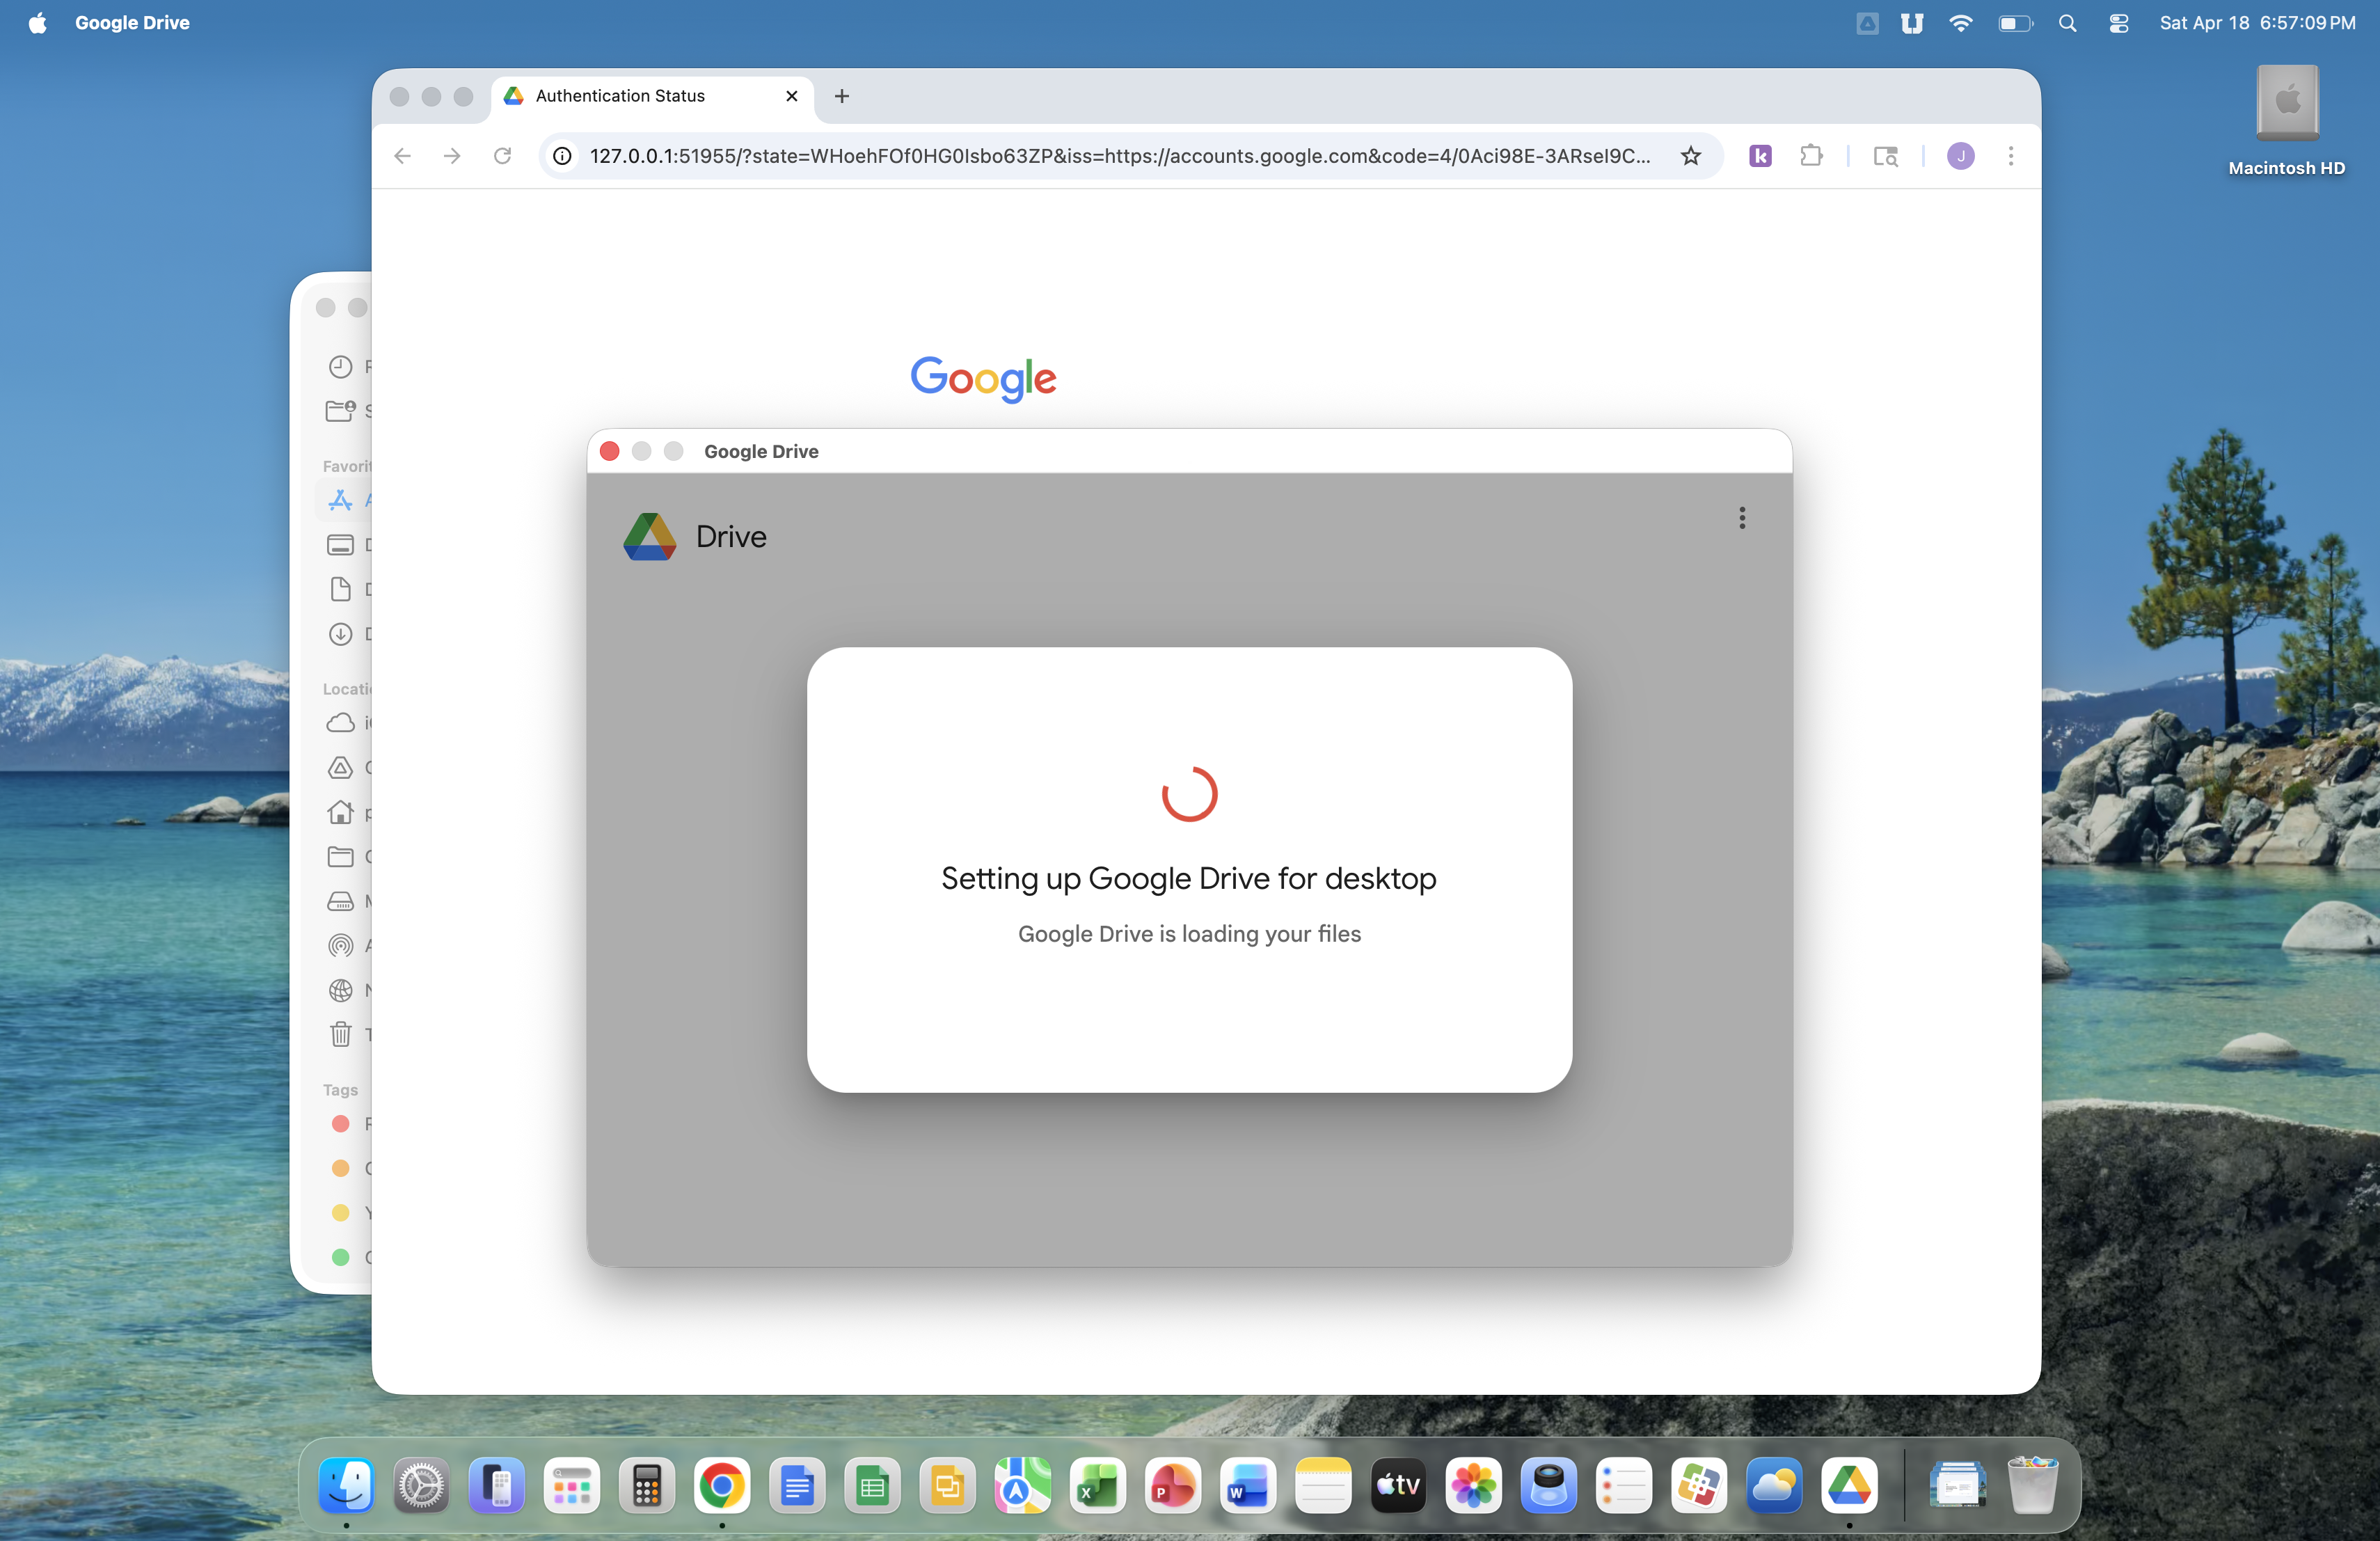
Google Drive will now perform some setup steps of it's own.
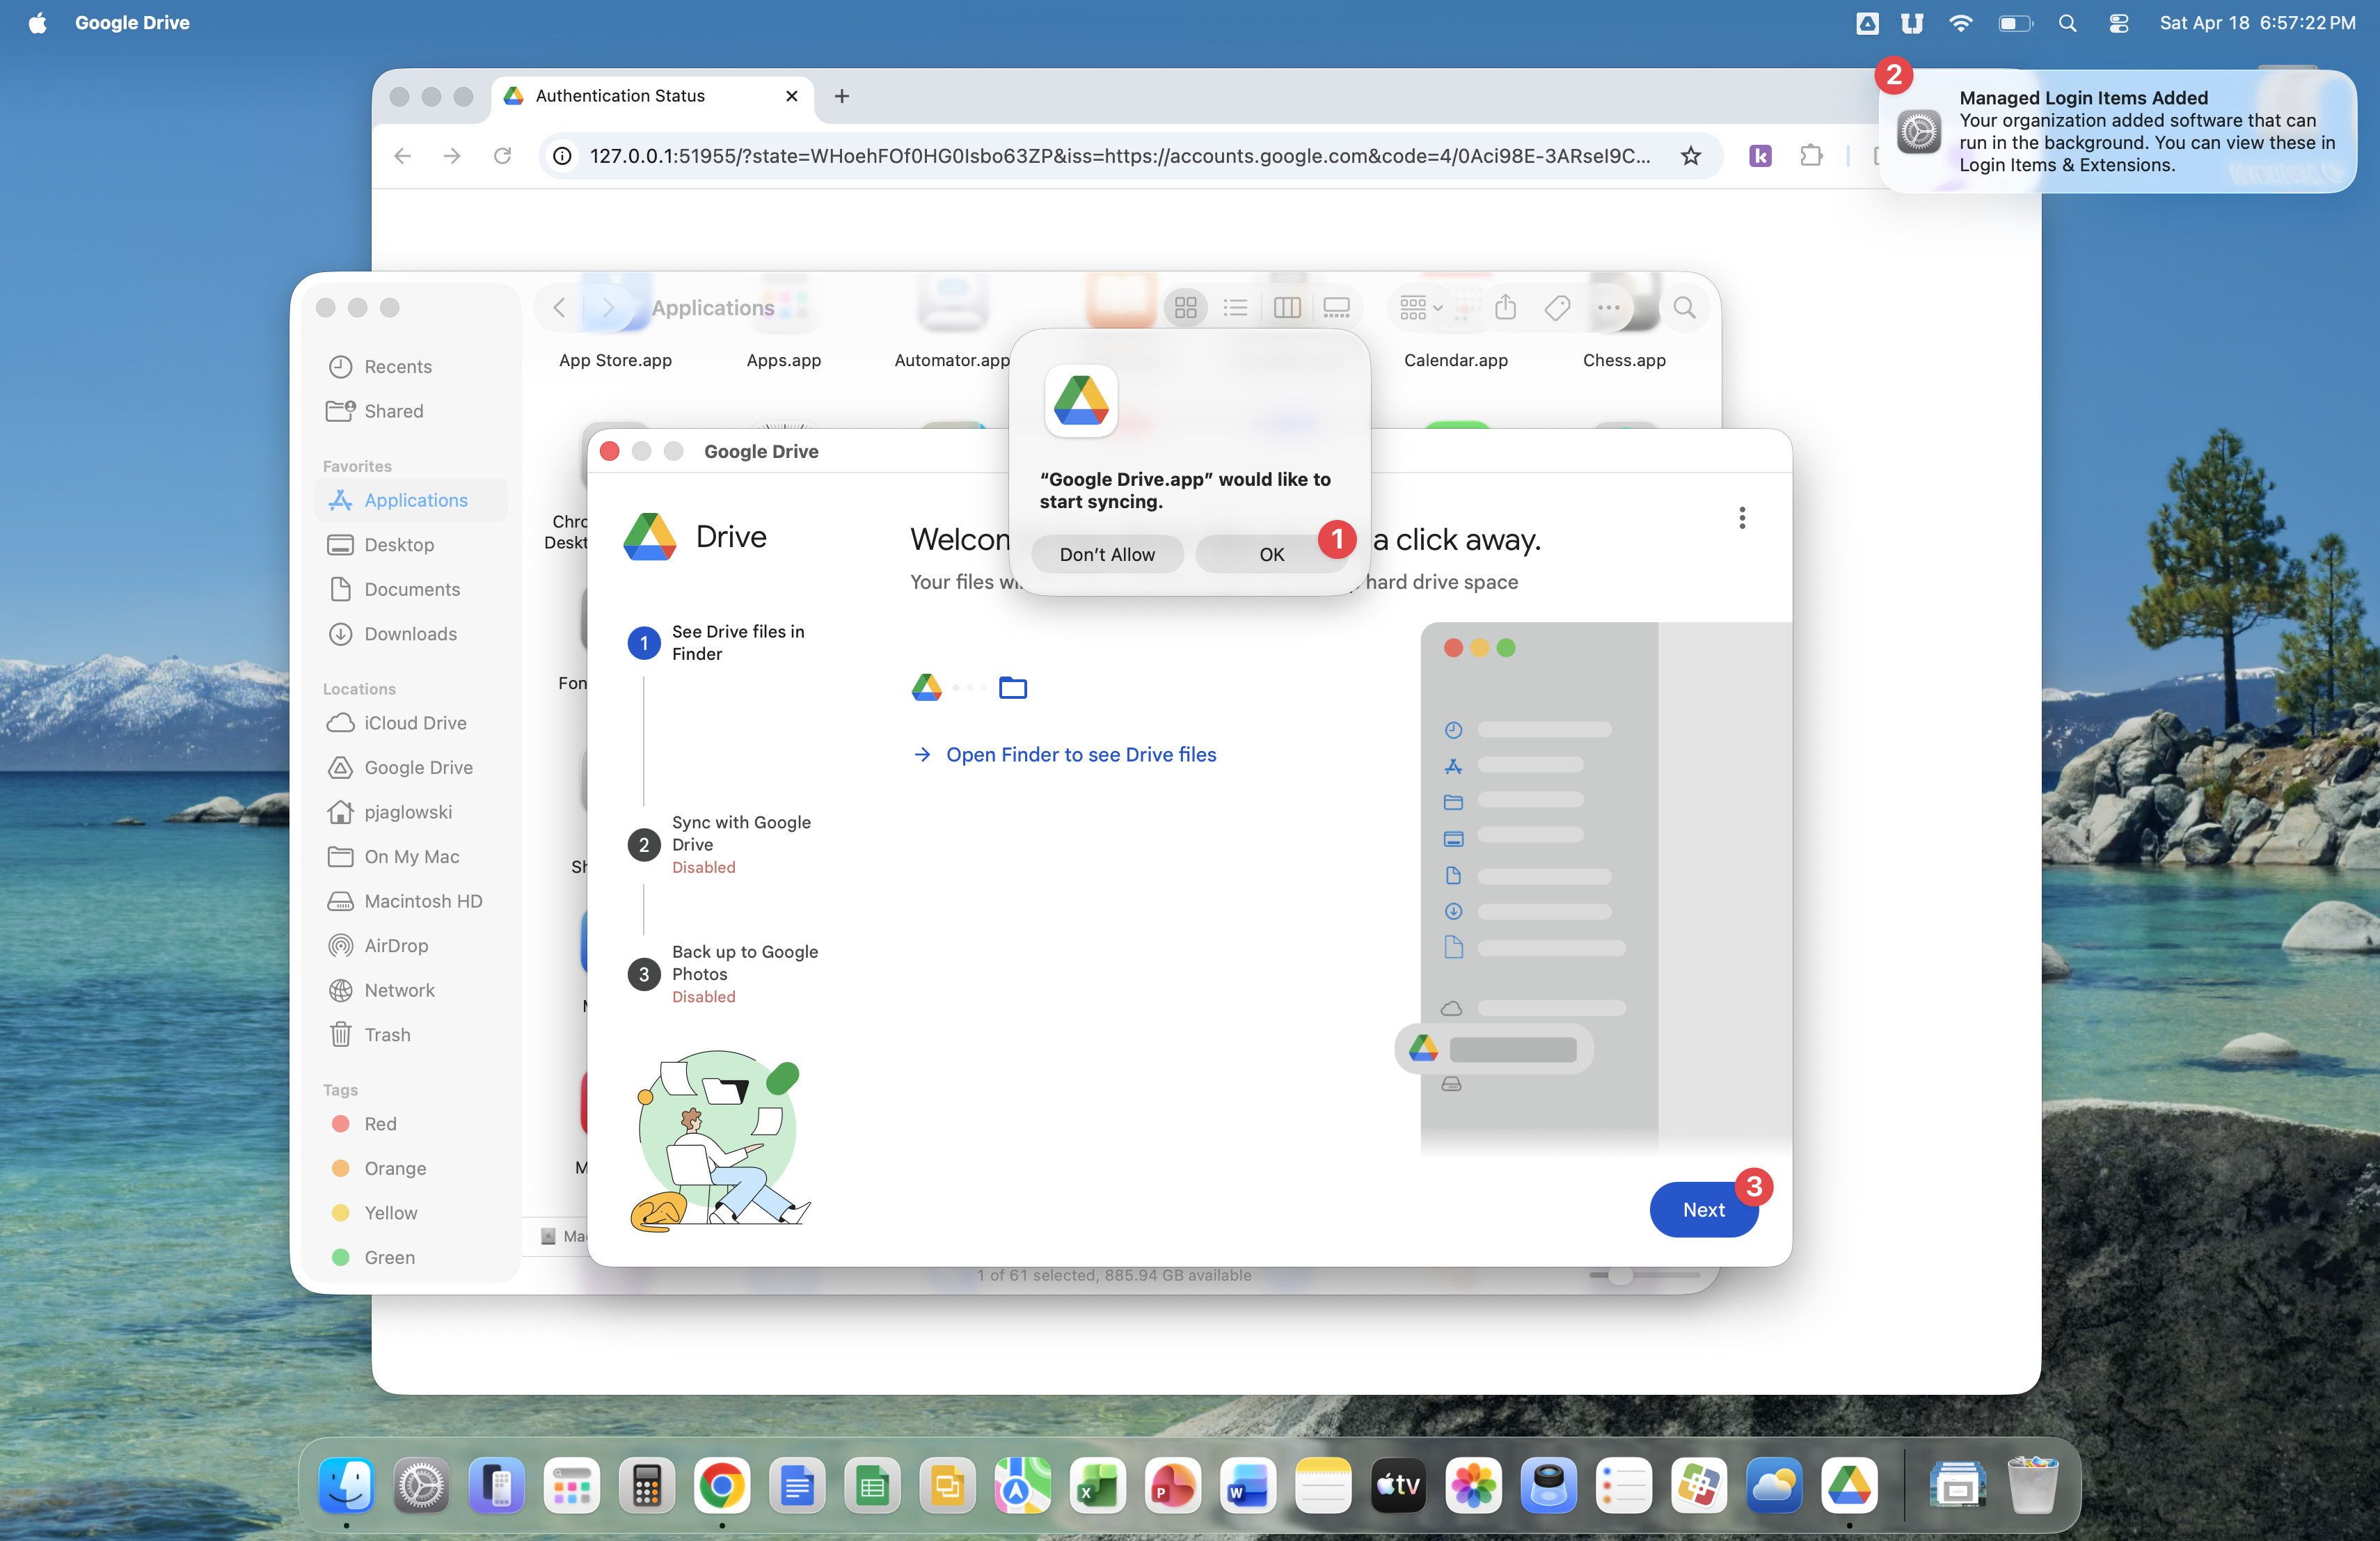
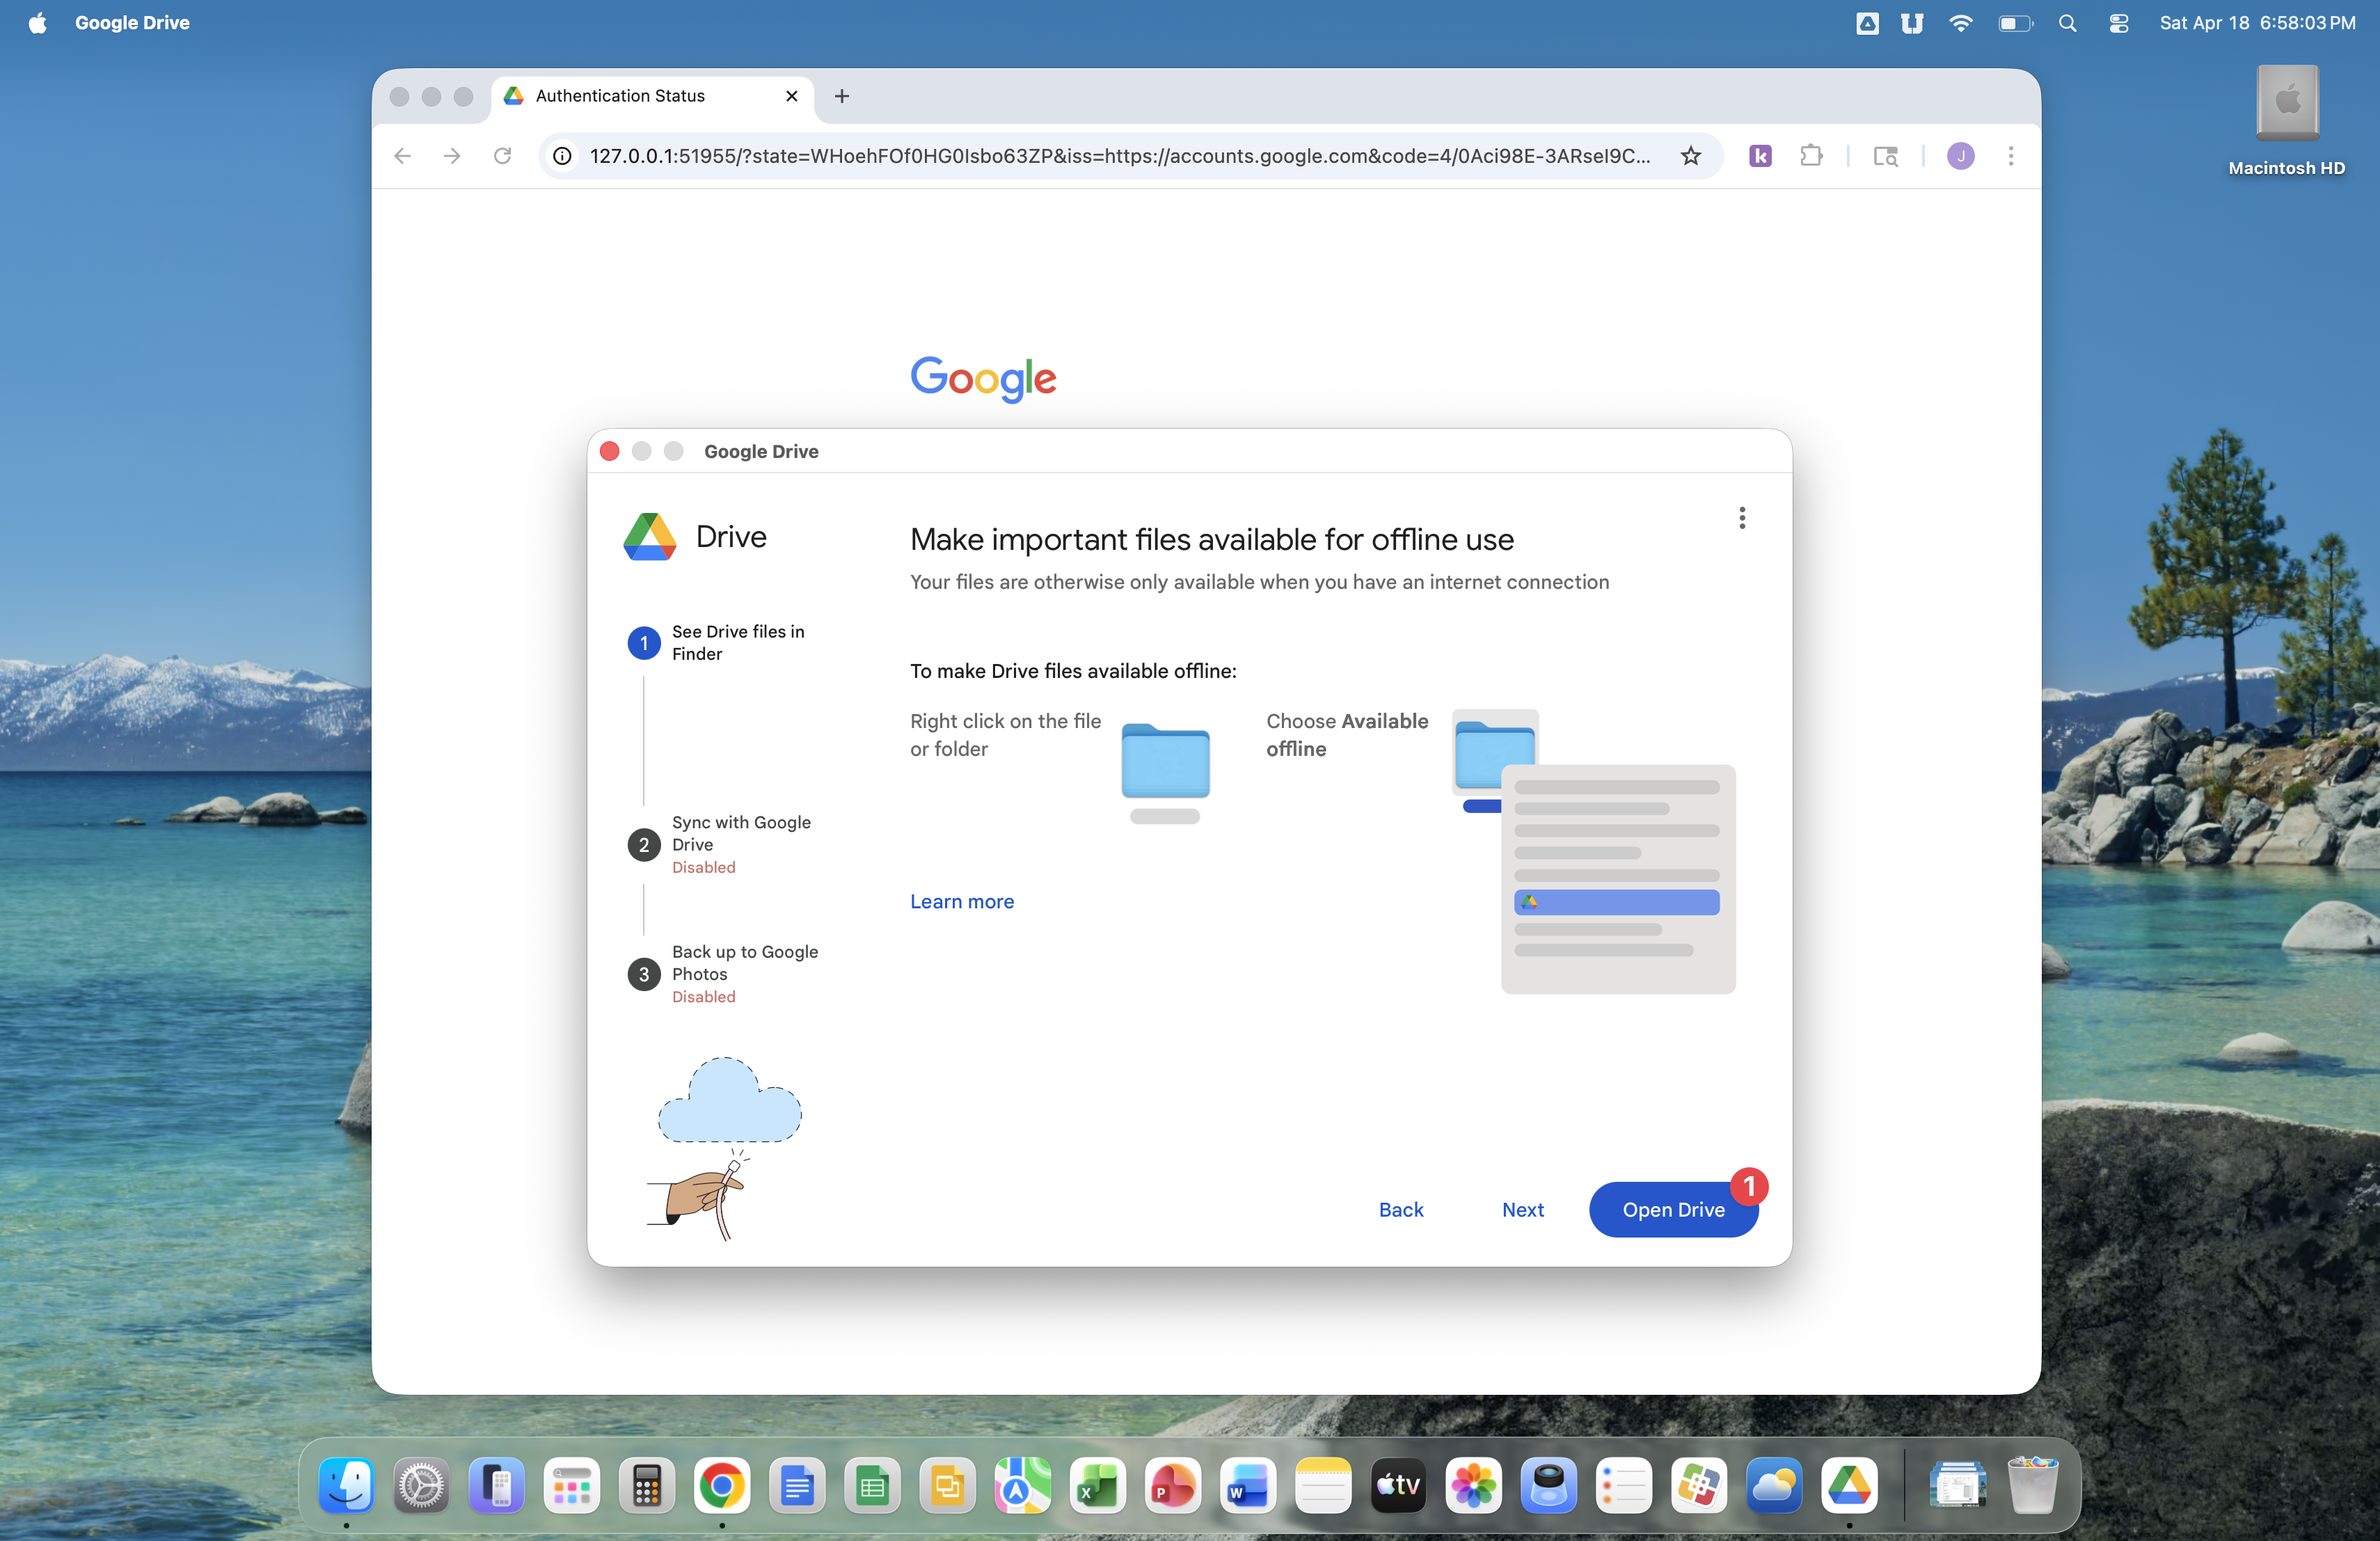
Click the OK button on the 'Google Drive would like to start syncing' prompt. Then hover your mouse over the system message reading 'Managed Login Items Added' and click the x icon to close this message. Last, click the Next button.
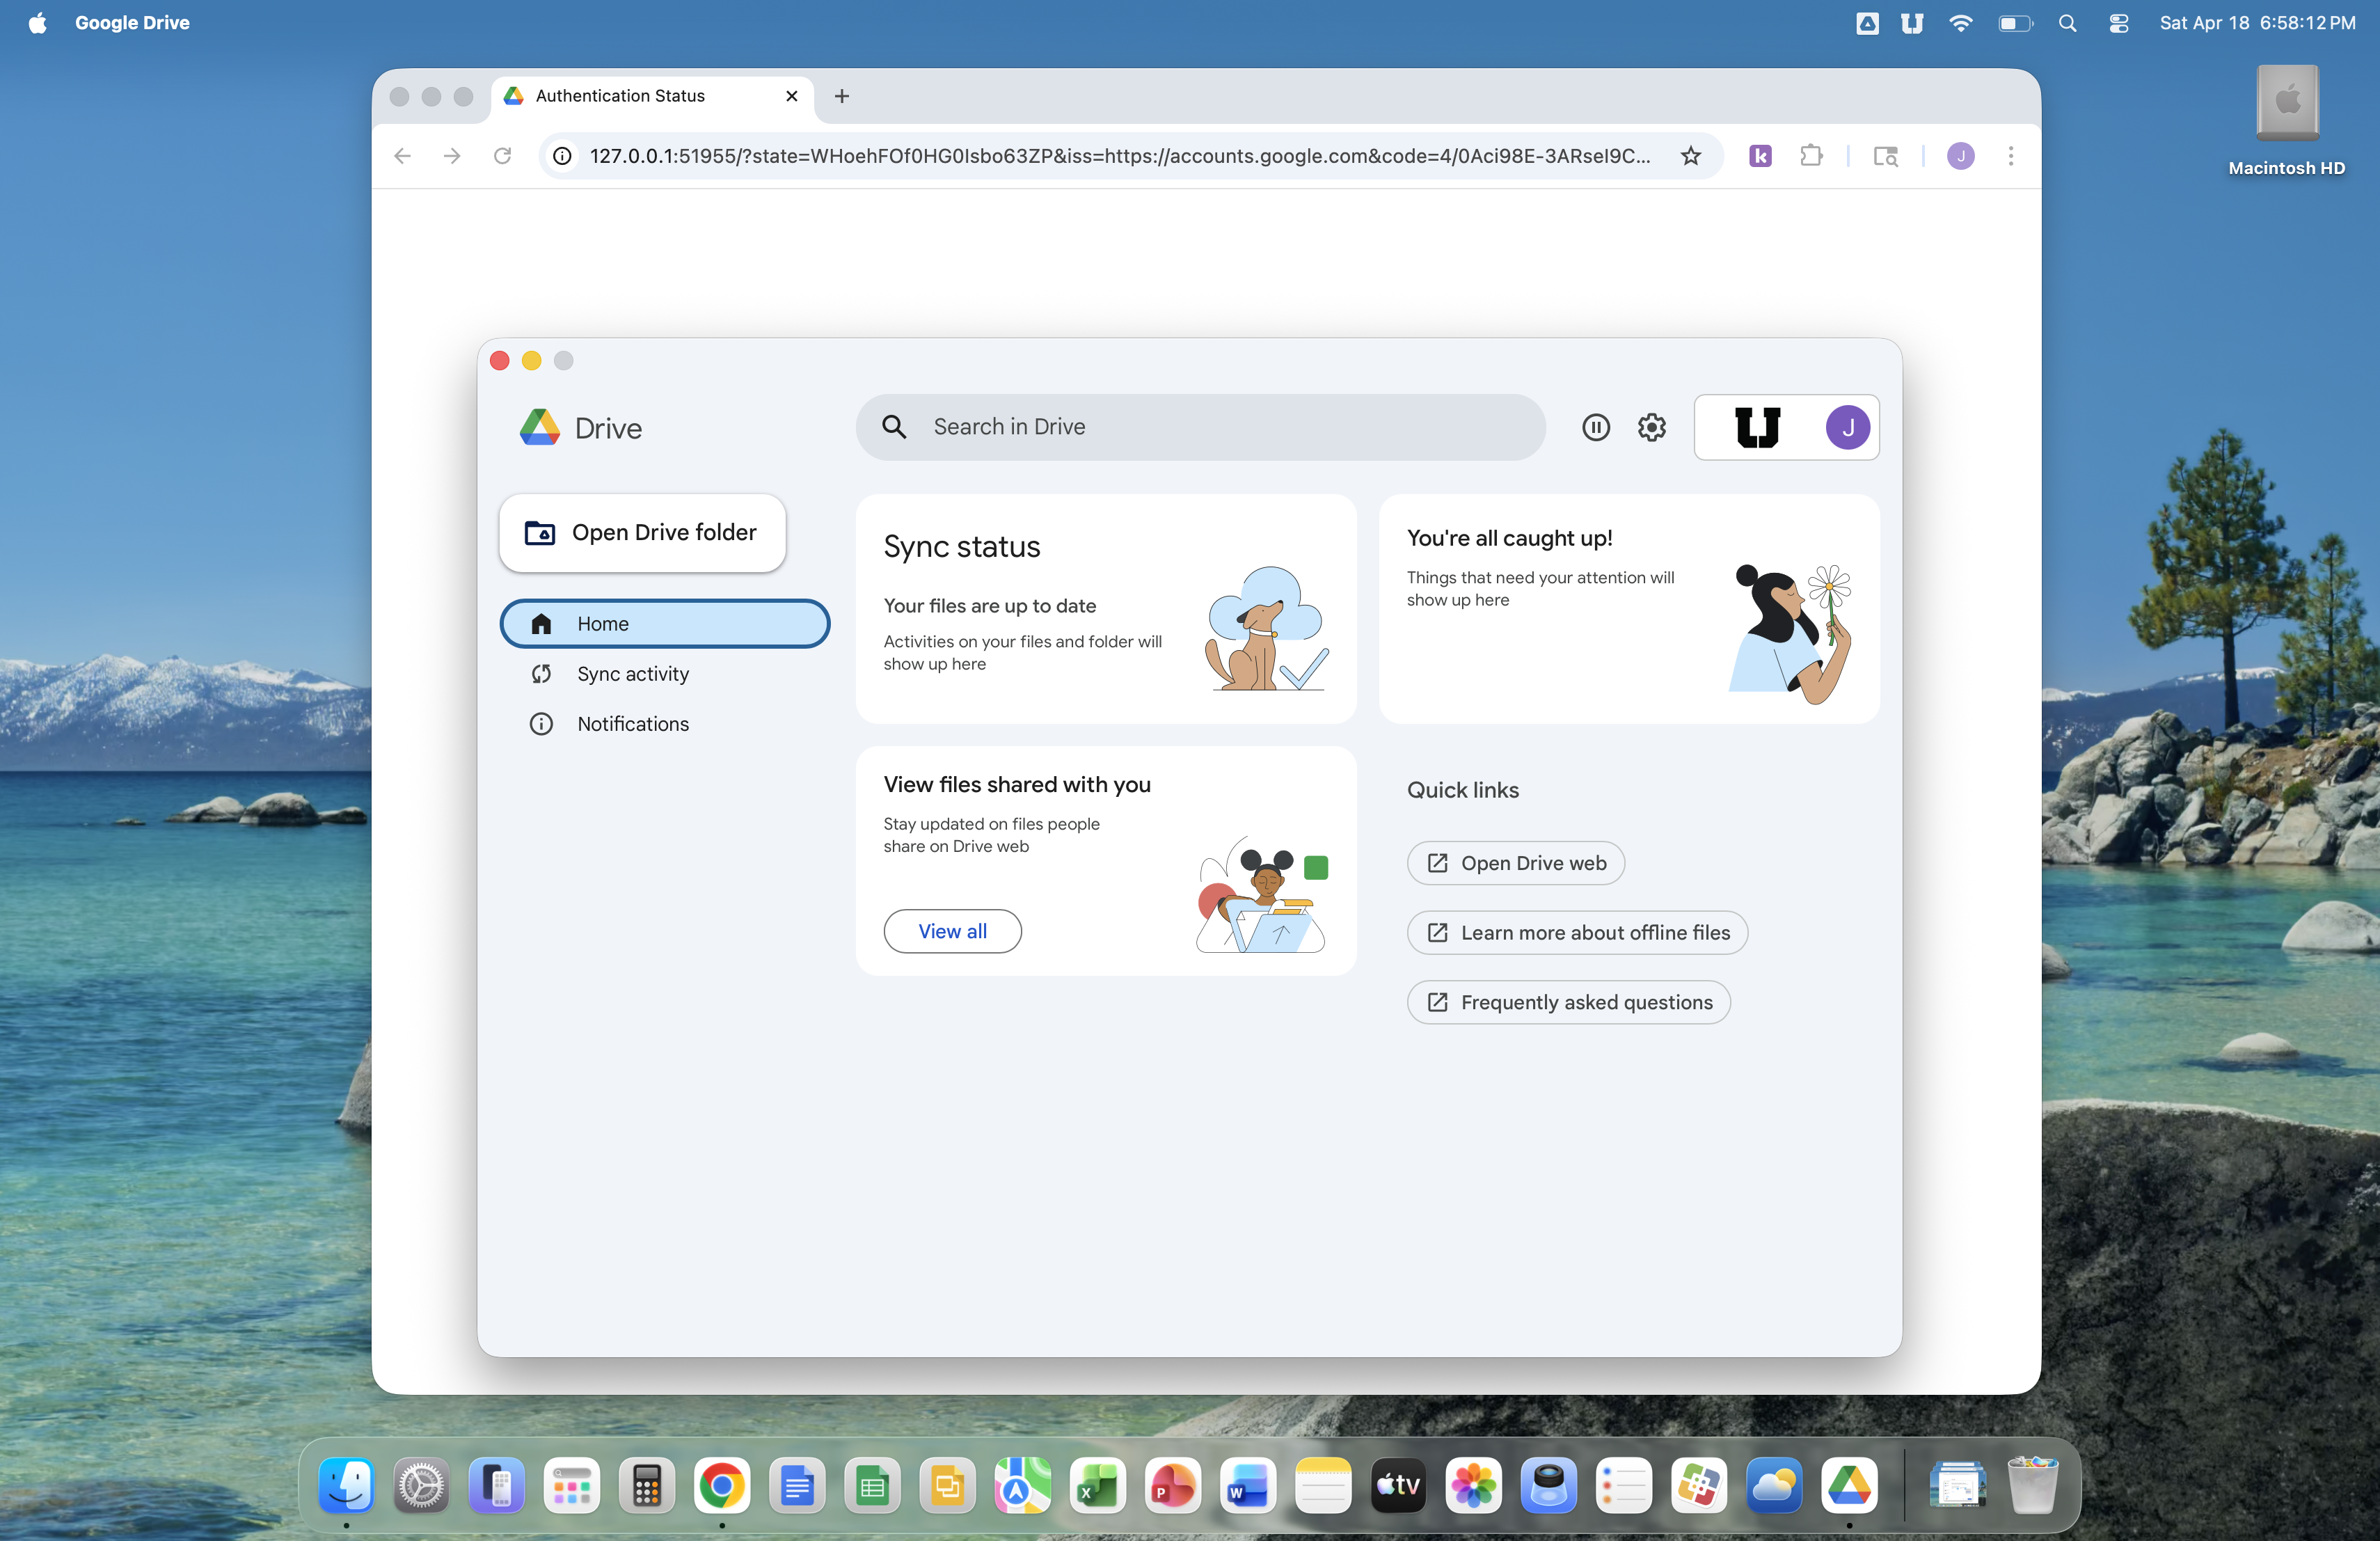
Click the Open Drive button.
Google Drive is now set up. Now you can open Google Drive from Applications in Finder, or from the top menu bar, to see if files are syncing between your Mac and Google Drive.
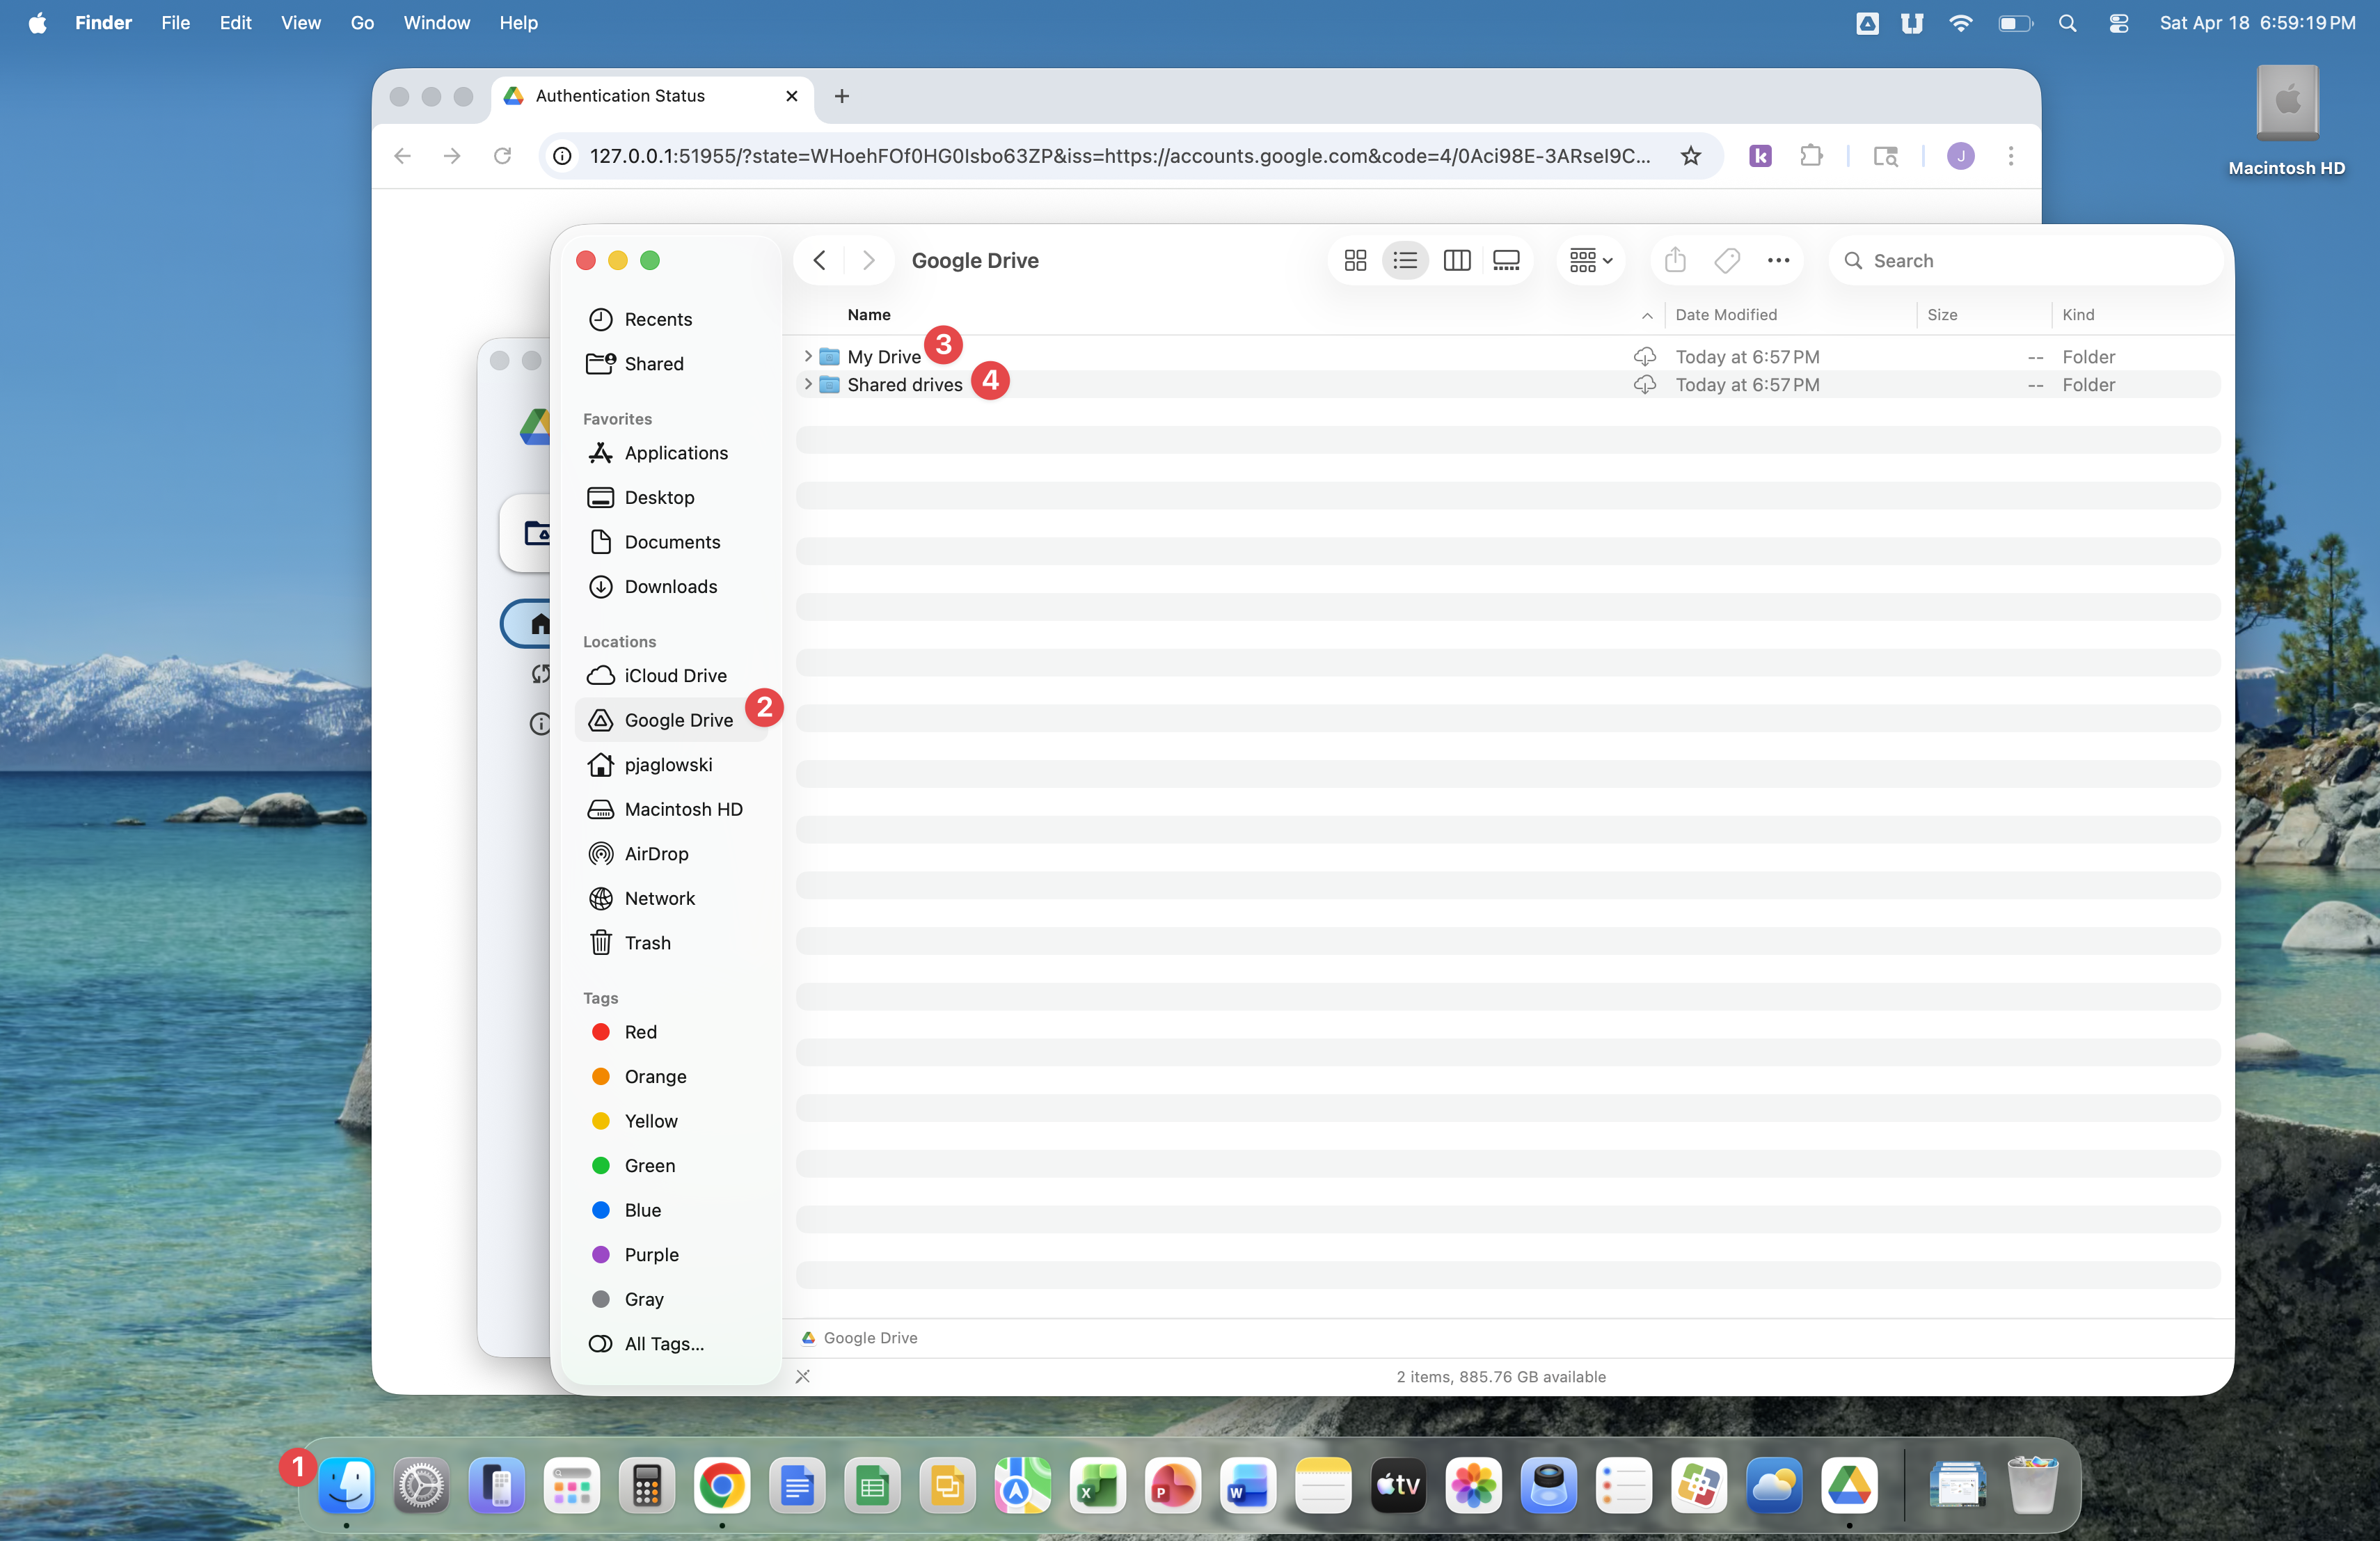
With Finder open, you will see that Google Drive has created the My Drive and Shared drives folders. My Drive is your personal space for storing files, please note that you can also share files from My Drive. Shared drives is the place where all drives that have been assigned to you by the USC Technology Department are shown. Shared drives are common areas for file storage, accessible by everyone in your department or on your team.
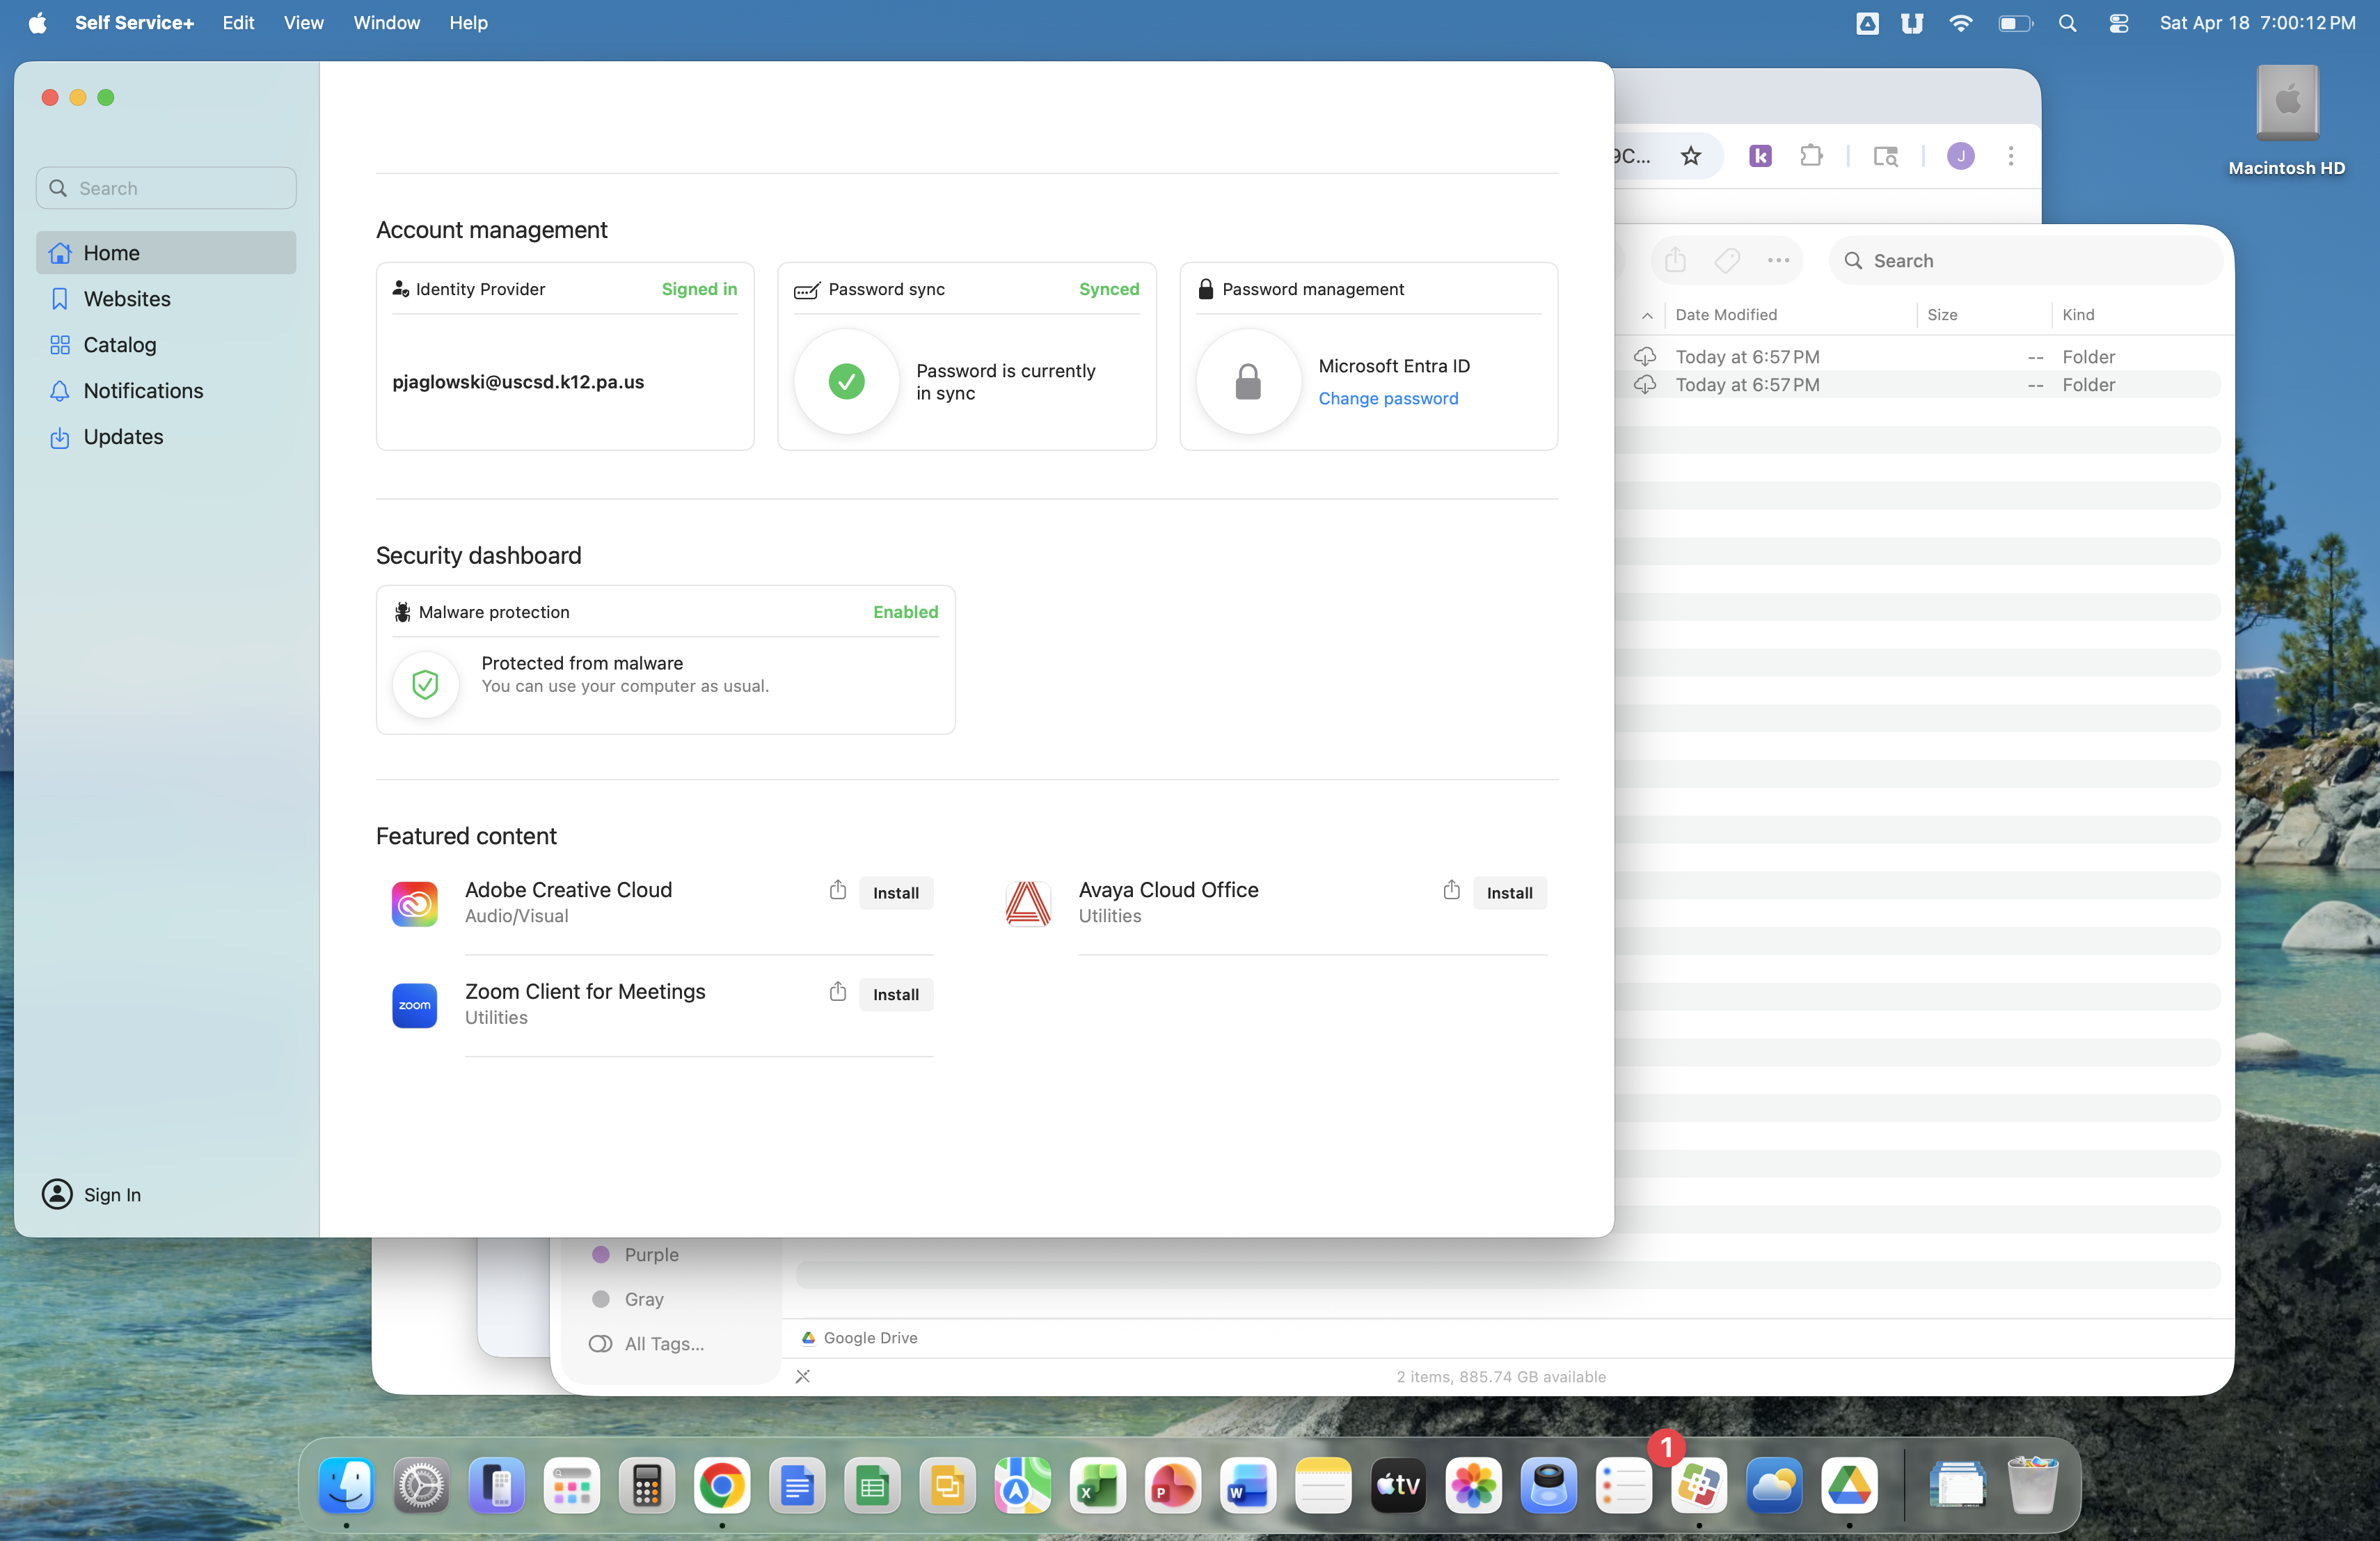
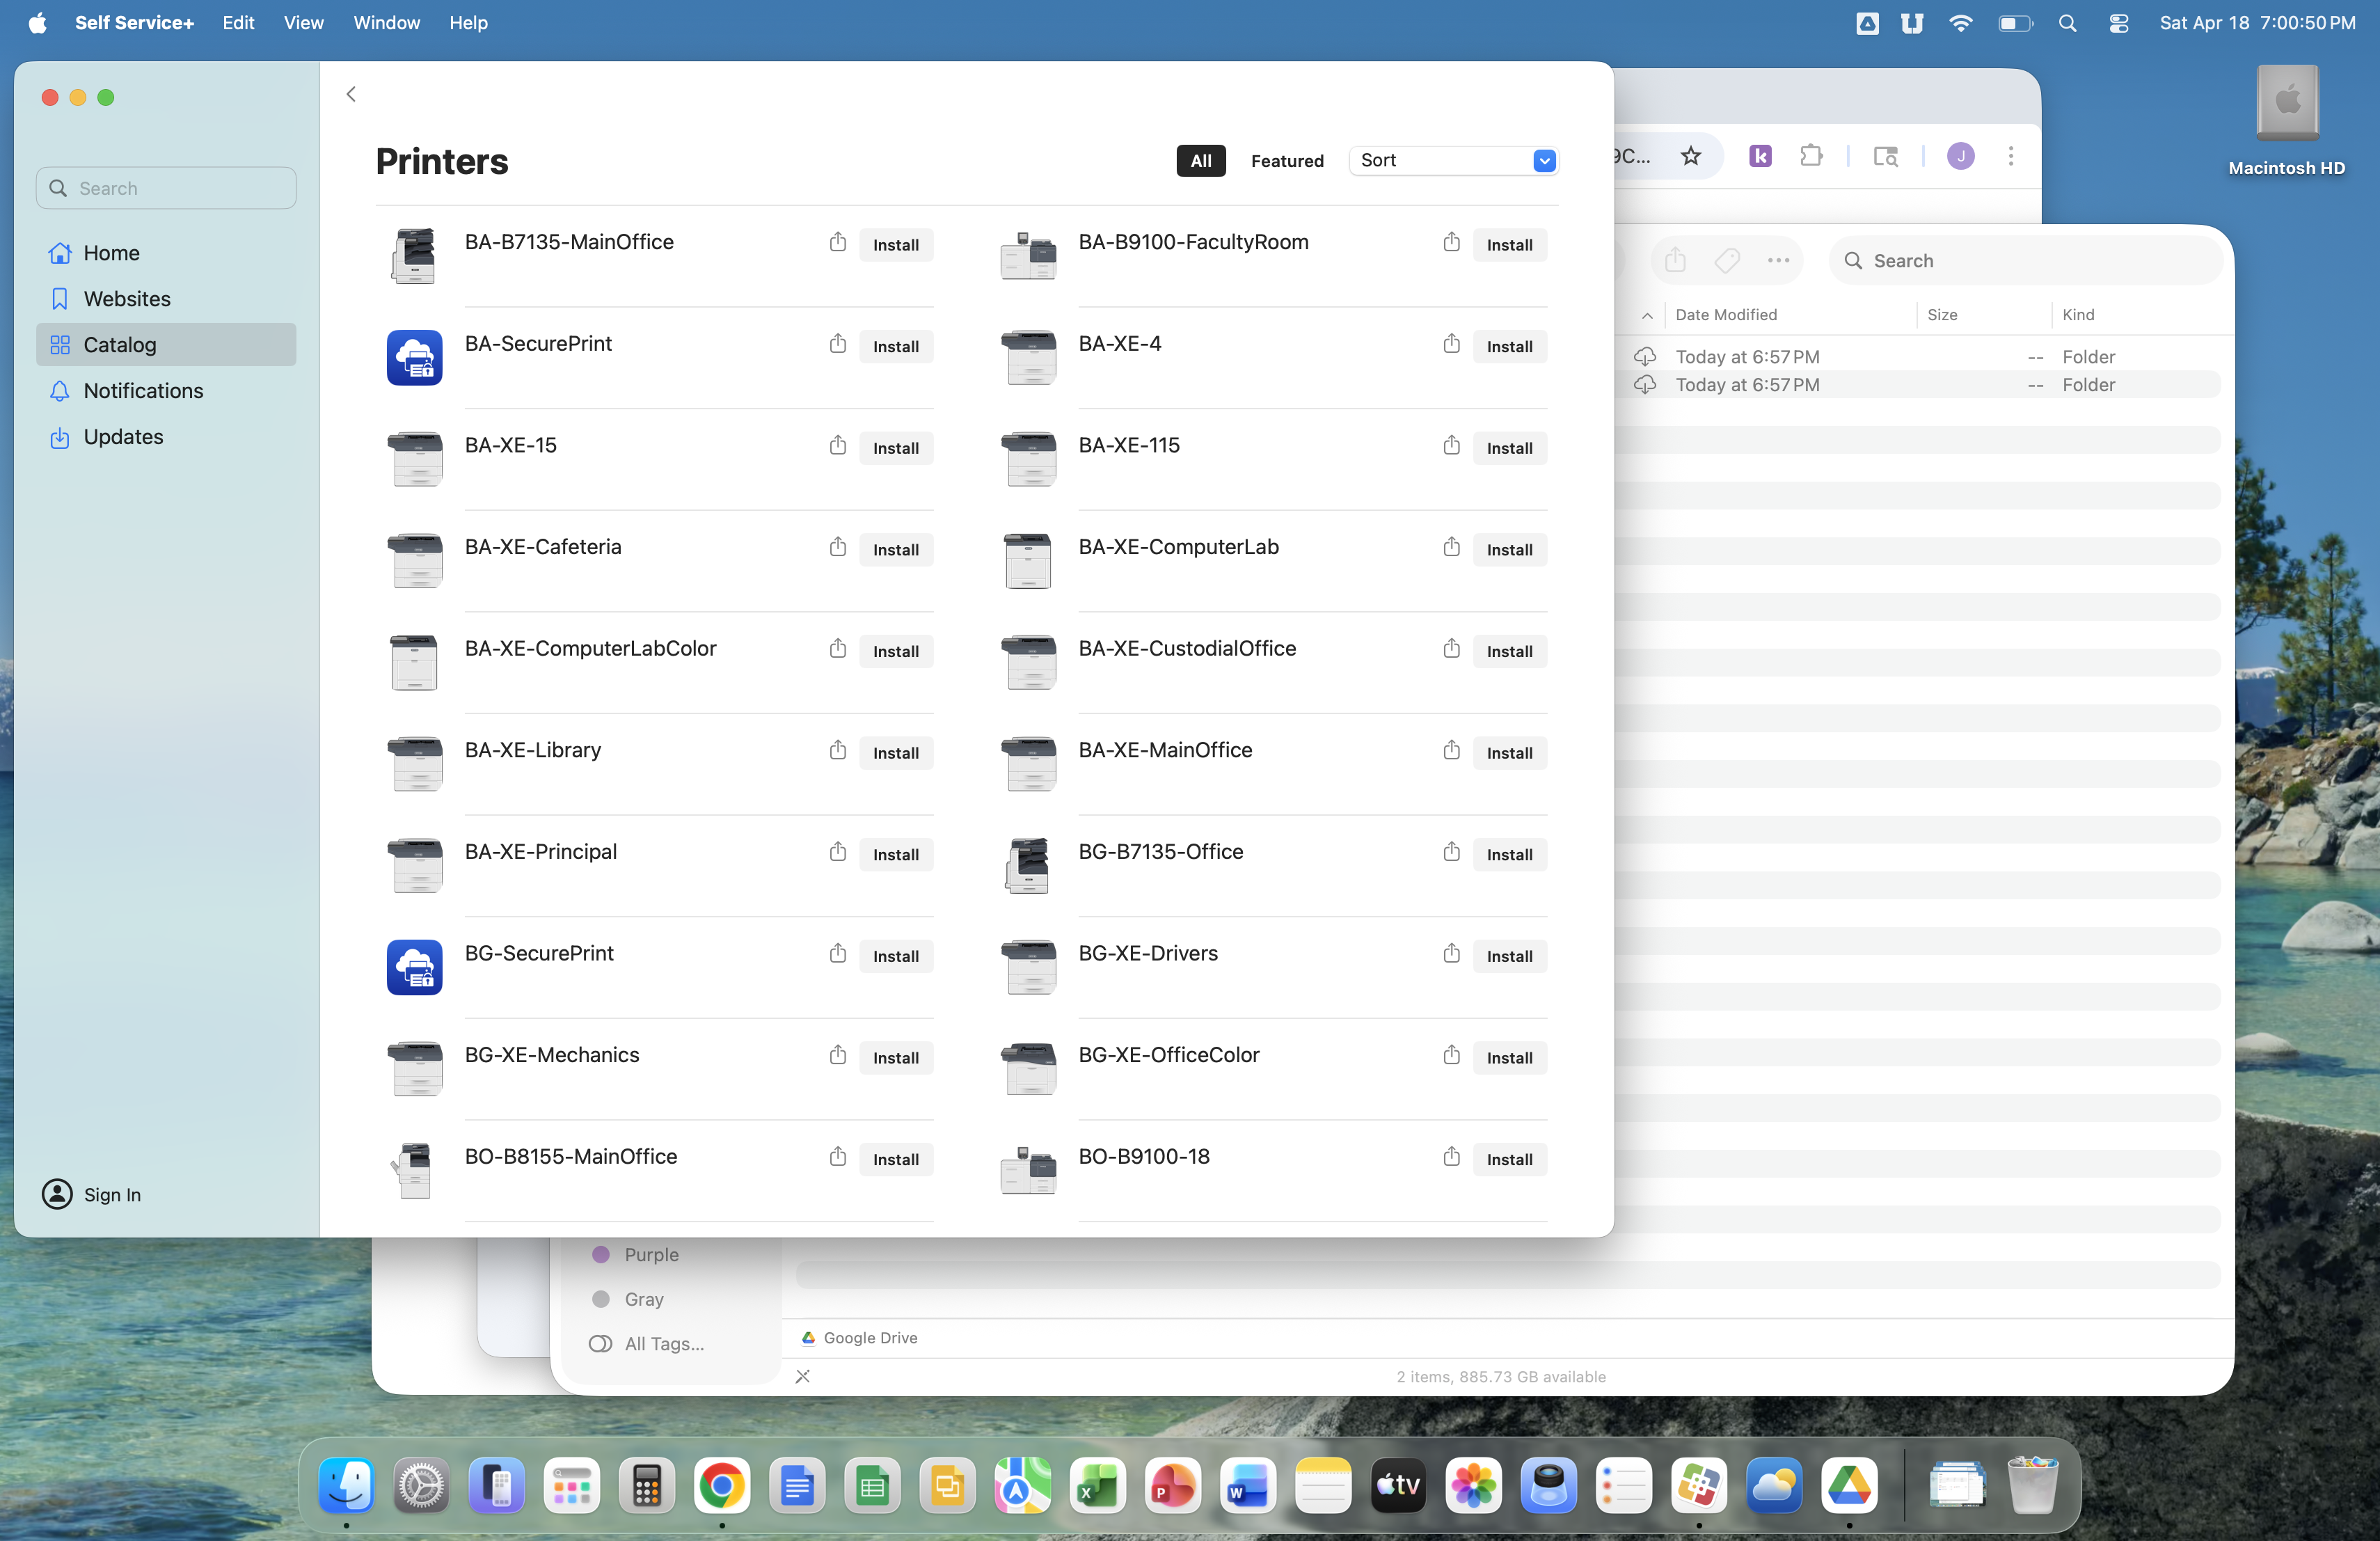
We will explore Self Service next. Self Service offers printers and other software made available by the USC Technology Department that you can install on your Mac. The images below show printers offered for use, but there are many other applications available in Self Service, such as Adobe applications and Avaya Cloud Office.
Click the Self Service icon in the Dock.
Click Catalog, then click Printers.

All printers offered for use are listed. Click the install button next to the printers you'd like to use.
You've completed setting up your Mac. The following articles offer additional guidance on setting up other aspects of your Mac, which might include restoring data that you previously backed up.
- printing - https://support.uscsd.k12.pa.us/kb/section/6/
- using Google Drive - https://support.uscsd.k12.pa.us/kb/article/824-google-drive-file-storage-and-access-guide-for-staff/
- restoring fonts - https://support.uscsd.k12.pa.us/kb/article/106-restoring-fonts-on-your-mac/
- restoring Photos Library - https://support.uscsd.k12.pa.us/kb/article/823-restoring-your-photos-library-to-your-new-computer/
- restoring Movies folder - https://support.uscsd.k12.pa.us/kb/article/822-restoring-your-movies-folder-in-macos/
- software, ie. Gmail, Google Meet, Canvas, Kami - https://support.uscsd.k12.pa.us/kb/section/13/
- audio/visual equipment, ie. Promethean ActivPanel, Apple TV - https://support.uscsd.k12.pa.us/kb/section/4/
- macOS - https://support.uscsd.k12.pa.us/kb/section/25/

